

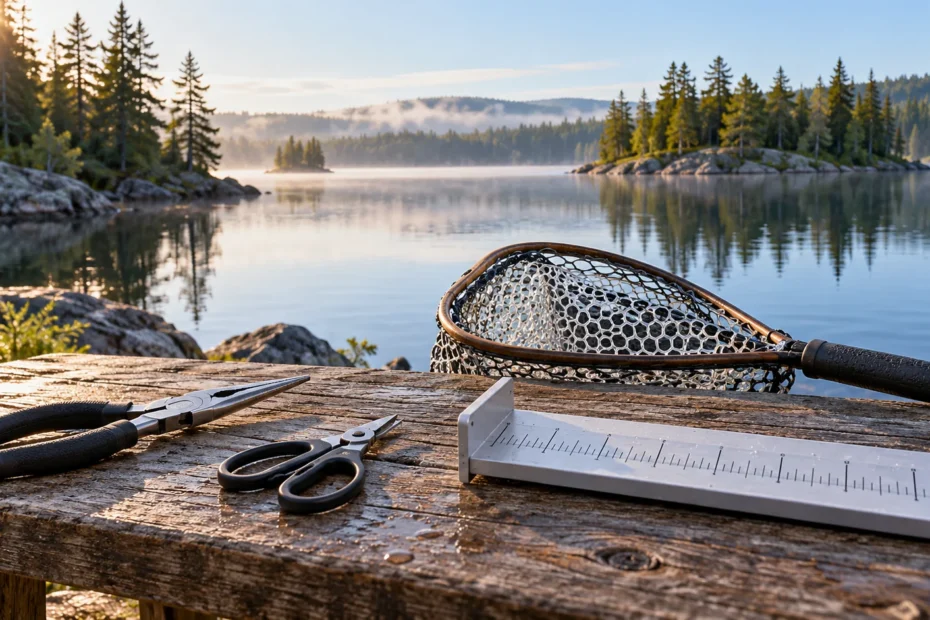
Fishing tools in Canada should make your day cleaner, safer, and easier. Learn which tools actually matter for bank, boat, kayak, and ice anglers.
- Use Fishing Tools in Canada to match species behaviour, habitat, season, and presentation to Canadian water conditions
- Check local regulations before fishing; limits, closures, bait rules, and licences can vary by province and waterbody
- Focus on practical setup: where to fish, what to cast or troll, how deep to work, and when to move
Bottom line Fishing Tools in Canada gets simpler when you pair current rules with the right habitat, timing, and presentation
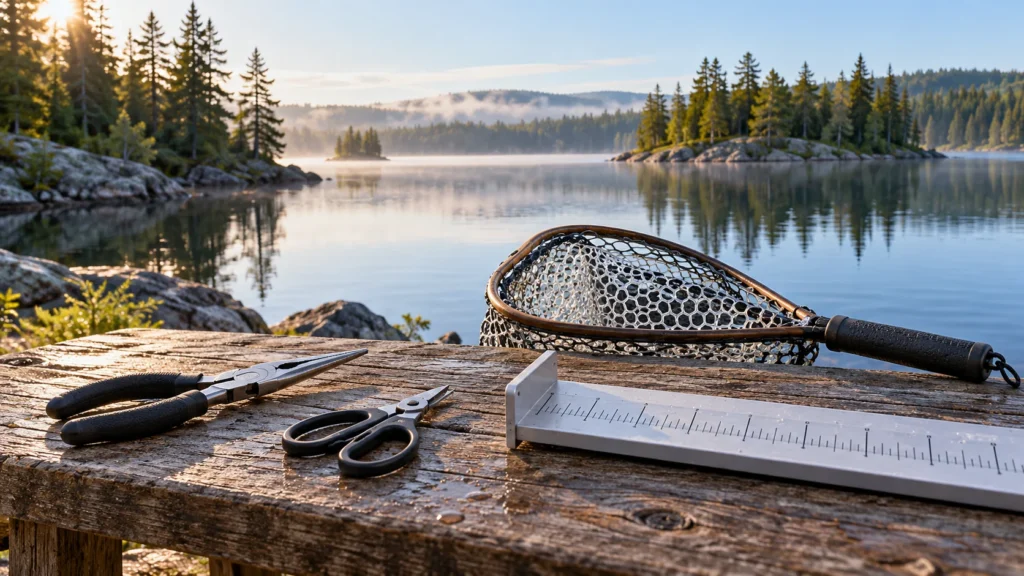
A fishing tool kit should solve the moments when a trip gets complicated: a hook needs careful removal, braid needs a clean cut, or a fish must be measured and released. This guide helps Canadian anglers choose a useful kit for shore, boat, kayak and ice fishing, with clear trade-offs and current rules to check before leaving.
What fishing tools do you really need?
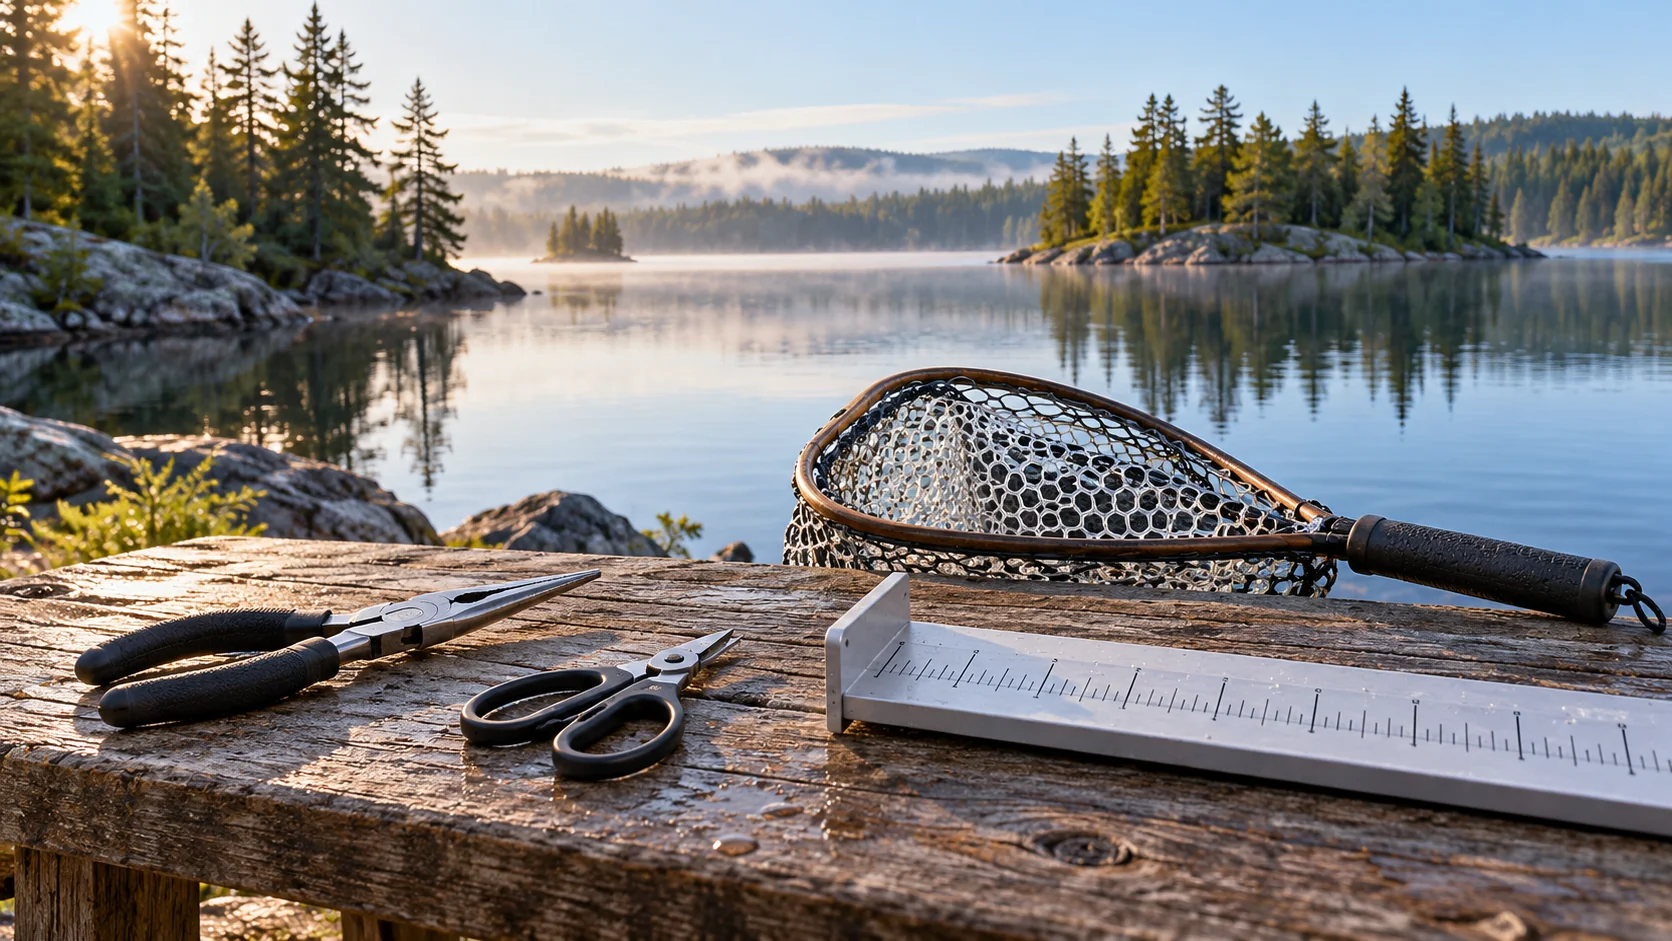
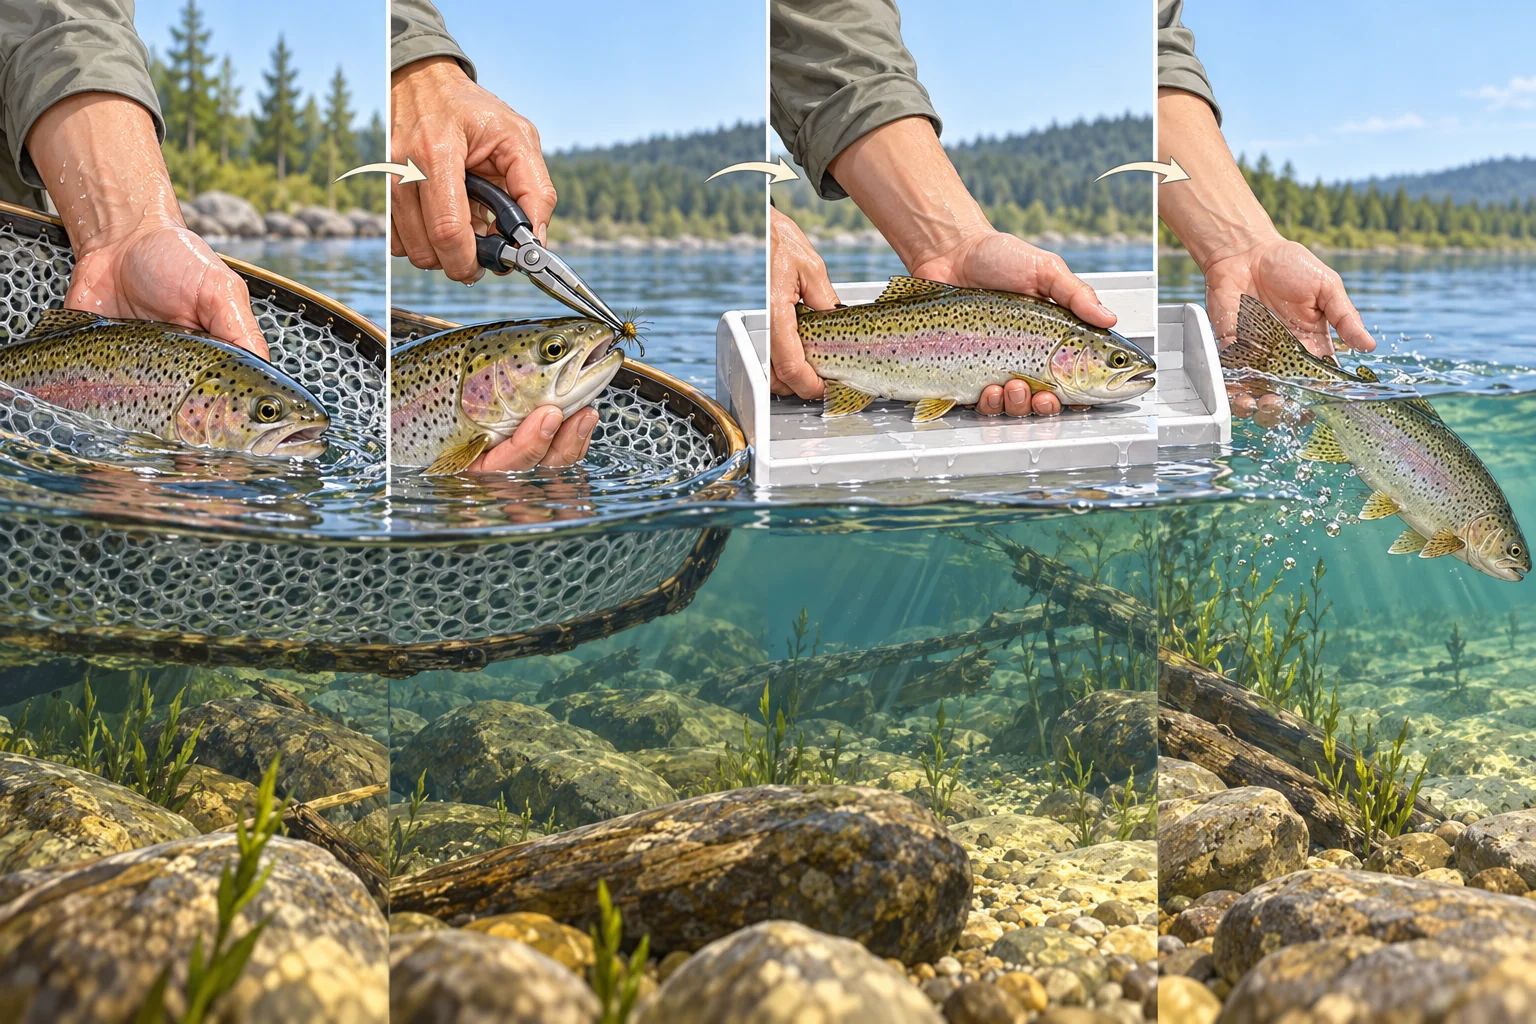
Choose tools for the work you expect to do. Long-nose pliers help reach a hook; a small cutter cleans up line after a knot; a suitable net gives you a way to support a fish during landing. If keeping a fish is legal and part of the plan, a board or tape helps you check a length restriction. Some products combine several of these jobs.
Choose the size for the hooks and fish you expect. Tiny forceps can work around a small hook, while larger hooks require more jaw strength and reach. Conversely, bulky pliers can be awkward around a small fish. Check the tools against your actual lures, line and expected catch at home, where a dropped hook or awkward grip is easier to deal with than it is in a moving boat.
| Job | Good starting tool | Check before you buy |
|---|---|---|
| Remove accessible hooks | Long-nose pliers or forceps | Jaw reach and size for the hooks you use |
| Cut line | Nippers or line scissors | Clean cuts on your actual braid, mono or leader |
| Land a fish | Appropriately sized soft, knotless net | Hoop and handle fit the fish and your platform |
| Measure length | Board with a stop or compact tape | Clear markings and the locally required method |
| Process a lawful catch | Sharp knife with protective sheath | Safe handling and cleaning away from loose gear |
Fishing pliers versus forceps
Long-nose pliers give you leverage and distance from sharp hooks. A narrow nose is useful where a hook sits inside the mouth, provided you can see and reach it safely. Larger jaws may grip larger hooks more confidently, but their bulk can obstruct your view when working with small hooks. If you use treble-hooked lures, keep exposed points controlled and make sure the fish is supported before handling the lure.
Forceps are small, slender tools often useful for fine hooks. Their longer jaws may help where fingers or bulky pliers cannot reach, but a light pair should not be forced on a heavy hook. The lock on some forceps can also make it easy to leave them attached to tackle; check that the jaws release smoothly and keep the points protected when stored. Choose for the hook and available working space.
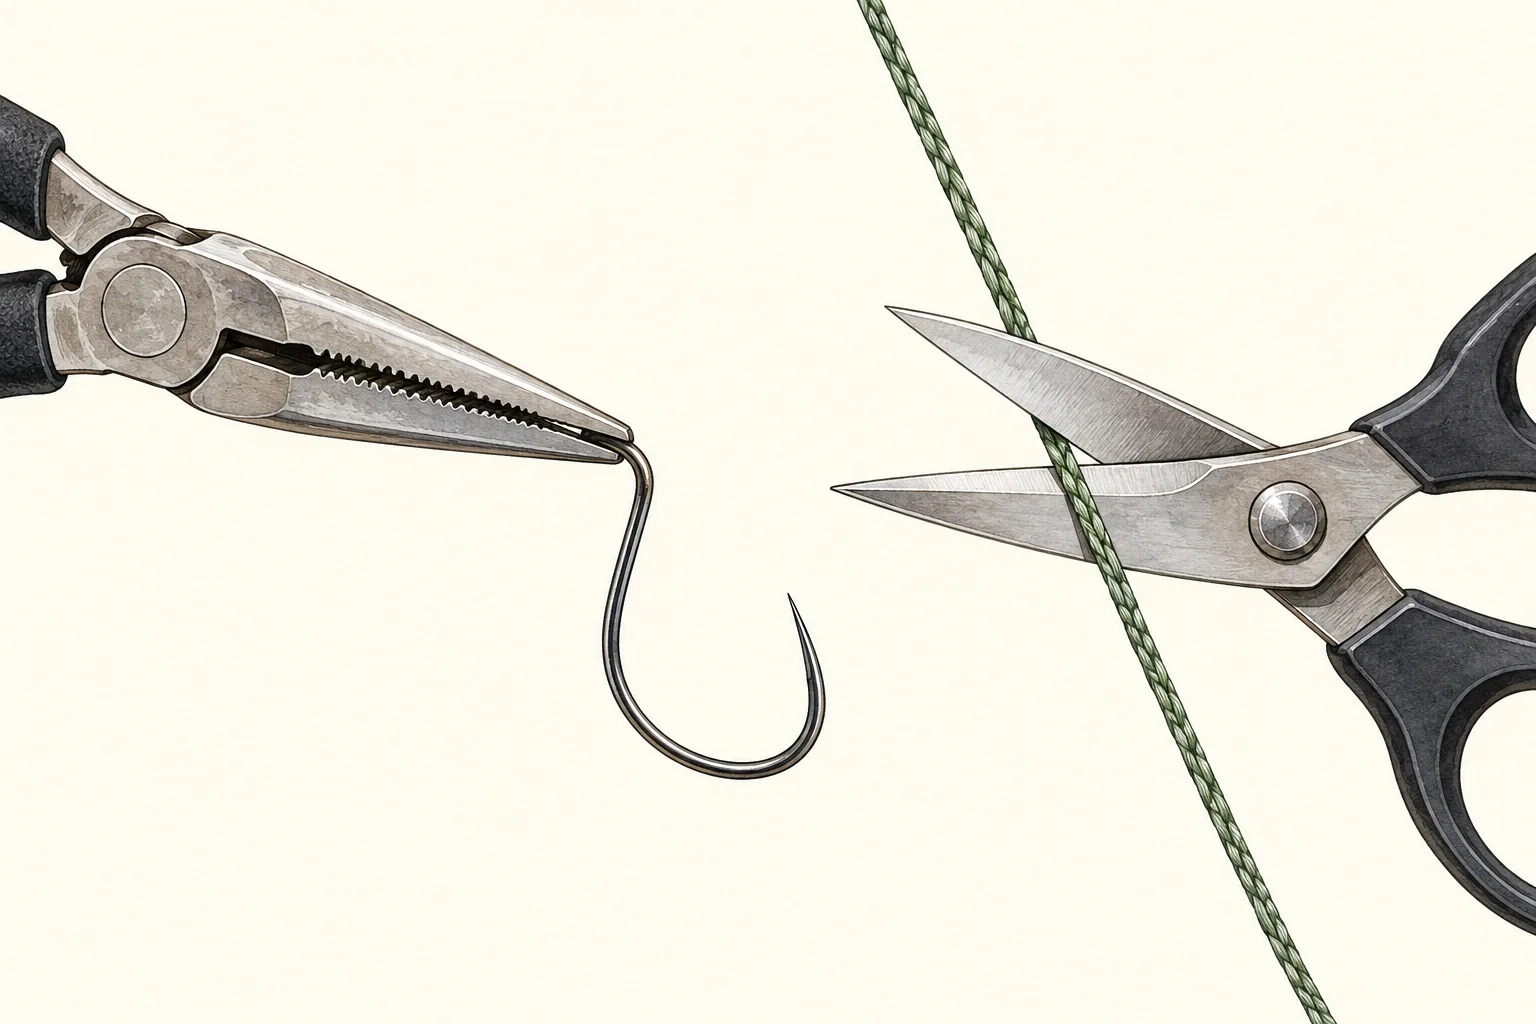
Some pliers add a split-ring tip for changing lure hooks. Compare the tip to the rings you actually use: a large tip can be clumsy on tiny rings, and forcing a ring open can distort it. A built-in cutter can be convenient, but test it on braid and leader rather than assuming every blade handles every material. Separate line scissors can be easier to replace or position where you reach them.
Cutters that match your line
Monofilament and fluorocarbon can often be trimmed with sharp nippers, while soft braid may fold or fray if a blade is dull or fails to grip the fibres. Bring a short sample of your line when comparing tools, or test the cutter at home before the trip. The result you want is a controlled, clean cut without sawing at the knot.
Do not use a small line cutter to cut a heavy hook unless its maker states that it is designed for that task. Cutting hardened metal can damage blades and send a sharp piece away from the tool. Keep a cover or closed position for exposed blades, and collect short line offcuts in a small container. A tether can keep scissors nearby, but arrange it so it cannot snag a person or interfere with moving around the boat.
Measuring boards, tapes and scales
A rigid board with a raised end makes it easier to place the fish consistently, while a soft tape packs into a smaller bag. Both need legible markings and a length appropriate for the species you expect. A tape is less useful if it curls, is hard to read or must be retrieved from the bottom of a wet pouch while a fish is being handled.
Rules may prescribe which length is measured and how the fish must be positioned. Read the regulation for the specific water and species before fishing; do not assume that an illustration of a board defines the legal method. Keep the fish wet, prepare the tool before landing and avoid delaying the release of a fish that cannot legally be retained. Ontario requires immediate release at the place of capture for fish that are illegal to possess, including closed-season fish and fish outside a permitted size or limit. Regulated invasive species are treated differently; check the applicable rule for the species. Ontario’s guidance explains these requirements.
A scale answers a different question from a length restriction. If you weigh a fish you may lawfully retain, use a suitable sling or support so the body is not suspended only by the jaw. Read the applicable release rules before taking photographs or measurements. A personal record is not a reason to keep an unlawfully possessed fish out of water.
Landing nets: choose for the fish and the platform
Compare the hoop opening and bag depth with the species you expect, then check whether you can actually deploy the handle from your bank, canoe or boat. A short handle may stow neatly in a kayak but be too short for a high dock; a long handle offers reach but can be awkward in a crowded cockpit. On foot, consider whether the net can be carried without dragging or catching on vegetation.
Ontario recommends a knotless net, preferably soft rubber, where a net is needed. A suitable net can support a fish at the water’s surface while you prepare to unhook it. Do not assume any net eliminates handling stress: fish can still become tangled or injured, and the safest choice depends on the situation. Keep the mesh clean and follow local measures for cleaning equipment between waters. Ontario’s catch-and-release review describes landing and handling practices.
The Guide’s Log: organizing a first riverbank kit
This example is hypothetical; it is not a claim of a completed trip or product test.
Imagine a day trip to a public Ontario riverbank. The group intends to fish from shore, release anything it cannot legally keep and avoid carrying a large tackle bag. Before leaving, the anglers check the named waterbody, the applicable fishing zone, the open season and any exceptions. They also check access and the weather, because a legal fishery does not make a steep or flooded bank safe.
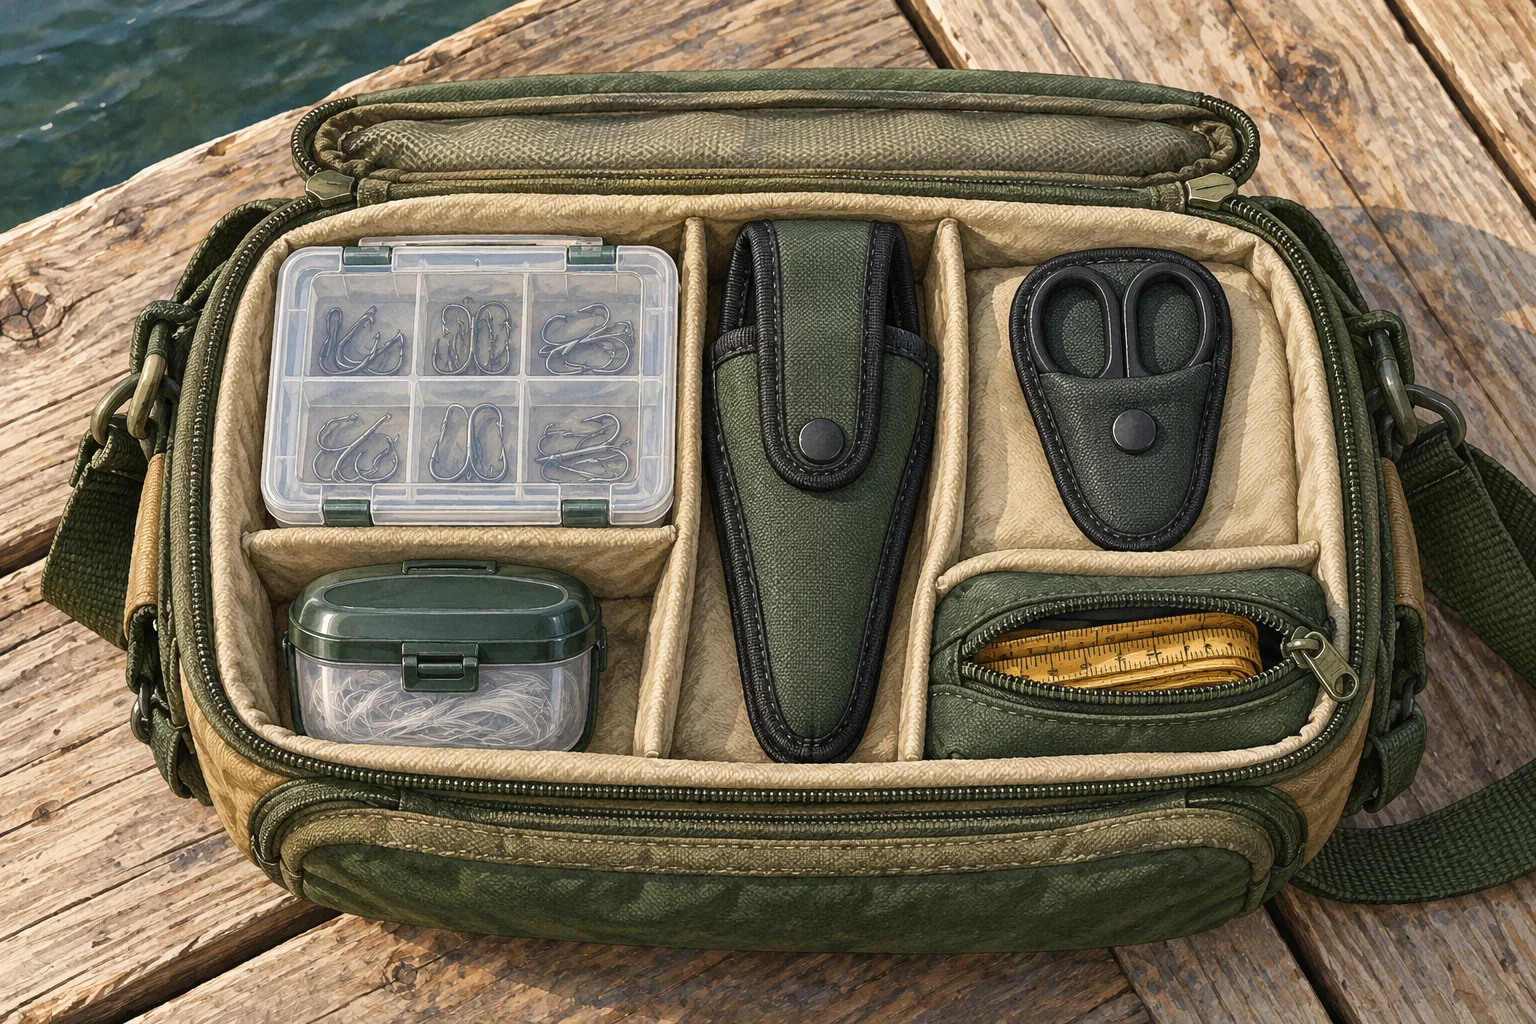
They put a pair of long-nose pliers in a covered outside pocket and keep scissors in a separate closed sleeve. A small board goes beside the landing net, ready in case a legal length check is necessary. A container for line scraps and a dry pouch for the phone take little space. Each angler knows where the tools are, so the person holding the net does not have to search through hooks.
At the bank they choose a stable place with room to step back. If the river is high or the route is slippery, they move elsewhere or postpone the outing. When a fish is landed, they keep it wet and follow the local release requirements. A hook that cannot be reached safely is not pulled harder for the sake of a photograph.
Back home, they rinse dirt from the tools, dry the joints and check whether the cutter still trims the line cleanly. This is one way to arrange a kit; the exact species, access point and conditions may call for different tools.
Adjust the kit for shore, boat, kayak and ice
Fishing from a boat can justify a larger net and a rigid board, but the most useful items still need an assigned place. Store pliers where the person landing a fish can reach them without crossing an open deck covered in hooks. Secure loose tools so they do not slide underfoot. A lure retriever may be useful for a snag that can be reached safely; it does not justify leaning over a gunwale or entering dangerous current.
On a long shore walk, weight and access become more important. A compact pouch, protected cutters and a net that can be carried securely may be more practical than several duplicate pliers. Choose a bank where you can reach the water safely. A long handle can solve a reach problem, but it cannot make a steep or unstable edge safe.
Kayaks reward compact tools and a clear cockpit. Tethering pliers can reduce the chance of dropping them, but a tether must not wrap around the paddler or obstruct a rapid exit. Place it where the tool can be reached without twisting beyond a stable position. A net needs enough space for the intended fish without obstructing the paddle or essential safety equipment.
On ice, keep small forceps, cutters and a scoop accessible while wearing gloves. Metal tools and line can become difficult to handle when wet and cold; plan how you will protect hands and store sharp points. A previous person’s tracks or a date on the calendar do not establish safe ice. Check current local conditions and be prepared to cancel.
For boating, Transport Canada says a suitable approved lifejacket or personal flotation device is required on board for every person, including on human-powered craft. Check the remaining equipment and fit requirements for the vessel and activity. Wear the PFD while boating: Transport Canada warns that putting one on after entering the water can be difficult or impossible. Transport Canada’s PFD guide explains the requirements and available types.
Useful extras that are not universal
- Lure retriever: worth considering where you can safely reach frequent snags, particularly from a boat; leave it behind if the access makes it impractical.
- Split-ring tool: useful for changing hooks on hard baits; size the tip to the rings on your own lures.
- Headlamp: helps you work hands-free in low light, but check access rules and make sure the route back is safe.
- Small first-aid kit: plan for minor cuts and carry a way to contact help. For a hook embedded in a person, seek appropriate medical help rather than copying fish-unhooking advice.
- Wet measuring mat or sling: may help support a fish, but prepare it in advance and obey any immediate-release requirements.
Fish care and Canadian rules: what tools cannot decide
Fishing rules determine whether a fish may be targeted, kept or released. In Canada, requirements differ by province or territory, species, waterbody, licence and date. Begin with the current official regulations for the place you plan to fish, then read water-specific exceptions and notices. If you are fishing in a national park or another managed area, check its separate rules as well.
Ontario’s tackle page describes a general maximum of four hooks attached to a fishing line and notes that exceptions apply. In most Ontario waters, its two-line ice-fishing option requires the angler to remain within 60 metres of each line or tip-up and maintain a clear, unobstructed view. These are Ontario examples, not a rule for every Canadian water. Read Ontario’s current tackle guidance before relying on them.
For release, Ontario recommends minimizing air exposure, keeping fish in water as much as possible, using wet hands and avoiding the eyes and gills. It advises supporting larger fish horizontally rather than holding them by the jaw. When a hook is too deep, its guidance says to cut the line rather than struggle to remove it. It does not promise that a fish with a retained hook will be unharmed. Follow the law and guidance applicable to your water.
Sharp dorsal or pectoral spines, teeth and exposed lure hooks can injure the angler as well as the fish. Keep a secure hold on tools and avoid placing fingers into gills. If the fish or hooks cannot be controlled safely, reassess rather than pulling blindly. A photograph can wait; a fish that must be released cannot be held for a photo simply because the tools are ready.
Before moving between waters, follow local aquatic-invasive-species rules. Remove visible plants and debris and check local instructions for draining and cleaning boats, nets and gear. Rules differ, so do not assume one province’s checklist is the complete legal requirement everywhere.
Pliers, cutters and a fillet knife
Affiliate links: We may earn a commission from qualifying purchases, at no extra cost to you. We have not field-tested these items. Check the selected model, current price and delivery options on Amazon.
For handling hooks with a tool
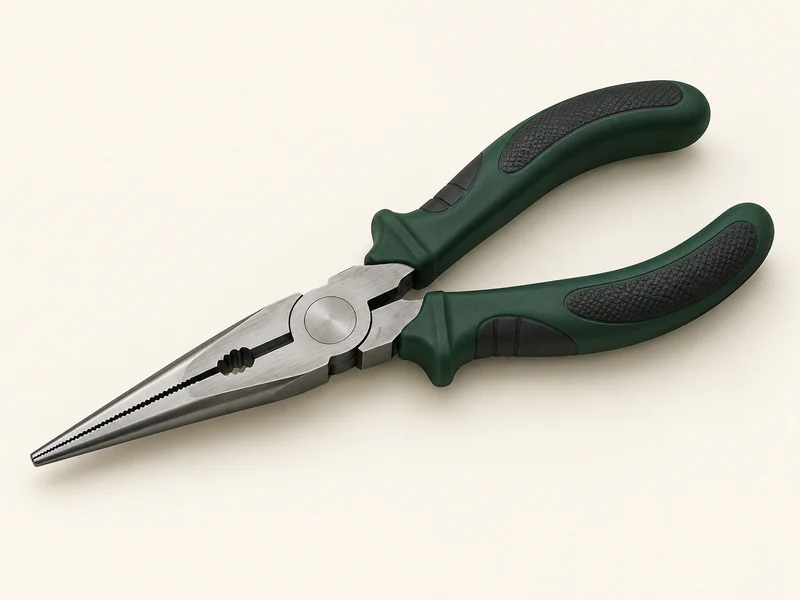
Rapala 6½-inch Fisherman's Pliers
- The shorter 6½-inch option for a compact tackle kit.
- Nickel-plated carbon steel with co-moulded grips.
- Check jaw reach for your hooks; larger hooks may need a longer tool.
Choose a size suited to accessible hooks and your fish. Follow local guidance for a deeply embedded hook instead of pulling forcefully; fine tackle may need smaller forceps or a dedicated split-ring tool.
For cutting fishing line
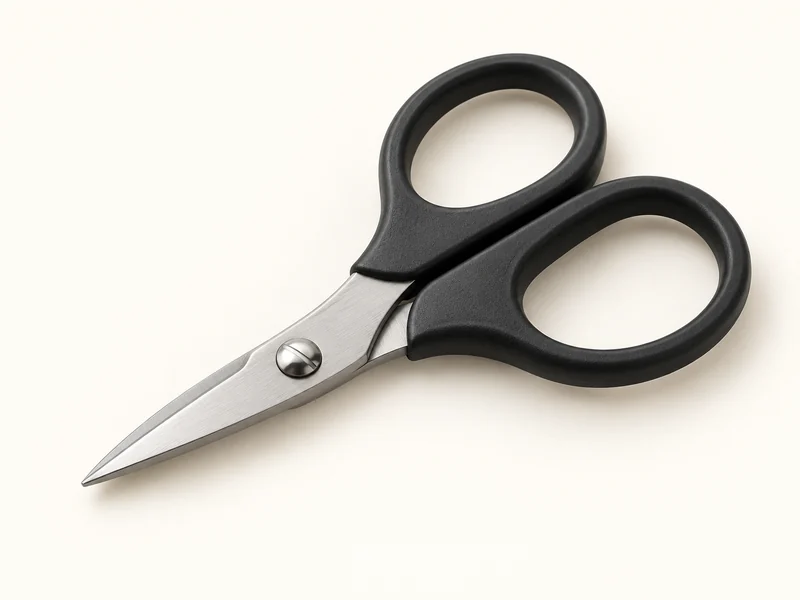
Rapala SRLS Super Line Scissors
- Serrated cutting edge designed to grip braided line.
- Stainless steel construction with oversized finger holes.
- Use a suitable hook-removal tool as well; line scissors serve a different task.
Test any cutter on your own line and protect the blades during storage. These scissors do not replace a hook cutter rated for heavy metal.
For processing a lawful catch
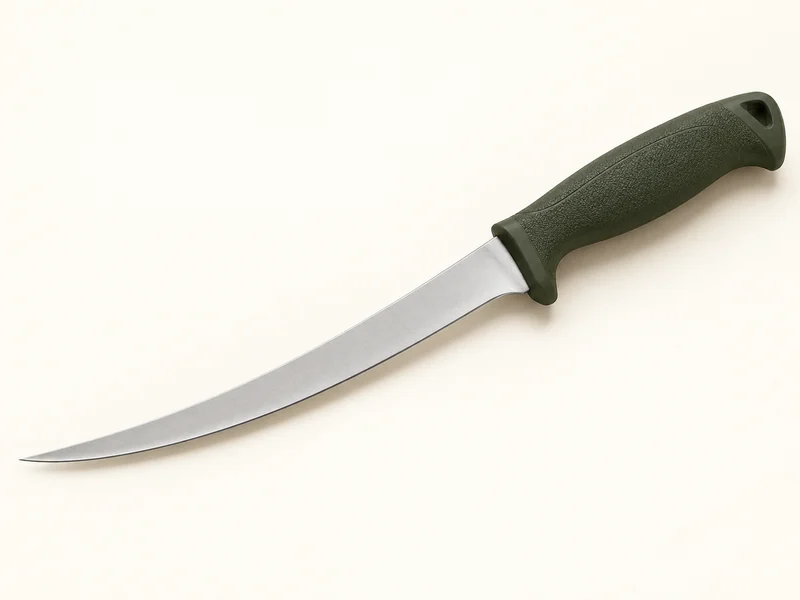
Rapala Fish 'n Fillet 6-inch Knife
- Six-inch stainless steel blade with a birch handle.
- The listed package includes a sheath and single-stage sharpener.
- For processing a lawfully retained catch; transport and use it according to local rules.
Keep the blade sheathed while travelling, work on a stable surface and clean it after use. Use it for a lawfully retained catch, not for handling a fish you intend to release.
Pack the kit in the order you will use it
- Check the current waterbody rules, expected species and the weather before choosing equipment.
- Prepare the landing option and, if a legal length check may be needed, position the measuring tool.
- Place pliers and cutters in separate accessible, protected positions.
- After fishing, collect line scraps, rinse dirty or salty equipment, dry it and inspect joints and cutting edges.
Maintenance is simpler when each tool has a home. Sand or dried residue around a pivot can make jaws or scissors harder to use. Rinse according to the maker’s instructions, dry thoroughly and inspect for corrosion or bent tips. Check sheaths and tethers as well: a knife that slips out of a damaged cover or a tether that tangles around a seat is a problem to fix before the next trip.
Keep the tools you use within reach. If a tool repeatedly fails the job, identify the limitation: the jaws may be too wide for the hook, the line may need a different cutter, or the net handle may be too short for the bank. Replace the weak link instead of buying a duplicate kit. For the larger setup, see our beginner fishing gear guide and tackle storage guide.
Fishing tool questions
What should a beginner carry first?
Start with accessible pliers or forceps, line cutters, a suitable landing option and a measuring tool when required. Add specialized tools for the trip and tackle you actually use.
Do all pliers cut braided line?
No. Blades differ, and braid can fray if a cutter does not grip it. Test the tool on your own line.
Should I remove a deeply embedded hook?
Follow the applicable guidance and rules. Ontario advises cutting the line for a deeply hooked fish being released rather than struggling to remove the hook.
Do I need a fillet knife on every trip?
No. It is useful for processing a lawful catch, not for every release trip. Carry and store it safely when needed.
Are the same tackle rules valid across Canada?
No. Check the current requirements for the jurisdiction, waterbody, species, date and licence.