

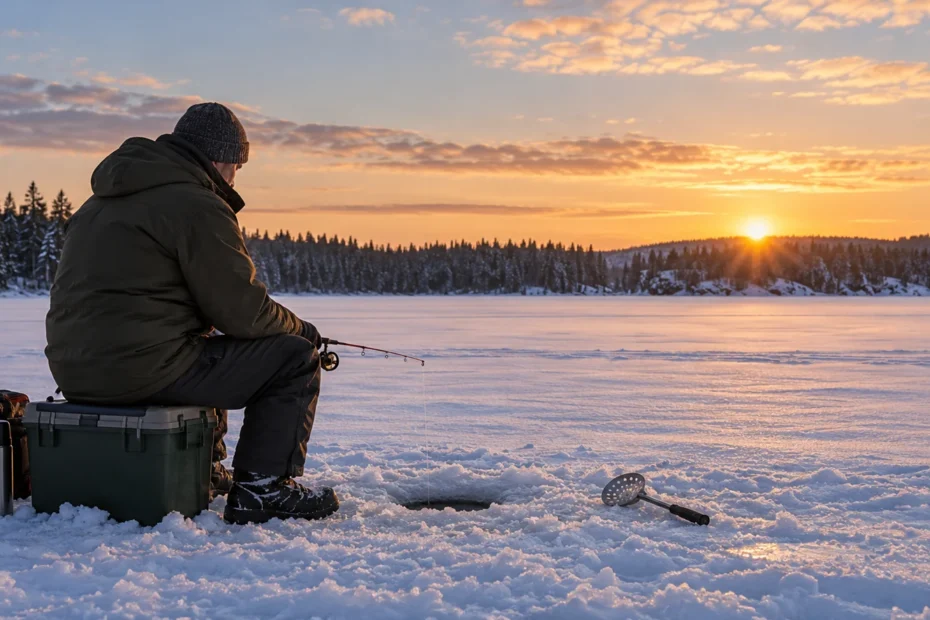
Ice fishing techniques are easiest to learn when you start with one legal presentation, watch it carefully and change only one variable at a time. Jigging, a stationary rod and a tip-up solve different problems; the right choice depends on the fish, local rules, conditions and how much attention you can give each line.
The Guide’s Log: a first presentation test
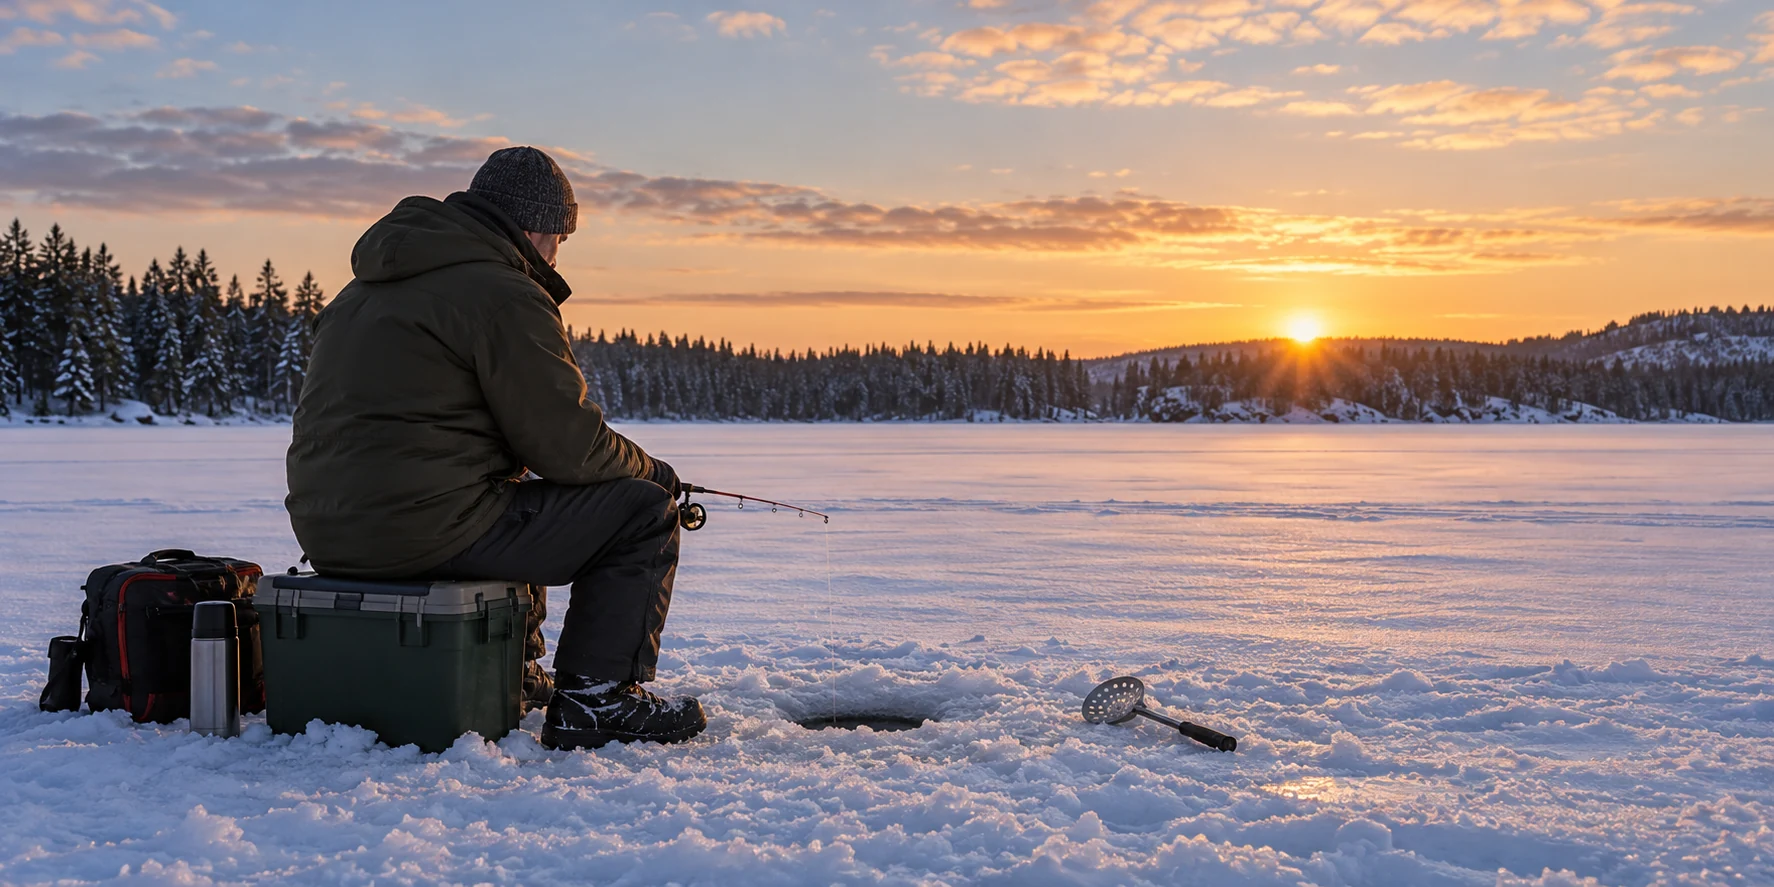
Imagine two anglers planning a hypothetical winter trip for perch on a lake where that fishery is open. They first check the licence and local tackle rules, ask about current conditions and decide on a route and return time. They bring a light rod matched to a small permitted jig, pliers, appropriate clothing and emergency equipment.
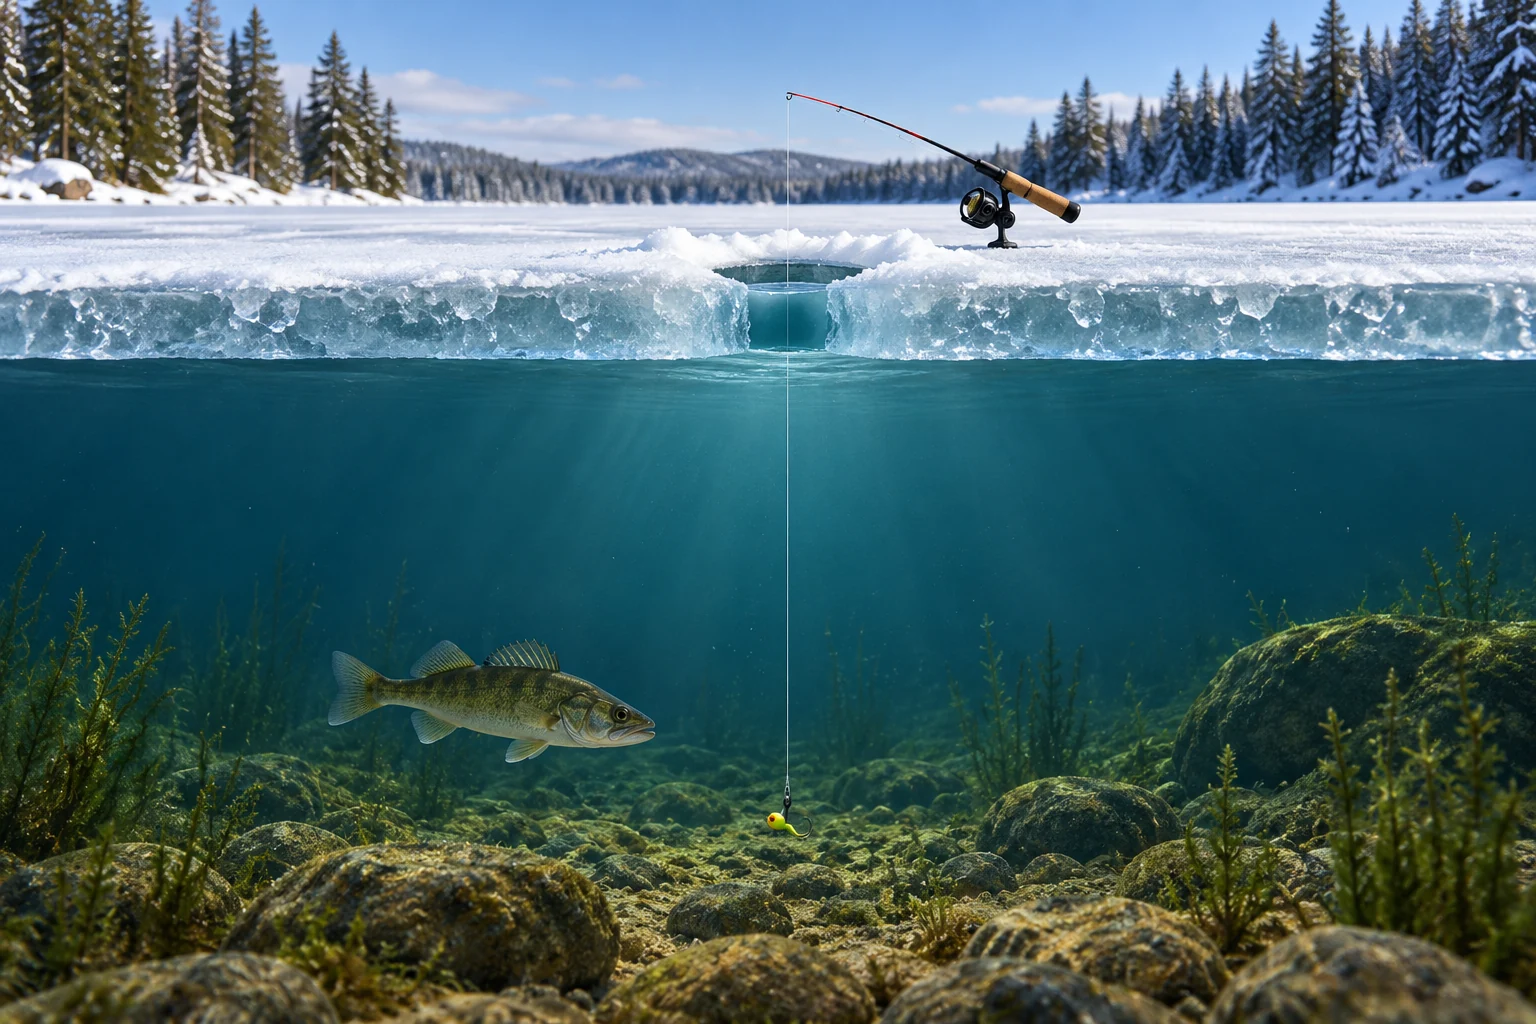
At a suitable location, one angler lowers the lure to a chosen depth and makes a small lift followed by a pause. After several repetitions without a bite, the angler changes the pause length while keeping the lure and depth the same. If a fish responds, they note the presentation; if not, they can test another depth. One change at a time gives them a clearer idea of what happened.
They do not assume that a quiet screen means no fish, and they do not move simply to follow a mark. Any move requires a new assessment of the route and conditions. Before a fish is caught, the tools for measuring and release are accessible, and the applicable size and possession rules have been checked.
This is a teaching scenario, not a report of a completed trip. Weather, fishing rules and appropriate gear differ between waters and days.
1. Prepare for the water and the fish
Find the relevant provincial or territorial authority and check the open season for the species, your licence, limits, hook and bait rules, and any lake-specific exception. A licence period and a species season are different things. If you use a shelter, check whether it needs registration, identification or removal by a particular date.
Ontario’s ice-fishing page explains that most waters permit two lines under visibility and distance conditions; exceptions and other jurisdictions have different rules. Do not add a second line or a mechanical device until you have checked the rules that apply to your water.
Make the kit work in winter
Choose a rod rated for the lure, a reel that operates smoothly with gloves and line appropriate to the target and method. A scoop keeps a fishing hole clear; keep a blade guard on the auger during transport and follow the manufacturer’s instructions. Organize tools to avoid loose hooks, cables and line underfoot. Pack out used line and bait containers.
Layer clothing for the weather and carry the emergency equipment appropriate to your route. If using a shelter and heat source, follow the equipment instructions and provide appropriate ventilation; carbon monoxide can accumulate in an enclosed space. A working alarm is an additional precaution, not a substitute for ventilation and safe use. Check the local shelter rules and leave if conditions deteriorate.
Build a jigging setup you can actually control
Start with the combined weight of the lure and any legal terminal tackle. A rod with a very stiff tip can make it difficult to see a subtle movement from a small jig; a very soft rod may not control a larger spoon. Check the rod’s marked lure range when available, then test the complete setup over the hole. The goal is a repeatable movement and a rod that remains manageable with gloves.
Line choice is also a handling decision. A fine line can help a small lure fall and move naturally, but it may be harder to handle with cold fingers and gives less margin for abrasion. A heavier line can suit a larger target, but excessive diameter and memory can reduce control of a tiny presentation. Use the manufacturer’s line and reel guidance, check knots and inspect the section that rubs on the edge of the hole.
Lower the lure slowly rather than dropping the spool without control. Note when it reaches the bottom or the depth you selected. Lift a small, repeatable amount and pause. Watch the line as well as the rod tip: a bite can show as a change in tension, a stopped fall or a subtle sideways movement. Avoid assuming every movement is a fish; the lure, water and line can move for other reasons.
Three jigging patterns to compare
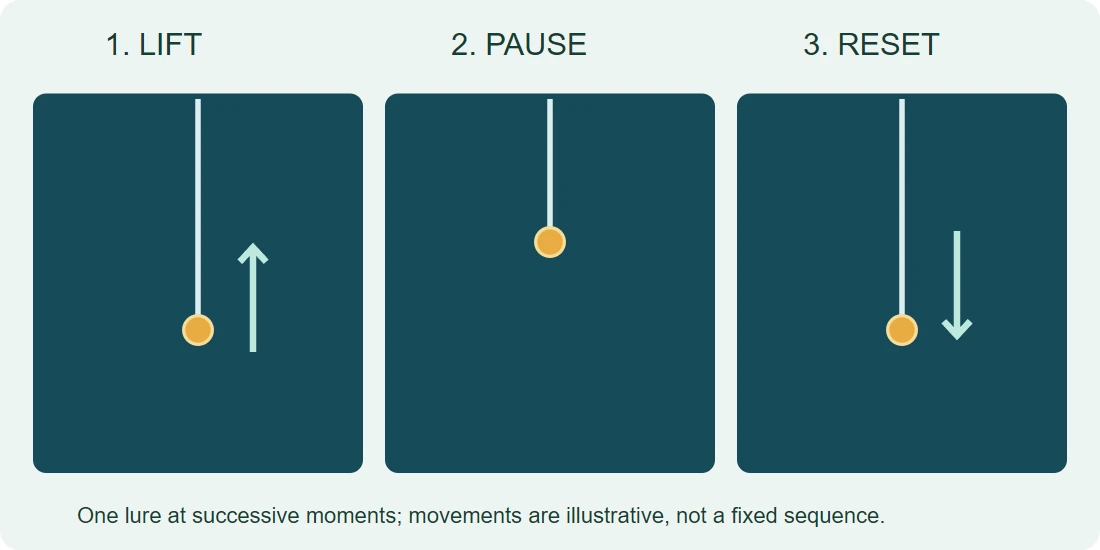
Lift and pause: Raise the rod a short distance, hold it still, then let the lure settle in a controlled way. This gives you a baseline that is easy to repeat. Change the length of the pause while keeping the depth and lure the same; the purpose is to make the test interpretable, not to promise a strike.
Small quiver: Keep the lure near a chosen depth and make small movements with the rod tip. This is different from continuously raising the lure through the water column. If the tip or line is moving too much for you to read a bite, reduce the movement and pause. A small jig and a large spoon will not respond identically, so watch the lure in clear water when safe and feasible.
Lift, then controlled fall: Raise the lure and allow it to descend while maintaining enough contact to see the line. Some spoons move differently on the fall than on the lift. Do not assume a lure will fall vertically or at a fixed speed; its design, line and conditions matter. If the lure repeatedly tangles or drops outside the area you can monitor, shorten the movement.
After several deliberate repetitions, change only one variable: depth, movement, pause or lure. If a different depth leads to a snag, return to the last controlled range. A sequence that is easy to observe is more useful than a complicated rhythm you cannot reproduce.
Stationary rod, deadstick and tip-up: separate the methods
A stationary rod presents a permitted lure or bait at a chosen depth without constant jigging. A sensitive tip or strike indicator can help show movement, but the angler must still comply with the applicable attendance and visibility rules. Adjust the presentation so the line runs freely and the rod or holder remains secure. Frozen guides, tangled line and a holder that can tip into the hole are reasons to reset before fishing.
A tip-up normally uses a flag or other indicator to show line movement. The spool must turn freely, the line should be organized so it does not tangle, and the device should be set within the conditions required by local law. A tip-up is not the same as a spring-loaded automatic hook-setting device. Before choosing a device, consult Ontario’s current ice-fishing and general tackle rules or the authority for your water; devices can be treated differently.
Do not assume that carrying two devices means you may use two lines on every lake. In most Ontario waters two ice lines are permitted if the angler remains within 60 metres of each line or tip-up and has a clear, unobstructed view; exceptions exist. Other provinces and specific waters can differ. Check the current Ontario ice-fishing rules or the authority for the water before setting either presentation.
Adjust your first test to the fish and water
For perch, a small permitted jig and a light setup can make a simple starting point. Check the bottom depth and lift the jig slightly above it, then use a controlled pause. If small fish remove bait, inspect the hook and bait rather than automatically changing location. Local bait rules decide what may be used; do not move baitfish between waters or regions without checking the current restrictions.
For walleye, a spoon or jig sized to the rod may be one option where permitted. Some anglers compare an active movement with a quieter presentation, but the best depth and timing vary with the lake, season and local conditions. Record the depth and presentation that you tested, and follow current size and possession rules. Ontario advises avoiding catch-and-release targeting of spiny-rayed species such as walleye in water deeper than five to six metres because of pressure-related injury; this is not a universal safe-depth rule for all species.
For northern pike, plan for a stronger fish, appropriate line and a bite-resistant leader where suitable and legal. A larger hole may be necessary for a safe landing, subject to the local rules and safe equipment use. Keep long-nose pliers and a suitable landing method ready; avoid putting fingers near teeth or gills. If you cannot handle a fish safely with the gear available, change the target or setup.
Lake trout may occupy cold, deep water. If a fish is expected to be released, discuss appropriate depth and handling with the local authority and consult species-specific guidance before fishing. A sonar return at depth is not itself a reason to target a fish whose release may be compromised.
Move with a reason and reassess the route
When a presentation is controlled but produces no useful response, consider the next question. A nearby depth change, a different pause or another lawful bait may be worth testing. If you change everything at once, it becomes difficult to tell which adjustment mattered. Keep a simple note of the first hole’s depth, setup and what you observed, then compare it with the next test.
A map or sonar display can suggest a location but cannot evaluate the ice between you and it. Before moving, reassess the route, weather, daylight and local conditions. Flowing water, inlets, outlets, springs and snow cover can make conditions vary. A previously measured hole does not establish a safe route across the lake. If conditions or visibility are uncertain, stop and seek current local guidance.
When packing, cover auger blades, organize hooks and remove all line and bait waste. Check that nothing is left beneath snow or beside the hole. Cleaning equipment between waters also helps prevent the movement of aquatic invasive species; follow the rules and procedures for the relevant jurisdiction.
Choose the problem you want to solve
Open an observation for a practical adjustment. Check the current rules for every method and reassess ice conditions before moving.
I cannot feel or see the jig clearly
Check whether the rod, line and lure are matched. Reduce slack and make a small controlled movement; if you use electronics, verify your lure return before interpreting other marks.
The lure keeps catching bottom
Raise it slightly, shorten the movement or try another presentation where legal. Check the line and hook for damage before casting again.
A stationary line is tangling
Check the spool or reel, line angle and frozen guides. Reset the presentation and remain within the attendance and visibility requirements for your water.
The next spot looks promising but the route is uncertain
Do not follow a map or mark across unassessed ice. Stop, reassess local conditions, weather and daylight, and be prepared to turn back.
How to read a missed bite
When a fish touches a lure but the hook does not hold, first inspect the point, knot and bait. Ice, a bent hook or a bait covering the point can affect the next presentation. If the tackle is intact, consider whether the lure was falling on slack line or whether the rod was held too stiffly to register a small movement. The cause is uncertain; a missed fish does not prove a particular lure or colour was wrong.
Return to the original depth and make a few controlled repetitions. Then change the pause or lift while retaining the same lure. If you switch hook size, bait and depth together, the next result cannot tell you which adjustment mattered. Record the sequence in a phone or notebook if you plan to compare several holes, and stop when cold hands or poor visibility make the equipment difficult to manage.
Manage a hole and landing space
Keep loose line, the scoop and the auger clear of the area where you will kneel or land a fish. Clear slush without placing hands in the path of the hook, then inspect the line for ice and abrasion. Follow the auger manufacturer’s instructions and keep its blade guard fitted during transport. The required hole size, permitted gear and number of lines are local-rule questions, not standard dimensions for every Canadian lake.
When fishing with companions, coordinate where each person will stand and which equipment belongs to each line. Do not let a second person or a shelter block the view required under the rules that apply to you. Make a plan for who can assist with landing a fish and where emergency equipment is kept; sharing a spot does not transfer each angler’s legal responsibilities.
Landing and release begin before the bite
Keep pliers and a measuring device close enough to use without searching through a bag. Where a net is suitable for the hole and species, use fish-friendly equipment and wet your hands before handling. Minimize time in cold air and avoid touching gills. If retention is permitted and intended, confirm species, size and the current possession limit before keeping the fish.
Where release is required, follow the local rules promptly. Ontario’s handling guidance advises reducing handling and air exposure, and its general regulations distinguish fish that must be released from regulated invasive species that must not be returned to the water. A photo or measurement should not delay a legally required release. When fishing in a different jurisdiction, consult its own current guidance.
Two ice rods to compare
Affiliate links: We may earn a commission from qualifying purchases, at no extra cost to you. We have not field-tested these items. Check the selected model, current price and delivery options on Amazon.
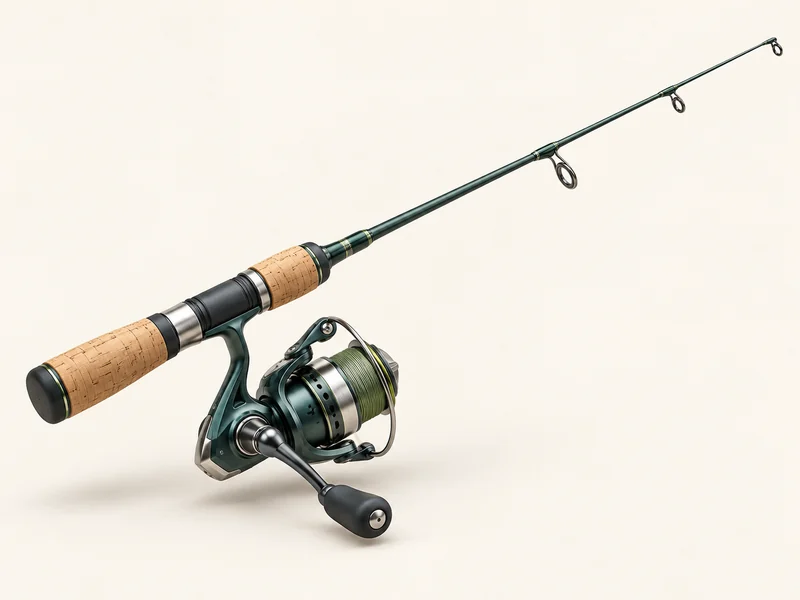
For a compatible ice setup
13 Fishing Tickle Stick Ice Rod
- Selected rod is 28 inches with Medium power.
- Gen 3 version with the larger tip-guide option.
- Match lure weight and target fish to this variant; lighter Tickle Stick models are different options.
Check the selected lure rating and whether the offer includes a reel or line. A rod or other equipment does not establish safe ice.
For a compatible ice setup
Fenwick HMG Ice Spinning Rod
- Selected variant is 26 inches, Medium Light, one piece.
- Spinning-rod format for a compatible ice-fishing reel.
- Choose power for your lure and fish, and check your transport case can hold the one-piece rod.
Check the selected lure rating and whether the offer includes a reel or line. A rod or other equipment does not establish safe ice.
Ice fishing technique questions
What is a simple jigging technique?
Lower the lure to a chosen depth, make a controlled lift and pause, then reset. Change one variable at a time and follow the rules for your water.
Can I fish with a tip-up and a jigging rod?
Only if the applicable rules allow that number and type of lines and you meet supervision requirements. Check the current water-specific exceptions.
How do I know what a sonar mark is?
A sonar return alone does not establish species. Confirm your own lure’s movement first, then interpret other returns cautiously and use local identification guidance.
What depth should I fish?
There is no single depth for every species or lake. Start with local information and conditions, test deliberately, and consider the effect of deep capture on fish that must be released.
Can good technique make uncertain ice safe?
No. Current local conditions, your route and emergency plan must be assessed separately; be prepared to turn back.