

Ice fishing in Canada can be a quiet morning for perch close to home, or a carefully planned trip for lake trout far from the road. The common starting point is a specific waterbody: check the current season, licence and access rules, then make a separate decision about local ice conditions. A licence does not tell you whether the ice is safe.
The Guide’s Log: a first-trip example
We can walk through a hypothetical pair planning a winter perch trip on a lake in Ontario. They begin by finding the fisheries management zone, then check the current summary for perch seasons and any lake-specific exceptions. They verify their licence requirements and read the province’s ice-fishing page for the rules on lines and shelters. They also check whether the access point is public and whether a local park adds conditions.
A local operator reports changing conditions near an inlet. The pair chooses an alternative activity on land rather than treating a report about another part of the lake as proof that their route is safe. They have told a contact where they intend to go and when they expect to return, and they review the forecast and emergency plan before leaving home.
For a later trip, they pack a light rod, a few small jigs, pliers, suitable clothing and emergency equipment. Their plan is to begin with one presentation, make small adjustments and record the depth and lure that produce bites. If they decide to keep fish, they first confirm the current rules and consumption advice. If they release fish, they prepare the tools before fishing and limit handling and air exposure.
This is a planning example, not a report of a completed trip. The same sequence can be adapted elsewhere, but the local rules, conditions and appropriate equipment must be checked for that place.
Plan around a waterbody, not just a species
Start with a lake or river you can reach and a species whose season is open there. Find the provincial or territorial regulation summary and read the general rules together with the local zone and waterbody exceptions. An apparently good lake may have a special closure, bait restriction or access condition. Parks and protected areas can add another layer of rules.
- Choose the date and water. Locate the management zone and identify the target species; note the season and any local exceptions.
- Check access and current conditions. Contact a local operator or authority and review weather, access points and any advisories. A report from last weekend describes the past, not today’s entire lake.
- Make a return plan. Tell a reliable person where you are going, who is with you and when to raise the alarm if you do not return. Agree on a backup activity if conditions are unsuitable.
For a first trip, a reputable local guide can help you choose appropriate equipment and understand the water. Ask what the trip includes, how cancellations for unsafe conditions work, whether licences are included and what emergency arrangements are in place. A guide’s judgment is valuable, but conditions can change.
Ice conditions are a separate decision
Ice does not form uniformly. Moving water, inlets and outlets, springs, changing water levels, pressure features, cracks, snow cover and thawing weather can make conditions vary over short distances. Visibility from shore or a group already on the ice cannot establish that your route is safe. Local measurements at one point cannot guarantee the next point.
Consult local officials and experienced local operators for the water and route, follow current advisories and be ready to cancel. The provincial ice-fishing guidance discusses changing ice conditions and equipment; Parks Canada’s Kluane winter-safety page explains its own local guidance and notes that the park does not test ice. These are location-specific resources, not a Canada-wide guarantee.
Remote lakes also require a realistic plan for limited phone coverage, a charged device protected from cold, navigation and a way to summon help. In mountainous areas consider avalanche terrain on the approach, not only conditions on the lake. Avoid a route you cannot assess or safely leave.
Estimate the real cost before booking
Compare a guided trip with a self-organized outing by listing the same items on both sides: transport to the access point, licence, equipment and safety gear, shelter or guide fees, meals and overnight lodging if needed. A daily rate may exclude transport, bait, tax or a licence. Ask whether the price is per person or per group, what equipment is included, and whether children or additional anglers change the rate.
For a rental or guided package, ask how the operator assesses conditions, what happens if the trip is cancelled for unsafe ice or weather, whether there is an alternate date or refund, and what each participant must bring. Obtain the actual written terms and the total for your dates before comparing offers. No quoted rate can establish that a route is safe, and an operator’s past trip schedule is not proof of today’s conditions.
Choose a manageable first setup
| Item | Practical choice | Check before departure |
|---|---|---|
| Rod and reel | A short ice rod matched to the target fish and lure weight. | Inspect guides, drag and line for damage. |
| Hole-making | Hand or powered auger appropriate to the trip. | Protect the blade in transport; operate according to its instructions. |
| Tackle | A few jigs and lures in sizes suited to the species. | Check local hook and bait restrictions. |
| Shelter and warmth | Insulated layers, boots and a shelter appropriate for the weather. | Check setup instructions, ventilation and local shelter rules. |
| Landing and care | Suitable net, pliers and measuring equipment if needed. | Plan whether retention is lawful and how fish will be handled. |
You do not need every electronic accessory to learn. An ice rod, suitable line and a small selection of jigs let you start with controlled presentations. A depth finder can help you understand depth and locate fish, but a mark on a screen is not a promise of a bite. See our guide to ice-fishing electronics for a closer look at interpreting a display.
Two ways to present a lure
Before making a hole, consider where the shelter, equipment and people will stand so that your working area stays organized. Keep blade guards on an auger during transport and follow the manufacturer’s instructions when drilling. Clear loose ice from the opening with a scoop; keep hands and loose clothing clear of moving parts. Each new location still requires its own assessment of conditions.
Jigging
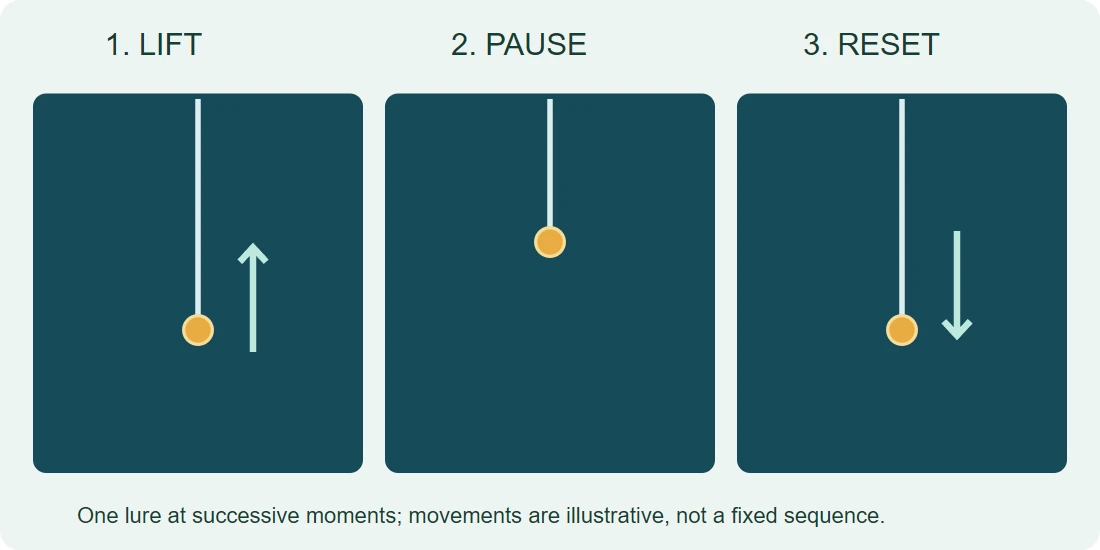
Lower a jig to a selected depth, take up slack and make small, deliberate lifts. Pause between movements and watch or feel for a bite. If nothing happens, try another depth or a quieter presentation before changing several variables at once. Keep track of what you changed so a bite gives you useful information.
Stationary presentation
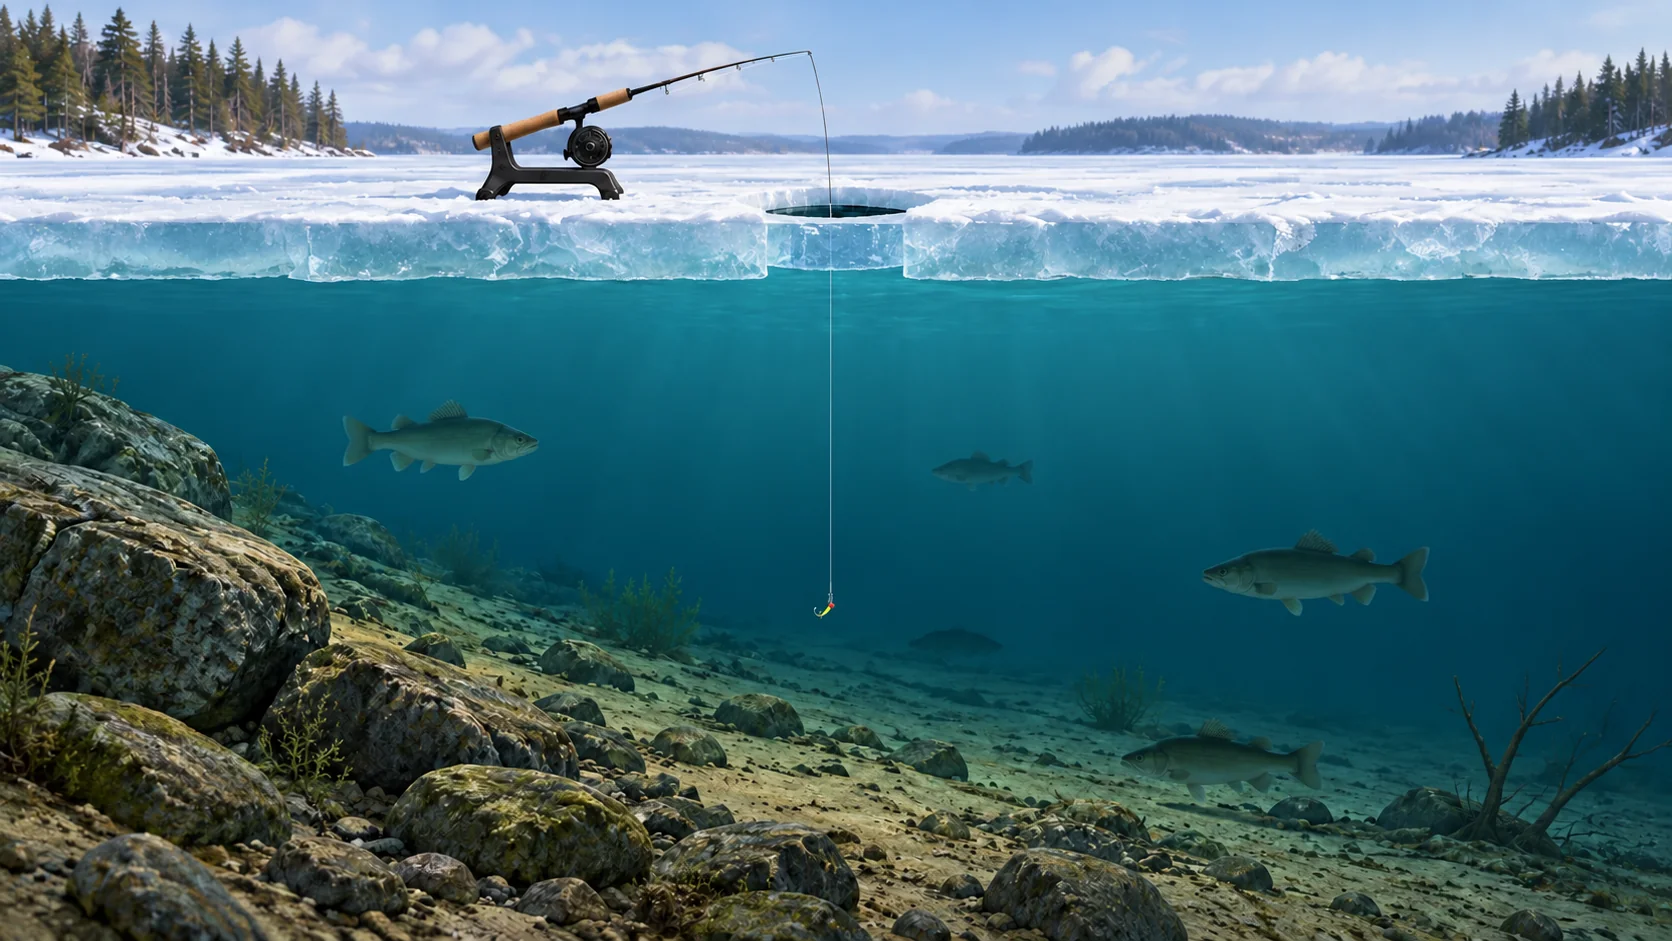
Where permitted, a stationary rig or tip-up can hold a bait at a chosen depth while an indicator signals movement. Local rules may require constant supervision, visibility and a specified distance from every line. Confirm the lawful number of lines, hooks, bait and devices before using one; do not assume that a second line is legal everywhere.
Move only when the route and conditions remain appropriate. Fish activity, light, depth and habitat vary, so a change of presentation may be as useful as drilling another hole. Pack out line, packaging and bait containers. For further method detail, see ice-fishing techniques.
A practical first-hour test
Once you have independently assessed access and conditions, keep the first test simple. Choose a legal jig sized for your rod and target fish, lower it until you can establish where the lure is in relation to the bottom, then bring it slightly clear. The bottom may be uneven; if the lure repeatedly catches, raise it or choose a different place rather than forcing it through obstacles.
Make a small lift, pause, and watch the line or rod tip. Repeat that pattern long enough to distinguish it from an accidental movement. If there is no response, test a different pause or a small depth change while keeping the same lure. A missed bite may have several causes, including slack line, lure size or a fish that has not taken the hook; inspect the setup instead of assuming any one cause.
If you use sonar, the screen is a guide to returns within its coverage, not an identification device or a safety instrument. Learn to recognize your own lure and bottom return with the manufacturer’s instructions. A fish-like mark does not identify the species, and a quiet screen does not show every fish nearby. Record what you actually observed, not what you hoped was there.
Choose a different response for each fish
For perch, a small jig on a sensitive setup offers a useful starting test, especially when bites are subtle. If you cannot feel the lure or keep slack out of the line, adjust the lure weight or rod before changing colours. A school can move; compare a short series of controlled presentations rather than repeatedly changing the entire setup after each quiet minute.
For pike, prepare for a larger fish and the possibility of sharp teeth: choose tackle, landing equipment and tools that fit the intended fish and comply with local bait and hook rules. Decide in advance how you would handle an unexpected catch as well as a fish you intend to keep. A heavier rig can reduce control over a tiny jig, so it may not be the most useful perch setup.
For lake trout and other deep-water targets, think about capture depth before fishing, particularly when the rules may require release. Provincial guidance differs in scope: consult the local fish-care authority for the species and water. A displayed depth is not a guarantee of safe release, and descending or venting equipment is not a substitute for avoiding a high-risk capture in the first place.
Choose your next decision
Open the situation closest to your plan. Local rules and conditions still govern the trip.
The access report is old
Check current information for the intended route and be prepared to choose a land-based alternative. A report for another part of the lake does not assess your route.
The jig keeps hitting the bottom
Bring it slightly higher or change your position; inspect the line and hook after contact. The bottom may be uneven.
I want to keep a fish
Identify it and check the open season, applicable size and possession limits for that water before retaining it.
Someone proposes a fuel-burning heater
Check the device type and its permitted use. Health Canada warns never to use outdoor fuel-, charcoal- or wood-burning equipment in a tent.
Use shelter and heat carefully
A windbreak needs a stable setup and a clear way out. Carbon monoxide can accumulate in enclosed spaces. Health Canada warns never to operate outdoor equipment that burns fuel, charcoal or wood inside a tent, and says propane, kerosene and oil heaters or lamps should not be used in enclosed areas unless specifically designed for indoor use. Follow the equipment instructions and local fire rules. A working carbon monoxide alarm is an additional precaution, not a substitute for proper equipment use. Keep combustibles away from heat and plan for equipment failure.
Check whether your specific shelter must be registered, identified or removed by a deadline. Rules can depend on its size, material and location. The Ontario page distinguishes fabric tents from some other shelters and lists zone-dependent rules. A park or local land manager may impose additional conditions.
Read the rules before you rig a line
Canadian fishing rules are not uniform. Licence eligibility, open seasons, limits, size restrictions, bait, hooks and shelter requirements vary across jurisdictions and individual waters. An open licence period is not the same as an open season for every fish. Check the current official rules on the day you plan the trip.
For example, Ontario describes up to two lines on most waters subject to supervision and visibility conditions, while Manitoba’s 2026 guide sets its own ice-fishing line and shelter provisions. Those examples are not transferable to another province or a special waterbody. Read the Ontario page or the Manitoba 2026 Angler’s Guide alongside current local exceptions.
Handle and keep fish thoughtfully
Decide before fishing whether you intend to keep a fish and whether its species and size may legally be retained. Have measuring and handling tools ready. Follow local instructions for immediate release, minimize handling and air exposure, and avoid placing a fish on snow or ice if it is to be released. Ontario’s fish-handling guidance recommends avoiding catch-and-release fishing in extreme cold. If conditions or injury make release difficult, follow the applicable law and local conservation guidance rather than inventing an exception.
For fish you may keep, protect the catch from contamination, handle it cleanly and follow local consumption advisories. Use clean utensils and prevent raw fish from contacting ready-to-eat food; use a digital food thermometer. Health Canada recommends cooking fish to 70°C (158°F). Keep only what you intend to use, within the legal limits. Clean equipment between waters and follow local aquatic invasive species instructions.
Ice rods to match to your first trip
Affiliate links: We may earn a commission from qualifying purchases, at no extra cost to you. We have not field-tested these items. Check the selected model, current price and delivery options on Amazon.
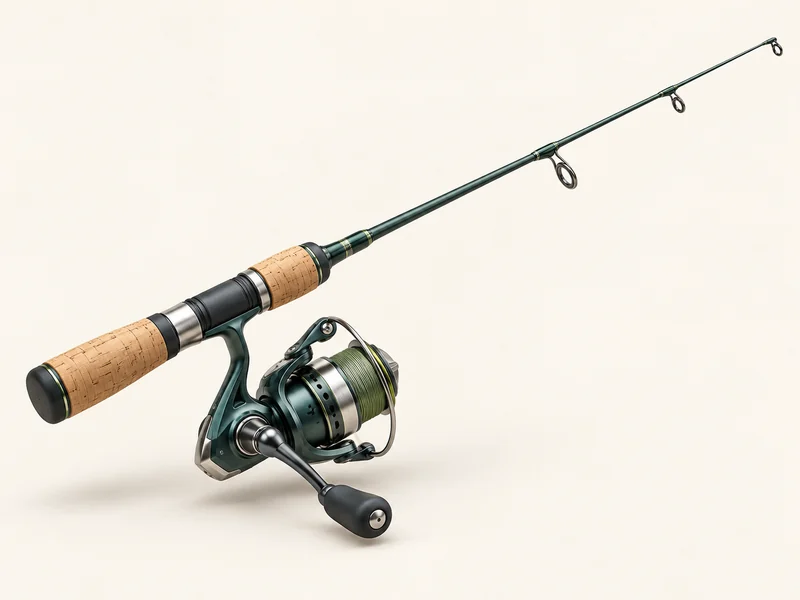
For a compatible ice setup
13 Fishing Tickle Stick Ice Rod
- Selected rod is 28 inches with Medium power.
- Gen 3 version with the larger tip-guide option.
- Match lure weight and target fish to this variant; lighter Tickle Stick models are different options.
Check the selected lure rating and whether the offer includes a reel or line. A rod or other equipment does not establish safe ice.
For a compatible ice setup
Fenwick HMG Ice Spinning Rod
- Selected variant is 26 inches, Medium Light, one piece.
- Spinning-rod format for a compatible ice-fishing reel.
- Choose power for your lure and fish, and check your transport case can hold the one-piece rod.
Check the selected lure rating and whether the offer includes a reel or line. A rod or other equipment does not establish safe ice.
Ice-fishing questions
When is ice fishing season in Canada?
There is no single national opening date. The relevant fishing season depends on the jurisdiction, waterbody and species; ice conditions are a separate question. Ontario explicitly distinguishes fishing seasons from ice conditions.
Is a given ice thickness safe everywhere?
No measurement guarantees safety across a lake or throughout a day. Local conditions, water movement, ice quality, weather and the activity matter. Follow current local guidance and be prepared to turn back.
Do I need a licence?
Many anglers need one, but eligibility and exemptions vary. Check the authority responsible for your exact water and your circumstances, including any park requirements.
Can I use two lines?
Sometimes. Ontario and Manitoba describe two-line ice-fishing provisions with conditions, but local exceptions and rules in other jurisdictions differ. Verify the current rules where you fish.
Do I need an ice shelter?
No. A suitable shelter can help with exposure, but it adds equipment and may be regulated. Check ventilation, registration and removal requirements where applicable.