

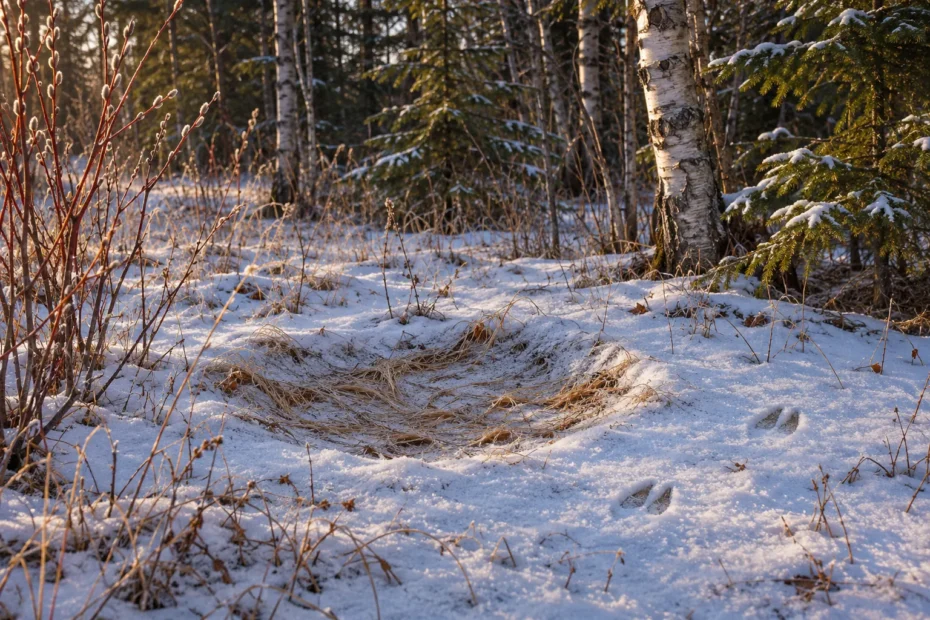
AI cover illustration of a shallow snow depression and nearby hoof impressions at a woodland edge.
Identifying bed sites and feeding areas starts with the whole patch. An oval in snow may be where an animal rested. Tracks that run into the oval and leave it make that explanation stronger. At a feeding area, look for what changed on the plants or ground and whether nearby tracks connect to that change.
From an open trail, you can often see enough to separate a possible resting site, signs of feeding and a patch you cannot explain yet. This guide walks through those decisions with examples from Canadian woodland, wetlands and open country.
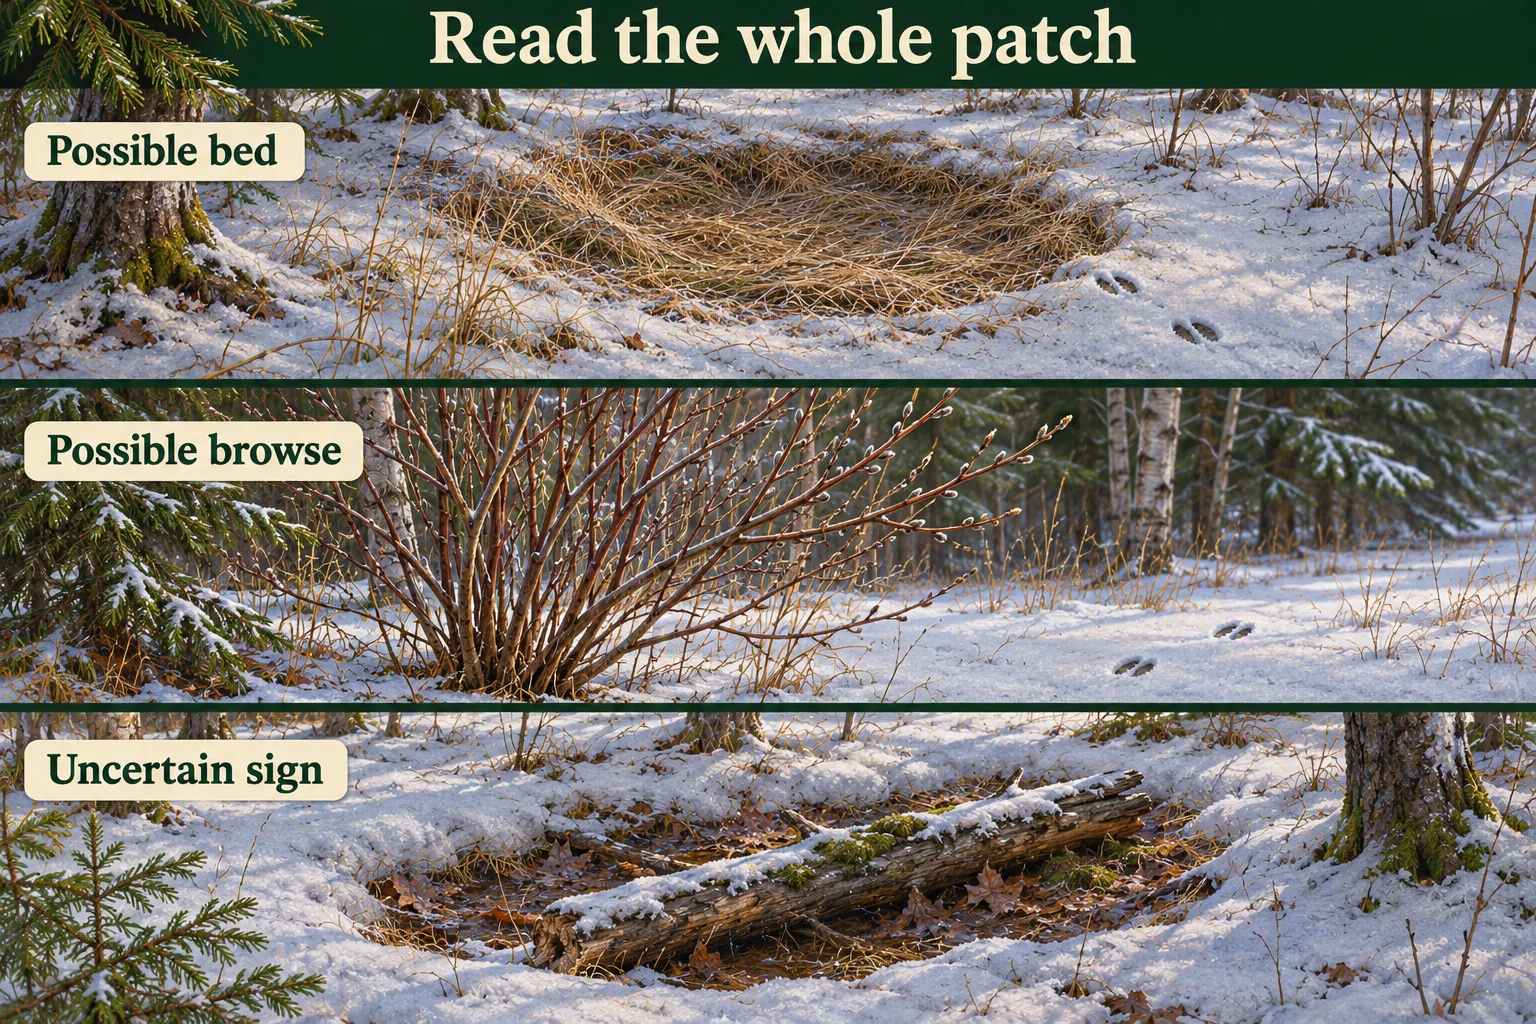
Read the ground around a possible bed
In snow, a bed may show as a shallow oval of compressed snow wider than an individual step. In grasses or leaf litter, look for a patch flattened across a body-sized area. Start with the difference between the patch and the ground around it. A faint rim or an orderly outline describes the shape. The marks that touch its edge tell you more about how it was made.
Look from the trail for impressions that join the edge of the patch. Several well-defined cloven hoofprints leading directly into or out of the compression support a resting interpretation. An isolated hoofprint a few paces away shows that an animal passed nearby. It may have travelled through after the patch formed. If you lose the connection behind a branch or in glare, write down what you could see. Leave the link between the two signs open.
Check whether the patch follows the shape of the ground. A hollow centred on a fallen log may collect or lose snow differently from the trail beside it. Melt around a stem can expose a smooth depression. Wind or snow can flatten a much wider patch of grass than an animal would cover. Compare the edges with a nearby patch under similar cover, then look for anything that supports a pause.
Use a wider view before trying to see details. A chain of deep steps in soft snow can join into a trough. The same trail may separate into individual impressions on firmer ground a few metres away. If the depression is part of a continuous narrow groove and you can see the steps continuing on both sides, keep travel as a competing explanation. If a wider patch interrupts the trail, describe where it widens and where individual steps become visible again.
- Tracks meet the depression. Record the contact you can see and the kind of track, if identifiable. If the tracks look different on either side, consider whether several animals or visits are represented.
- Hair or pellets are visible. Record their position. Hair at an edge can support contact and pellets support use of the area. The two clues need a connection to the impression before you can attach them to the same event.
- Several depressions sit together. Count the depressions as visible features. Old and new use can overlap in the same patch, so a count of beds gives no simple count of animals.
Cover changes the odds, and snow changes what you see
Ontario wildlife researchers documented 326 night beds and 97 day beds of white-tailed deer in two central Ontario winter concentration areas. Most night beds in their sample were near conifers. Most day beds were near deciduous trees, with more open conditions. They sampled relatively severe nights and sunny, mild days. That contrast explains why cover and exposure matter when you describe a bed. Those data cannot assign a time of day to a depression you find on a different walk. Armstrong, Euler and Racey’s original winter bed-site study (PDF).
Ontario’s habitat guide describes a winter deer yard as a larger seasonal area where deer concentrate. Sheltered cover, travel routes and nearby browse can all belong to the same yard. A bed-sized patch under a tree and a network of packed tracks operate at different scales. Note the patch you can see without treating it as proof that you have identified a yard. In milder parts of the province, deer can congregate without using a yard in the traditional sense. Ontario’s guidance on winter deer yards.
On open prairie, a wide, bare bowl can have a different explanation. Parks Canada describes bison rolling in dirt to create wallows that can later hold rainwater. At a site where bison occur, record a bare bowl and any visible hoofprints separately. A round shape alone cannot distinguish rolling, resting or an old hollow. If bison are present, leave the feature alone and follow the park’s viewing and distance guidance. Parks Canada on bison wallows.
Look for food that has actually changed
A feeding area usually gives you several related observations. Plants that could be food tell you where feeding is possible. A change to those plants, such as missing shoot tips or repeated chewing on stems, gives you something to test against the tracks. Look for the signs at the same patch, then describe how they relate. A path straight through tall grass can come from travel alone. Clusters of tracks among plants with missing tips give you a reason to consider feeding.
Parks Canada describes Banff elk as both grazers and browsers. An elk can take grasses and other low plants, then use woody material as the available food changes. In a meadow, check whether green shoots are shortened across several small patches or whether intact stalks are merely bent in one line. An even, straight margin or the same cut height across a whole strip suggests you should consider mowing, livestock or other management before calling it elk grazing. Hoofprints beside short grass show overlap, so record the grass pattern and the print separately. Parks Canada’s Banff elk diet notes.
Along water, watch the available food change over a few metres. A band of willow along a bank offers woody shoots. Aquatic vegetation offers a different feeding opportunity. Parks Canada notes that moose in Jasper use stream banks and lakeshores in summer, adding aquatic plants to a diet that includes leaves and twigs. A large hoofprint at the waterline still fits an animal crossing or drinking. Look for browsed shoots you can see from the trail, or keep the note at movement beside water. Parks Canada on moose habitat and diet in Jasper.
Compare the cut, chew and rub
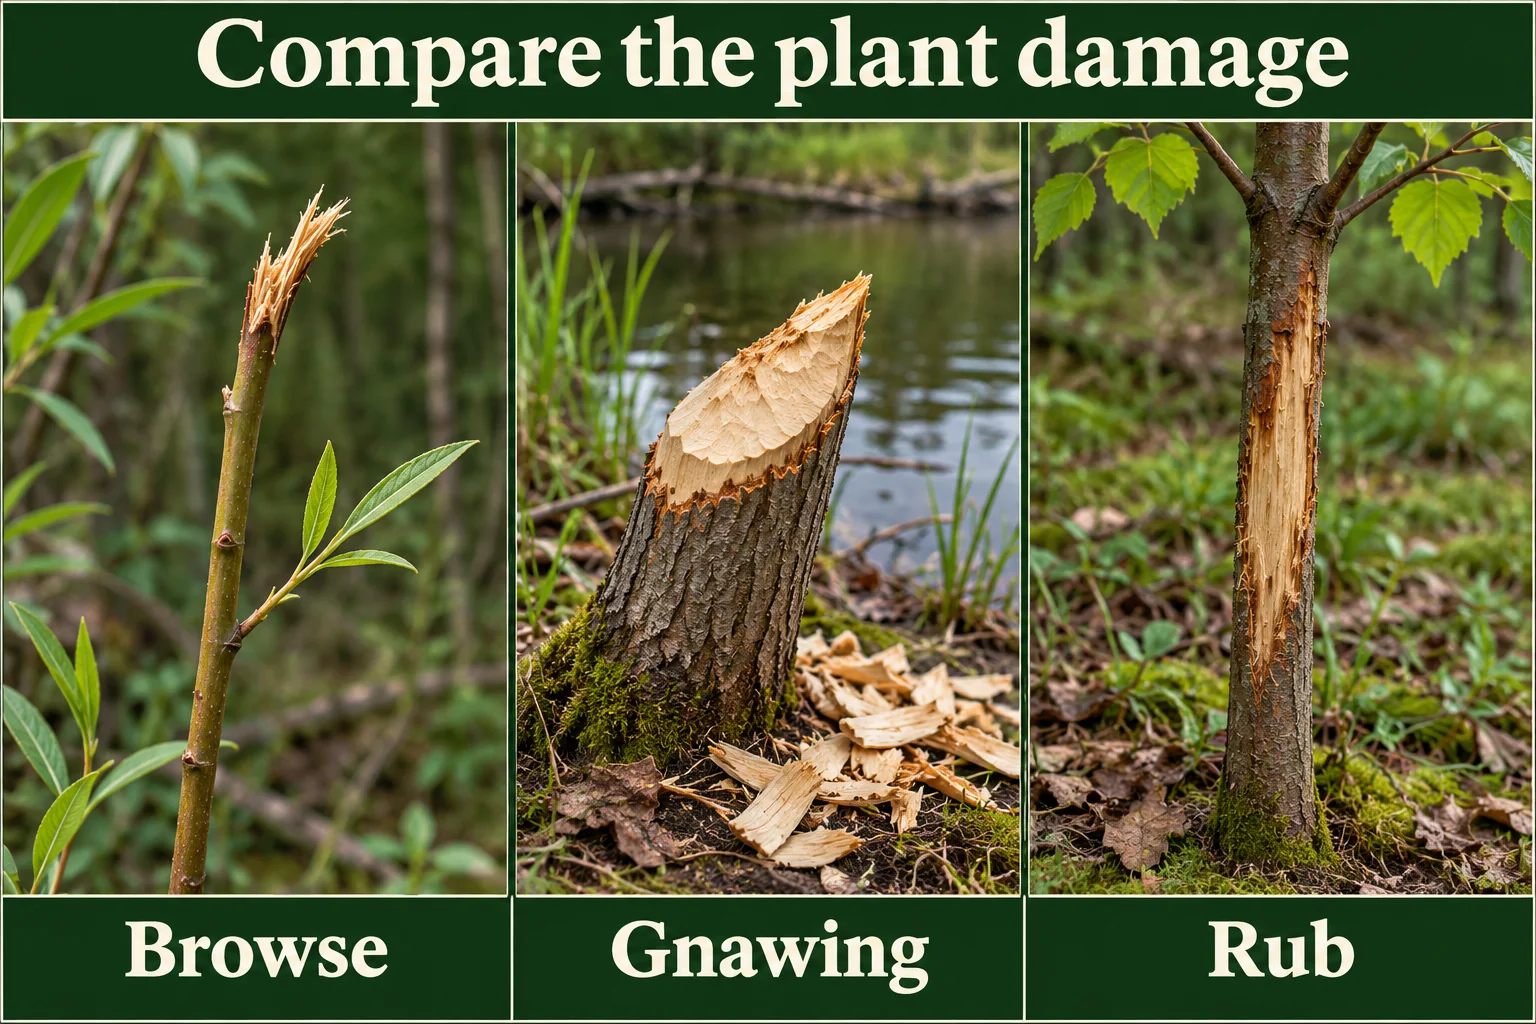
Look at the end of the missing shoot and then along the standing stem. The Canadian Forest Service describes a ragged or splintered twig end where an ungulate chews and pulls a shoot away. Deer, elk and moose can all leave similar ends. Compare several tips on neighbouring stems and look for a nearby track you can identify. A torn twig gives you a plausible feeding mechanism while the tracks and setting help narrow the possible animal. Natural Resources Canada’s ungulate damage guide.
A smooth, slanted end on a small twig is consistent with the clipping described for rabbits and hares. The same smoothness can occur on a stem cut with a hand tool. Look at the arrangement of the cuts. Random clipping on small accessible twigs differs from branches trimmed along a maintained trail. In winter, judge reach from the surface that could have supported the animal at the time. Deep snow can bring a hare up to twigs that look too high after the snow melts. Natural Resources Canada’s rabbit and hare damage guide.
When the tips are intact and bark is missing from a standing sapling, look at the exposed surface. An antler rub can leave shredded bark fibres and broken side branches. A feeding scrape can leave parallel tooth grooves. Old damage can lose both patterns. If all you can see is a light patch, record the exposed wood and leave its cause open.
Repeated browsing can also change how shrubs grow. The Canadian Forest Service describes short stems, stunting and extra branching after heavy use over several years. Compare shoots with intact tips on similar plants before interpreting a short shrub. If many older stems are forked, you can note a history consistent with repeated browsing. A forked stem gives little evidence about the latest visit. A close photo of a damaged tip and a wider image of the same plant preserve two different observations.
A beaver cut involves a larger change. Natural Resources Canada describes a felled tree with a tapered stump, tooth grooves and chips at its base. A cluster of that evidence near water supports beaver cutting. Look from a firm public bank for angular cuts where branches were removed or a visible drag trail to water. Beavers cut stems for food and for building, so the stump gives better evidence of cutting than of a meal at that exact spot. A visible lodge or cache belongs in its own note. Natural Resources Canada’s beaver damage guide · Parks Canada on beaver lodges and food caches.
In the central Ontario winter study, the researchers recorded browse at some day and night bed sites. On your own walk, note where the prints touch a possible bed and where the shoots are missing. Those observations can overlap even when you cannot tie them to a single visit.
Give nests, dens and occupied cover room
An oval depression describes a surface mark. A nest, burrow or den can be a shelter that still matters to an animal even when you see nothing moving. Loose soil beside an opening, material gathered into a cup or a route into dense cover can warrant giving the site space. Those clues are reasons to end a close inspection. Leave the opening, plants and surrounding ground as you found them. Use binoculars from the permitted route when distance and visibility allow.
Environment and Climate Change Canada advises avoiding harm to migratory birds and their nests. Some nests have protection outside the usual nesting period. Parks Canada’s guidance for Ukkusiksalik specifically tells visitors to stay away from polar bear dens. Apply current site rules to the place you are visiting, and keep precise locations of sensitive sites out of shared notes. If an animal is present or reacts to you, give it more room and end the observation if it cannot continue undisturbed. ECCC guidance on migratory birds and nests · Ukkusiksalik’s polar bear safety guidance · Parks Canada wildlife viewing guidance.
Choose an observation point before reading the sign
Start with a route you are allowed to use and a place where you can stop without blocking the trail. Check the current land manager’s notices before you set out and read the signs when you arrive. A closure may protect a feeding area even when the path looks passable. In Pacific Rim National Park Reserve, for example, Parks Canada posts notices by unit. Match the notice to the part of the reserve you intend to visit. If a public trail crosses private land, stay within the authorized route and get permission before leaving it for private ground. Pacific Rim important bulletins · Ontario’s Trespass to Property Act.
Use binoculars or your camera’s zoom when the sign is beyond the tread. You can look for a continuous track line or see whether several stems end at the same height without walking up to the patch. Leave hair, branches, scat and flattened vegetation in place. A possible den, nest or lodge calls for leaving more space. Record only what is visible, then move on. Canada’s National Parks Wildlife Regulations generally prohibit disturbing wildlife and disturbing or destroying a nest, lair, den, beaver house or dam in parks where the regulations apply. Ontario has its own provincial park rules on disturbing animals and natural objects. National Parks Wildlife Regulations, section 4 · Ontario provincial park regulations, section 2.
Read the local instructions on wildlife distances before you go. Parks Canada tells visitors in Jasper to stay at least 30 metres from elk, while its Elk Island bison guidance calls for at least 100 metres from bison. These are local examples for the named animals. Give wildlife room to move and leave more space when you cannot judge the distance from your position. If a track leads into cover you cannot see through, it can stay an unfinished line in your notebook. Jasper’s elk safety guidance · Elk Island’s bison safety guidance.
When walking in bear country, follow the park’s advice on travelling in a group and making your presence known. Stop studying the ground if you need to watch what is ahead. Avoid putting out food or using calls to see whether something returns. Keep exact coordinates of vulnerable resting or nursery sites out of public posts. If park staff need to know about a wildlife hazard on the trail, share the location with them through the reporting channel they publish. Parks Canada’s wildlife viewing and trail guidance.
Mark the limits of your view
Record where you stood and which parts of the ground you could see. A fallen log or patch of shadow can hide the space between prints and clipped stems. Write “connection out of view” if the gap was hidden. If you could see the whole surface, record which signs were absent as well as which were present.
Choose a second established viewpoint only when you can reach it on the permitted route and keep your distance. Moving farther down the trail may give you another angle on the same patch. Record that angle separately, especially if it shows the back of an object that looked like a depression from the first spot. Leave gaps in the record when checking them would take you into cover.
Practise with four Canadian field cases
The places are real. The observations are fictional. Start each case by naming the sign you can see from the route. Decide whether it supports resting, feeding, another explanation or an unresolved result.
Algonquin, Ontario. A snow hollow beside a winter trail
From the packed trail you can see an oval in the snow beneath low branches. The snow inside looks compressed and a strip of the rim is raised. Two impressions with paired halves cross open snow a short distance away. You can see where the pair runs parallel to the trail, but brush hides the gap between the impressions and the hollow. No animal is visible.
The outline makes a resting depression plausible. A mound of snow dropped from the branches could also press or reshape the surface. The impressions show that a hoofed animal passed over the open snow. Their position gives you no visible connection to the hollow. If a different open stretch of the same trail later gives you a clear view of a track line ending inside the oval, that would strengthen the association. It would still leave the animal’s identity and the timing open unless you had separate evidence for them.
Record “compressed oval under branches, paired impressions nearby, connection hidden.” A wider image from the trail may preserve the gap better than a close photo of the oval. If the only angle that resolves it takes you through the branches or onto a frozen edge, keep the original view. Ontario Parks advises avoiding ice travel when possible because conditions vary. Check Algonquin’s own notices for the route you choose. Ontario Parks winter safety · Algonquin alerts and advisories.
Elk Island, Alberta. Chewed wood near a pond
From the designated trail you can see several pale chips, a tapered stump with uneven facets and a fallen branch with a strip of bark missing. Another nearby stem has a flat, even face beside the maintained path. Keep these details separate. The uneven facets and chips are consistent with gnawing. The flat face has a plausible explanation in trail maintenance. The branch could have lost bark during handling or as it rubbed against other wood.
Even if a beaver cut the tapered stem, the chips alone do not tell you why it was cut or where the stem went. Parks Canada describes beavers at Elk Island storing woody food in the water for winter. A stem can also become part of a structure. Record the observed cut and the bark loss rather than assigning the stump to a meal, a food cache or a particular lodge. The park describes its Beaver Pond Trail as a place to see signs of beaver activity and surveys lodges separately from the air. Elk Island’s Beaver Pond Trail · Parks Canada’s beaver monitoring overview · Parks Canada’s account of beaver diet and structures.
Make the comparison from the trail without going onto the bank or touching the wood. The scene would be worth recording even if the pond itself were hidden by reeds. Note the view you had and leave the pond structure out of the record if you could not see it. If bison move into the route, give them the room required by the park and turn back when you cannot continue safely. The next photo can wait.
Jasper, Alberta. Short grass and elk beyond a bend
A short patch of grass extends from a maintained verge into a meadow. Along the verge the cut line looks straight. Farther out, the grass is cropped in small uneven pockets, with tufts left standing between them. Hoof impressions run across an exposed strip of soil. From where you stand, you cannot tell whether they end in any of the shorter patches.
Mowing can account for the straight edge. Uneven growth or repeated grazing could both leave a patchy surface. The footprints tell you where an animal walked on exposed soil. A direct view of an elk taking mouthfuls farther up the meadow would confirm feeding at that spot during your watch. It would leave the history of the shorter grass beside the trail unresolved. Put the sighting and the vegetation observation in separate lines so a reader can tell which part you actually saw.
Suppose a cow and calf then move onto the route ahead, and continuing round the bend would bring your group inside the park’s minimum distance. End the observation and withdraw along the open route while keeping your group together. Leave the meadow out of your route rather than stepping around the pair through vegetation. Parks Canada’s Jasper guidance calls for at least 30 metres from elk and extra care around calves. Jasper wildlife viewing and seasonal precautions.
Pacific Rim, British Columbia. Berry sign at a blind turn
A coastal forest trail bends past shrubs with ripe berries. Fruit is missing from several low stems, other berries lie on the ground and a dropping appears to contain seeds. You cannot see past the bend. Fruit can fall, be removed by birds or be picked by people. The seed-filled dropping suggests an animal ate fruit. Its appearance alone leaves the species, source shrub and time uncertain.
Black bears are one reason to take the setting seriously. Parks Canada’s local ecology guide describes berries as part of their diet and notes that scat can contain berry material. That supports a possibility worth allowing for before going farther. There is no need to resolve it by crouching over the sign or walking into the patch. Keep the group together and return to an open section. If you see a bear, follow the reserve’s encounter advice and reporting instructions. Pacific Rim wildlife ecology · Pacific Rim wildlife safety and reporting.
Once you are clear of the bend, write “berry loss, fallen fruit, seed-like material in a dropping, origin unconfirmed.” You can compare that note with sign you encounter in an open, permitted spot on another outing. An unresolved observation lets the next person see why you ended the inspection and what evidence would have helped, without giving them a route into the shrubs.
Compare the claims in your notebook
Under each observation, write what would change your reading of the site. A photo of the whole hollow could connect the tracks to it. A known maintenance date might explain the meadow edge. Those are useful leads even if you cannot check them that day. If you later learn that a crew mowed the verge, add the source and date beside the original note. For practice, look for another example on an open route where you can see the whole patch. There is no need to revisit a sensitive site to resolve an old entry.
What does the patch support?
Open the combination you can see from the permitted route. Write down the visible details before choosing an explanation.
An oval has compressed vegetation and tracks at the rim
Record a possible rest site. Check that the tracks enter or leave the actual depression. A trail that passes a metre away does less to explain the oval. Keep species and timing open unless there is separate evidence for them.
Several stems have missing tips at the same edge
Check the shape of the damage on more than one stem and compare it with intact growth nearby. Note whether tracks cross the affected patch. Record likely browse if the pattern fits, leaving the animal’s identity open when other browsers could account for it.
A woody stem has a bevel and chips beside the base
Record gnawing if you can see repeated cut marks. A removed stem near water could have supplied food, building material or both. Look for supporting signs from the trail and avoid assuming what happened to the stem afterward.
A scraped trunk is standing with its tip intact
Describe the length and position of the damage. A rubbed stem can lose a strip of bark while still standing. If you can see no tooth grooves, nearby breaks or clear connection to a trail, keep the cause unresolved.
A likely rest or feeding patch lies beyond the open route
Stop at the permitted position. Use binoculars for what you can see and record which clues are hidden. Leave the animal room and choose another view if the inspection would take you into its cover.
Record the sign so someone else can check your inference
Begin with the scene. A wide photo can show the woodland edge, snow depth, the bank or a boundary between grazed and untouched plants. A close picture of one stem loses that context. Make a second frame of the feature that links the signs, such as a hoof impression in the edge of an oval or several neighbouring shoots with similar damage.
- Describe where the signs meet. Write “two tracks cross the oval’s uphill rim” or “cut stems lie on the other side of the drainage.” Those notes allow a later reader to judge the connection. “Animal bed with food nearby” hides which parts you actually saw.
- Compare an unaffected patch. Look along the same edge for a stem of similar size or a spot with the same exposure. If many untracked ovals form next to fallen branches in the same light, melting is worth considering. If only the stem tips at one reachable patch are missing, check the other signs before calling it browse.
- Record what you could not see. Reeds, snow and other visitors can hide the exit from a depression. Mark the hidden edge in your notes so the next observer knows which parts of the patch you checked.
- Give time and species their own evidence. A visible hoof impression may narrow the type of animal. A dated layer may narrow when it passed. Keep either inference provisional if its own evidence is weak. See the guide to building a time window from tracks.
| Visible sign | Reasonable field note | What to leave open |
|---|---|---|
| Connected tracks and a shallow body-sized oval | Possible rest site. Describe the rim, floor and tracks that meet it. | How long the animal stayed and whether it will return. |
| Several damaged shoots with similar tips | Pattern consistent with browsing. Record plant type if known and the distribution. | Exact species and whether all the damage is from one visit. |
| Chips and cut wood near a pond | Woody stem cut or gnawed. Check tool marks or tooth grooves where visible. | Whether the wood was eaten, carried away or used in a structure. |
| Bark loss or flattened growth with no connected tracks | Describe the surface and the alternatives that fit it. | Activity, animal and time. |
Guide’s log · A fictional stop at the edge of cover
I see a shallow depression beside a trail. The snow is thin and I can see tan grass through the middle. At the near rim, two impressions look like hoof marks. Farther back, other tracks run parallel to the trail. I start with the one place I can see where a print breaks the lip. That is more useful than trying to trace every mark in the snow.
There are bent stems inside the oval, but the far end is hidden by a shrub. I write “possible rest” and note that I cannot see the exit. A few metres away, several twig tips look torn. I photograph them from the same trail. They might be browse, but I cannot connect those stems to the hoof impressions at the oval. They go in a separate entry.
On the return walk I can still see the close edge, though the light now hides the shallow rim in the photograph. I keep the first picture as the clearer view and note when it was taken. If I come back after snow, I will compare the patch from the same point. The change may tell me more about what the surface retained than about how many animals passed.
Use the track behaviour guide for connected movement clues and the water-source guide to choose a permitted place to watch a pond edge.
Five checks before naming the activity
Tick the checks you completed. The checklist does not send your answers.
The tracking and scouting hub has related guides for identifying tracks, estimating age and choosing an observation point.
Gear for observing the patch from the trail
As an Amazon Associate we earn from qualifying purchases. Check delivery and total cost for your address on Amazon.com.
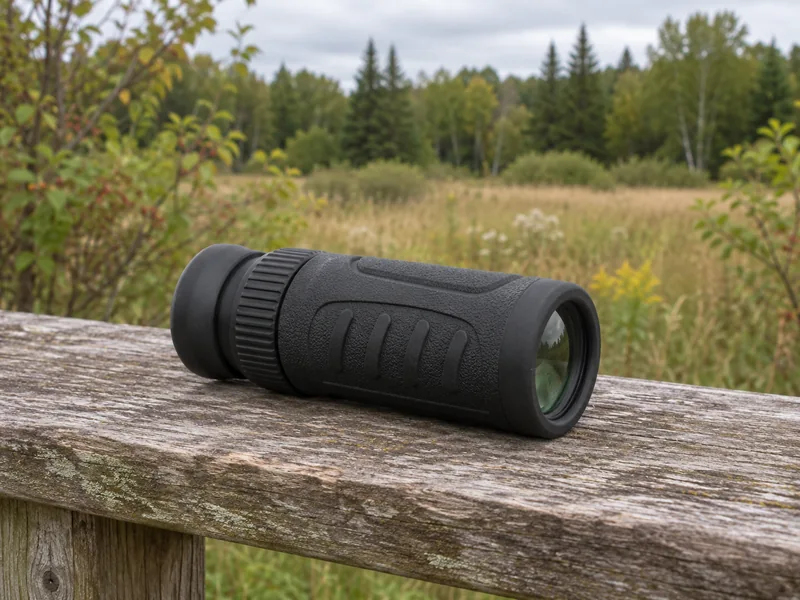
For scanning habitat from the trail
Vortex Solo 8×25 Monocular
From a trail or viewing rail, scan the far edge of a meadow or the stems along a pond bank.
- The single tube weighs 5.6 ounces (about 159 grams) and measures 4.4 inches (about 11 centimetres).
- The 8× magnification can help you pick out clusters of damaged stems from an open viewpoint.
- The close-focus distance is 16.4 feet (about 5 metres). Use your eyes first for impressions already visible at your feet.
For checking which mammals live in the area
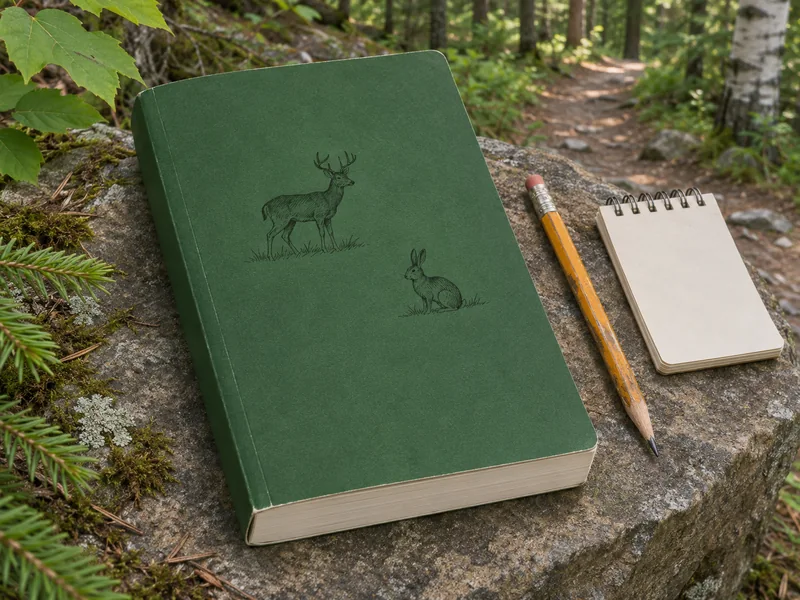
Peterson Field Guide to Mammals of North America, Fourth Edition
Fiona Reid’s paperback helps you make a shortlist of mammals to consider when you find sign.
- Use the range maps to check which species occur in the region you’re visiting.
- If you see an animal at a distance, compare its shape and markings with the colour plates.
- Read the species account alongside your own notes on habitat. Keep a bed’s maker unresolved if the sign fits several species.
See a beaver pond on a guided Québec woodland walk
Affiliate disclosure: We may earn a commission if you book through this Viator link. Check seasonal dates, conditions and the exact meeting point before booking.
Québec City, Québec
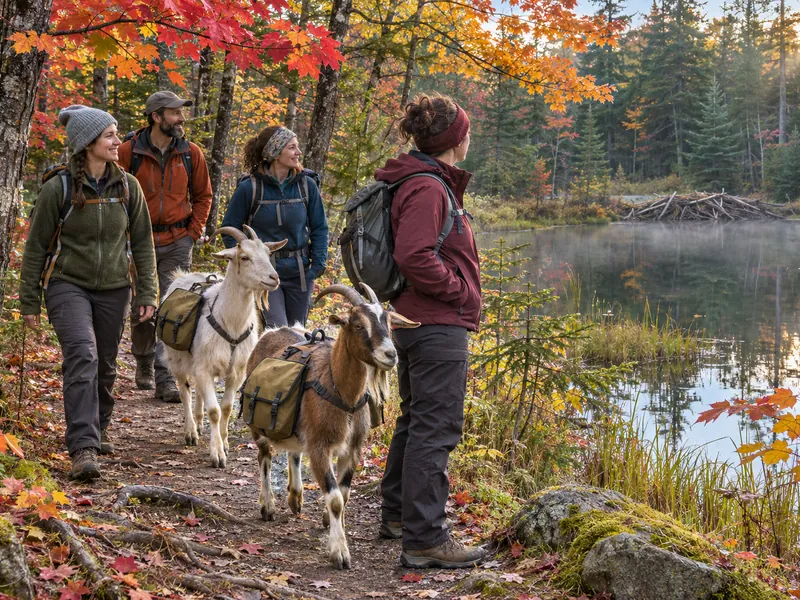
Goat Hike and Beaver Dam Visit near Québec City
From the route, look at where the dam holds back water and how the pond meets the surrounding forest. Treat any beaver sighting as a bonus.
- Walk with domestic goats on a guided forest route that includes a stop by a beaver dam.
- The listing includes a forest picnic. Ask about dietary needs before booking.
- Viator lists about 3½ hours. Confirm the meeting entrance and departure time before you go.
Questions about bed sites and feeding areas
Does an oval in snow mean a deer bed?
Start by looking for compressed vegetation or snow and tracks that enter or leave the oval. Melting around an object, a person sitting in snow and other animals can leave similar shapes. If the connected clues are missing, record a depression.
Do all animals bed close to where they feed?
Rest and feeding can occur close together or in different patches. Cover, weather and the food available affect how a site is used. Even when you see two kinds of sign together, keep them separate unless their tracks or another observation connect them.
Can I tell which animal browsed a plant by the height?
Height helps describe the patch. Snow depth, bent branches and the size of the animal change what was within reach. Look at several damaged stems and any connected prints before naming the browser.
Does a beaver-cut branch prove it was eaten?
Cut wood and chips support gnawing. Beavers also use woody material in structures, so the cut alone leaves the purpose open. Describe the feature without walking out onto a dam or lodge.
Should I check a likely den or return to an occupied bed?
Observe from a permitted position and give the site space. Leave active nests and dens alone, respect closures and avoid publishing exact locations. See the guide to low-impact wildlife viewing for deciding when to end an observation.