Table of Contents
Drying fish is a time-honored method of preserving seafood that has been used for centuries. It involves removing moisture from the fish to inhibit bacterial growth and increase its shelf life.
We will explore the basics of drying fish, including its historical significance, selecting the right fish species, and understanding the science behind the dehydration process.
We will also provide step-by-step instructions on preparing and cleaning your fish before drying, different techniques for drying fish, the role of salt in the curing process, and detailed instructions for drying fish using a dehydrator and creating your own drying environment at home.
Additionally, we will discuss incorporating smoking into the fish drying process, storing dried fish for longevity, and provide a breakdown of pro techniques for drying fish.
By the end of this guide, you will have all the knowledge and techniques needed to effectively dry fish at home.
Key Takeaways:
- Discover the historical significance and benefits of drying fish.
- Learn how to select the right fish species for drying.
- Understand the science behind dehydrating fish and inhibiting bacterial growth.
- Follow step-by-step instructions for preparing and cleaning fish before drying.
- Explore different techniques such as air drying, sun drying, and using commercial dehydrators.
Understanding the Basics of Drying Fish
Before delving into the specifics of drying fish, it’s important to understand the fundamentals. In this section, we will explore the historical significance of dried fish, discuss the factors to consider when choosing the right fish species for drying, and delve into the science behind dehydrating fish.
The Historical Significance of Dried Fish
Dried fish has played a vital role in food preservation throughout different cultures and time periods. Its ability to extend shelf life and provide a reliable source of protein made it a staple in many diets. From ancient civilizations to maritime cultures, the historical significance of dried fish cannot be overstated.
Choosing the Right Fish Species for Drying
When it comes to drying fish, not all species are created equal. Factors such as fat content, texture, and local availability must be considered when selecting the right fish for drying. Some species, like cod or mackerel, are well-suited for drying due to their fat content and firm flesh. Others may require additional preparation or may not be ideal for drying at all.
The Science Behind Dehydrating Fish
The science of fish dehydration revolves around the removal of moisture from the fish. By drying fish, we inhibit the growth of bacteria and other microorganisms that cause spoilage. At the same time, the reduction in moisture content extends the shelf life of the fish, allowing it to be stored and consumed for longer periods. Understanding the science behind dehydrating fish is essential for achieving optimal results and ensuring the safety and quality of the final product.
Stay tuned for the next section, where we will discuss the crucial step of selecting and cleaning your fish before the drying process.
Preparation: Selecting and Cleaning Your Fish
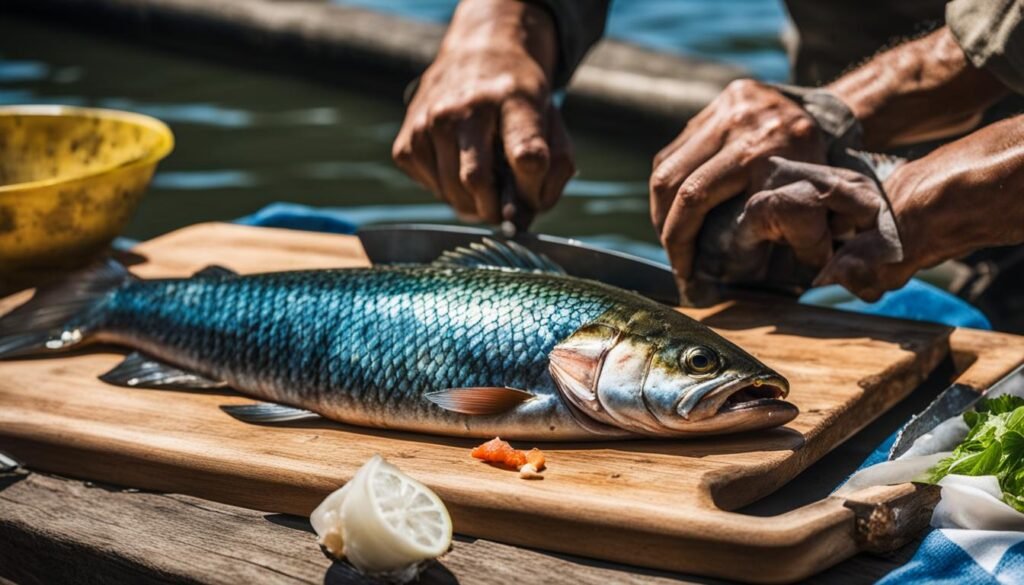
Proper preparation is crucial for ensuring successful fish drying. In this section, we will discuss how to select fresh fish for drying, including key indicators of freshness to look out for. We will also provide a step-by-step process for descaling, gutting, and rinsing your fish to remove any impurities before drying. By following these preparation techniques, you can ensure that your dried fish is of the highest quality.
Identifying Freshness: Key Indicators
When selecting fish for drying, it is important to choose fresh and high-quality specimens. Look for the following key indicators of freshness:
- Clear, bright eyes
- Shiny, metallic skin
- Fresh, mild scent
- Firm texture
- Red gills
These indicators suggest that the fish is in good condition and will yield delicious dried fish.
Descale, Gut, and Rinse: Step-by-Step Process
Before drying your fish, it is essential to descale, gut, and rinse it properly. Follow these steps:
- Descale: Use a scaling tool or the back of a knife to remove the scales from the fish. Start from the tail and work your way towards the head.
- Gut: Cut a small incision along the belly of the fish, from the anus to the gills. Remove the internal organs, including the entrails and gills.
- Rinse: Rinse the fish under cold running water to remove any residual blood and impurities.
Ensure that the fish is thoroughly clean and free from any undesirable substances before proceeding with the drying process.

| Key Indicators of Freshness | Step-by-Step Preparation Process |
|---|---|
|
|
Different Techniques for Drying Fish
There are various techniques for drying fish, each with its own unique processes and results. By familiarizing yourself with these different drying techniques, you can choose the method that best suits your needs and preferences.
1. Air Drying: Air drying is a traditional method that involves hanging the fish in a well-ventilated area to allow moisture to evaporate. This technique is simple and requires minimal equipment. However, it can take longer to dry the fish compared to other methods.
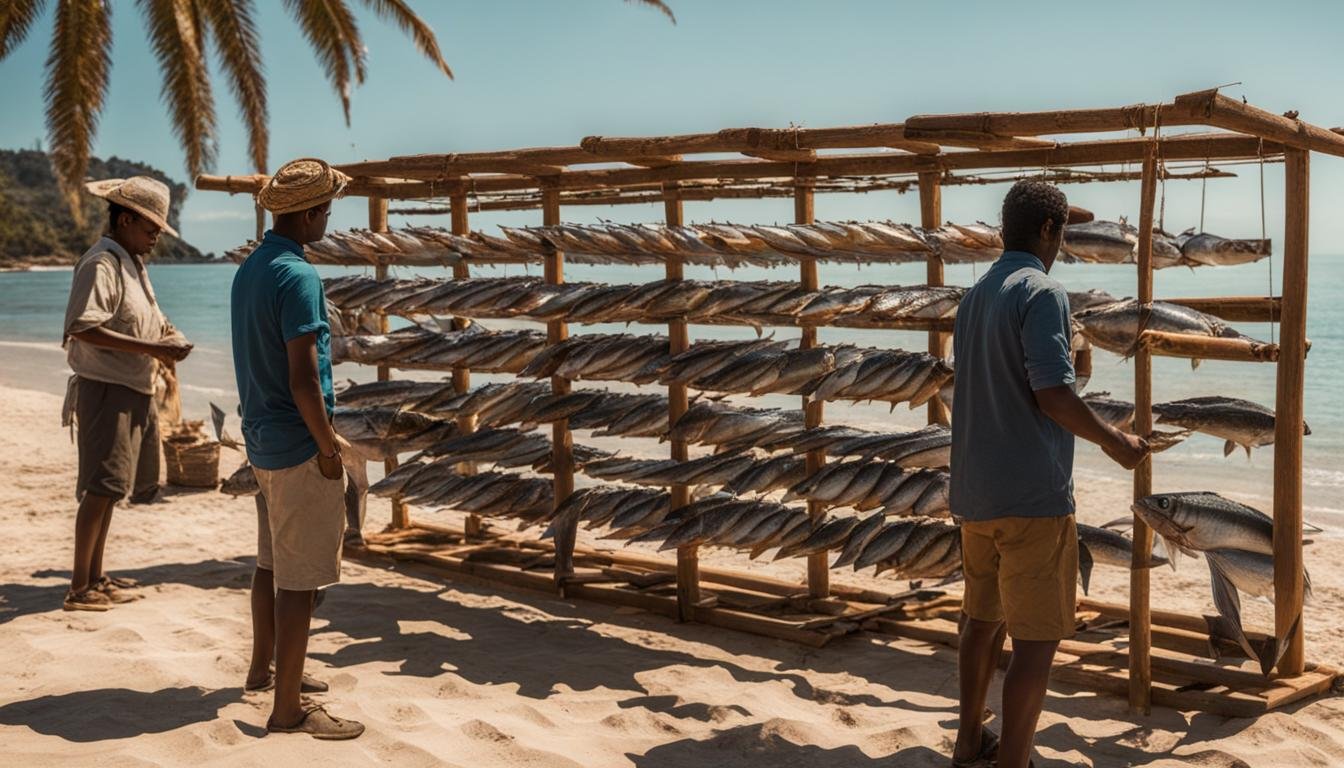
2. Sun Drying: Sun drying is another traditional method where the fish is spread out under direct sunlight to dry. The heat from the sun aids in the evaporation process, resulting in faster drying times. It is important to ensure that the fish is protected from pests during sun drying.
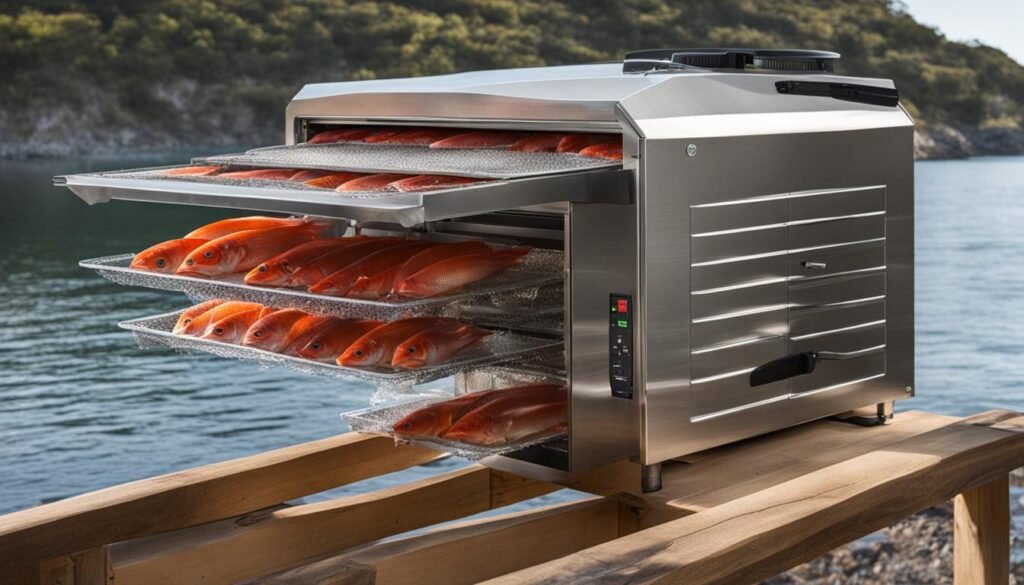
3. Using Commercial Dehydrators: Commercial dehydrators provide a controlled and efficient way to dry fish. These devices use a combination of heat and airflow to remove moisture from the fish. They offer precise temperature and timing settings, allowing you to achieve consistent results. Commercial dehydrators are suitable for those who want a convenient and reliable drying method.
Each drying technique has its pros and cons. While air drying and sun drying may require more time and effort, they offer a more traditional and hands-on experience. On the other hand, using commercial dehydrators provides a quicker and more controlled drying process. Consider your available resources, time constraints, and desired outcome when choosing your preferred technique.
Now that you are familiar with the different techniques for drying fish, let’s explore the role of salt in the curing and drying process.
The Role of Salt in Curing and Drying Fish
Salt plays a crucial role in the curing and drying process of fish. It serves as both a preservative and a flavor enhancer, ensuring that your dried fish not only lasts longer but also tastes delicious. Let’s explore the importance of salt in preserving fish and how it contributes to the overall drying process.
When it comes to fish drying, salt helps draw out moisture from the fish, creating an environment that is inhospitable to bacteria. By dehydrating the fish, salt inhibits bacterial growth and extends the shelf life of the final product. This is crucial for ensuring that your dried fish remains safe for consumption over an extended period.
There are different salting techniques that you can use to cure and dry fish. Dry salting involves applying salt directly to the fish, while wet brining immerses the fish in a saltwater solution. Both methods are effective, but it’s essential to choose the technique that best suits your needs and preferences.
When salting fish, it’s crucial to use the right amount of salt to achieve the desired results. Too little salt may not effectively preserve the fish, while too much salt can make it overly salty. As a general guideline, a 3-5% salt-to-fish ratio is recommended for dry salting, and a 7-10% salt-to-water ratio for wet brining.
To visually illustrate the salting process, here’s a table that outlines the recommended salt ratios for dry salting and wet brining:
| Salting Technique | Salt Ratio |
|---|---|
| Dry Salting | 3-5% salt to fish |
| Wet Brining | 7-10% salt to water |
Understanding the role of salt in fish drying allows you to effectively preserve your catch and enhance its flavor. By mastering salting techniques and using the appropriate amount of salt, you can create high-quality dried fish that will impress your family and friends.
How to Dry Fish Using a Dehydrator
Using a dehydrator is a convenient and efficient method for drying fish. In this section, we will guide you through the process of drying fish using a dehydrator.
Setting Up Your Dehydrator for Optimum Results
When setting up your dehydrator for drying fish, there are a few key considerations to keep in mind:
- Ensure your dehydrator is clean and free from any debris or residue that could affect the flavor of the fish.
- Set the temperature according to the manufacturer’s instructions or the recommended temperature for drying fish, typically between 120°F and 150°F (49°C and 66°C).
- Place the fish in a single layer on the dehydrator trays, leaving enough space between the pieces for proper airflow.
- Rotate the trays periodically during the drying process to ensure even dehydration.
- Monitor the drying time closely, as fish drying times can vary depending on factors such as the thickness of the fillets and the moisture content.
Tips for Even Dehydration
To achieve even dehydration and ensure that all parts of your fish dry evenly, follow these tips:
- Ensure uniform thickness of the fish fillets by trimming them before drying.
- If some pieces are drying faster than others, consider rearranging the trays or rotating the position of the fillets.
- Check the moisture content of the fish regularly during the drying process to identify any areas that may need additional drying time.
- Keep the dehydrator door closed as much as possible to maintain a consistent temperature and prevent moisture from escaping.
By following these guidelines and techniques, you can effectively dry fish using a dehydrator and achieve optimal results.

Creating Your Own Drying Environment at Home
If you don’t have a dehydrator, don’t worry! You can still create a suitable drying environment for your fish right at home. In this section, we will provide you with guidance on how to do just that. By following these tips and techniques, you’ll be able to effectively dry your fish without the need for specialized equipment.
DIY Drying Racks: Simple Construction Methods
One of the key components of a successful home fish drying environment is a well-built drying rack. Fortunately, you can easily create your own DIY drying racks using common household materials. Here are a few simple construction methods to consider:
- Wire Mesh Rack: Using wire mesh, create a sturdy rack with evenly spaced wires to lay your fish on. This allows for better air circulation and faster drying.
- Bamboo Pole Rack: If you have access to bamboo poles, simply secure them horizontally between two supports to create a rack. This natural material allows for adequate airflow and is perfect for drying fish.
- Plastic Netting Rack: Cut and attach plastic netting to a wooden frame or existing structure to create a rack. This lightweight material allows for good airflow and is easy to clean.
These DIY drying racks provide a stable and breathable surface for your fish to dry on, allowing for optimal drying conditions.
Maximizing Airflow: Placement and Spacing Considerations
When setting up your drying environment, it’s crucial to maximize airflow around the fish. Proper airflow ensures that moisture is efficiently removed, reducing the risk of spoilage. Here are a few placement and spacing considerations to keep in mind:
- Provide Ample Space: Allow enough room between individual fish and racks to ensure air can circulate freely around each piece. This spacing prevents any overlapping or contact that may hinder drying.
- Position for Airflow: Place the drying racks in a well-ventilated area, preferably near a window or fan. This promotes good airflow and aids in the drying process.
- Elevate the Racks: Raise the drying racks off the ground or surface to further enhance airflow. This prevents any dampness or condensation from obstructing the drying process.
By strategically placing your drying racks and ensuring proper spacing, you’ll maximize the airflow and create an ideal drying environment for your fish.

Creating your own drying environment at home is a cost-effective and practical solution for drying fish without a dehydrator. With DIY drying racks and proper airflow management, you’ll be able to achieve effective fish drying results in the comfort of your own home. So go ahead, get creative, and start drying your fish!
How to Incorporate Smoking into the Fish Drying Process
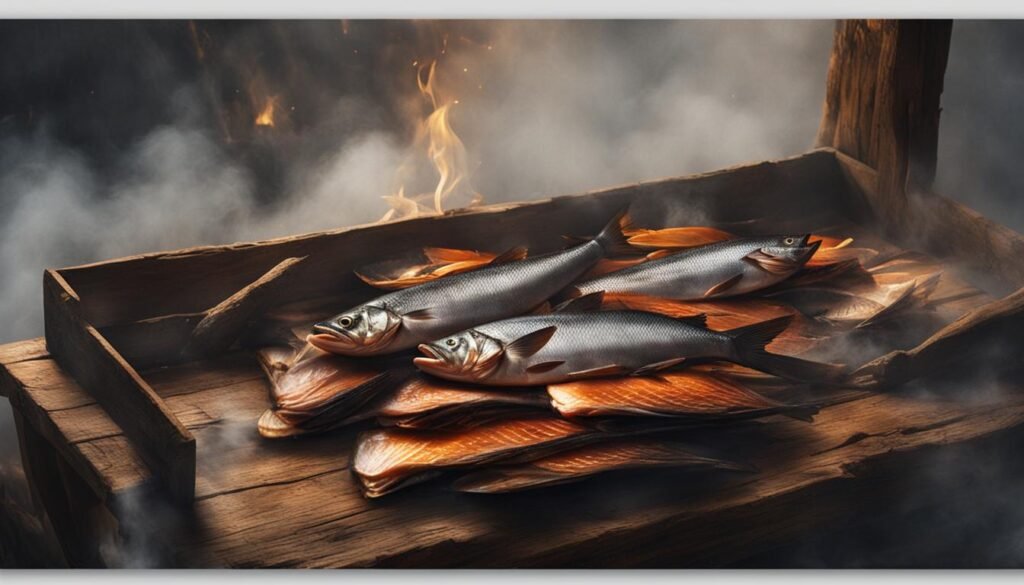
Smoking is a popular technique that can enhance the flavor and texture of dried fish. By learning how to smoke fish during the drying process, you can elevate the taste of your homemade dried fish.
To incorporate smoking into the fish drying process, there are different methods you can use:
- Hot Smoking: This involves exposing the fish to smoke and heat simultaneously. It imparts a rich, smoky flavor to the fish while also cooking it slightly. To hot smoke fish, you will need a smoker or grill set up for indirect heat. Place the fish on the rack, close the lid, and let it smoke until fully dried.
- Cold Smoking: Cold smoking involves exposing the fish to smoke without any heat. It is a slower process that infuses a milder smoky flavor into the fish. To cold smoke, you will need a cold smoker or a smoke generator attached to your drying environment. Place the fish in the smoke chamber and let it smoke for an extended period, ensuring that the temperature remains low.
Here is a step-by-step guide on achieving smoky, flavorful dried fish:
- Clean and prepare your fish following the appropriate steps mentioned in the previous sections.
- Set up your smoker or grill for hot smoking or cold smoking, depending on your preferred method.
- If hot smoking, ensure you have the appropriate heat source and wood chips or chunks for smoking. If cold smoking, ensure you have a smoke generator or cold smoking device.
- Place the prepared fish in the smoking chamber or rack of your smoker.
- Close the lid or door of the smoker and maintain the appropriate temperature and smoking time.
- Monitor the smoke and adjust as needed to achieve the desired level of smokiness.
- Once the fish is fully smoked and dried to your preference, remove it from the smoker and let it cool.
Incorporating smoking into the fish drying process adds depth and complexity to the flavor of the dried fish, making it a delightful treat for seafood lovers.

Storing Dried Fish for Longevity
Proper storage is essential for maintaining the quality and longevity of dried fish. When stored correctly, dried fish can retain its freshness and flavor for an extended period. To ensure your homemade dried fish stays in optimal condition, follow these guidelines:
- Choose Suitable Storage Containers: Select containers that are airtight and moisture-resistant to protect the dried fish from environmental factors. Glass jars with tight-fitting lids or vacuum-sealed bags are ideal choices.
- Create Optimal Storage Conditions: Store the dried fish in a cool, dry, and dark place. Avoid exposure to heat, sunlight, and humidity, as these can cause the fish to spoil or lose quality.
- Protect from Moisture and Pests: Place a desiccant packet or moisture absorber in the storage container to prevent moisture build-up, which can lead to spoilage. Additionally, ensure the storage area is free from pests that can damage the dried fish.
By following these storage techniques, you can enjoy your homemade dried fish for a longer period, preserving its flavor and quality.
How to Dry Fish: The Pro Technique Breakdown
In this section, we will dive into advanced techniques and tips used by professionals for drying fish. By incorporating these pro techniques into your fish drying process, you can achieve even better results and take your drying skills to the next level.
Advanced Salting Methods: Professionals have developed unique salting methods to enhance the flavor and preservation of dried fish. These techniques involve precise timing and specific salt-to-fish ratios to ensure optimal results.
“The key to advanced salting methods is to employ a controlled salting process that evenly distributes the salt and draws out moisture from the fish without over salting.”
Flavor Enhancements: Professionals often experiment with different flavorings to elevate the taste of dried fish. Common additions include spices, herbs, and marinades that infuse the fish with aromatic flavors.
Alternative Drying Methods: While air drying and using dehydrators are popular methods, professionals also utilize alternative techniques to achieve unique results. These methods may include sun drying with specific temperature and humidity controls or combining traditional smoking practices with fish drying.
To gain a deeper understanding of these pro techniques and unlock the full potential of fish drying, let’s explore some expert insights in the table below:
| Pro Technique | Description |
|---|---|
| Advanced Salting | Involves precise salting methods to enhance flavor and preservation, ensuring uniform distribution of salt and moisture extraction. |
| Flavor Enhancements | Utilizes spices, herbs, and marinades to infuse dried fish with distinctive and appetizing flavors. |
| Alternative Drying Methods | Explores unconventional techniques such as sun drying and combined smoking to achieve unique and exceptional results. |
Conclusion
In conclusion, mastering the art of drying fish effectively requires a combination of knowledge, technique, and attention to detail. Throughout this comprehensive guide, we have explored the basics of fish drying, including its historical significance and the science behind the dehydration process. We have provided step-by-step instructions on preparing and cleaning your fish, as well as different techniques for drying fish, both with and without a dehydrator. We have also discussed the role of salt in the curing process and how to incorporate smoking to enhance the flavor of your dried fish.
As you embark on your fish drying journey, it is important to keep a few additional tips in mind. Firstly, always ensure that your fish is fresh and of high quality before starting the drying process. Secondly, pay close attention to proper storage techniques to maintain the flavor and longevity of your dried fish. Additionally, as a beginner, don’t be afraid to experiment and adapt the techniques provided in this guide to suit your preferences. With practice and experience, you will develop your own pro techniques and become a master at drying fish.
By following the recommendations in this guide, you can confidently enjoy the fruits of your labor and savor the deliciousness of homemade dried fish. Whether you choose to enjoy it as a snack, use it in recipes, or share it with family and friends, the satisfaction of creating your own dried fish is unparalleled. So go ahead, get started on your fish drying adventure, and reap the rewards of this timeless preservation method.
FAQ About How to Dry Fish Effectively
What is the historical significance of dried fish?
Dried fish has been used for centuries as a method of food preservation in various cultures and time periods.
How do I choose the right fish species for drying?
When selecting fish for drying, consider factors such as fat content and local availability.
What is the science behind dehydrating fish?
Dehydrating fish involves removing moisture from the fish to inhibit bacterial growth and extend its shelf life.
How do I select and clean my fish before drying?
Look for key indicators of freshness and follow a step-by-step process for descaling, gutting, and rinsing the fish.
What are the different techniques for drying fish?
There are various methods for drying fish, including air drying, sun drying, and using commercial dehydrators.
What role does salt play in curing and drying fish?
Salt helps draw out moisture from the fish, inhibit bacterial growth, and enhance the flavor of the dried fish.
How do I dry fish using a dehydrator?
To dry fish using a dehydrator, set it up for optimum results and follow specific guidelines for temperature and timing.
How can I create my own drying environment at home?
You can create a suitable drying environment at home by constructing DIY drying racks and maximizing airflow.
How do I incorporate smoking into the fish drying process?
Smoking can enhance the flavor and texture of dried fish. Learn different smoking methods and follow step-by-step instructions.
How should I store dried fish for longevity?
Proper storage, including suitable containers and optimal conditions, is crucial for maintaining the quality of dried fish.
Are there any advanced techniques for drying fish?
Yes, professionals use advanced salting methods, flavor enhancements, and alternative drying methods to achieve better results.


