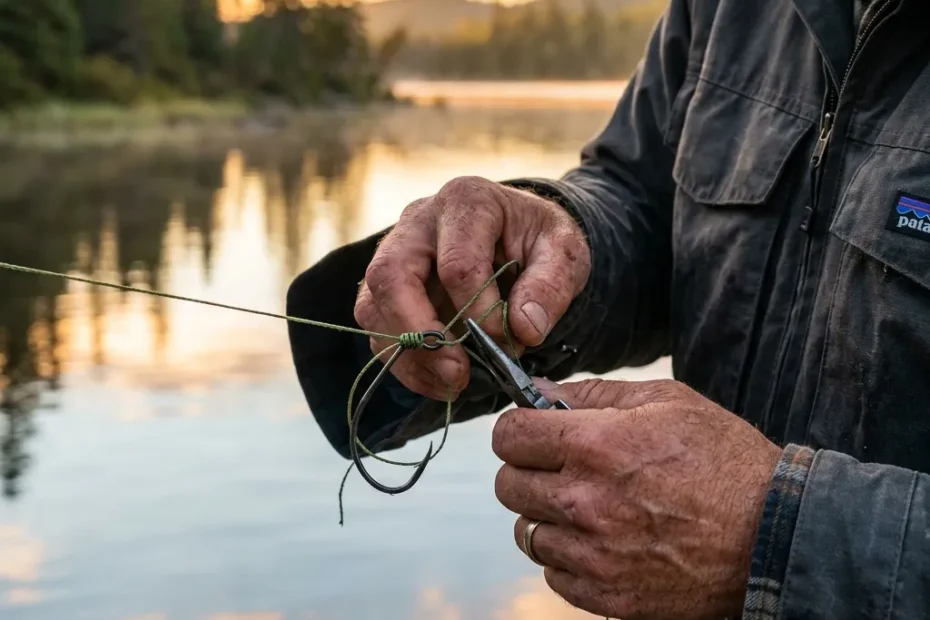
If you want to know how to tie a fishing hook that will never let you down, you must master the fundamental connection between your line and your lure. There’s a feeling every angler knows too well: you’ve been working a rocky point on the Canadian shield for hours when suddenly, your line goes tight, the drag screams, and then—snap. Your knot failed.
🎯 Key Takeaways
- Always lubricate your fishing line (with water or saliva) before cinching any knot tight to prevent friction burns.
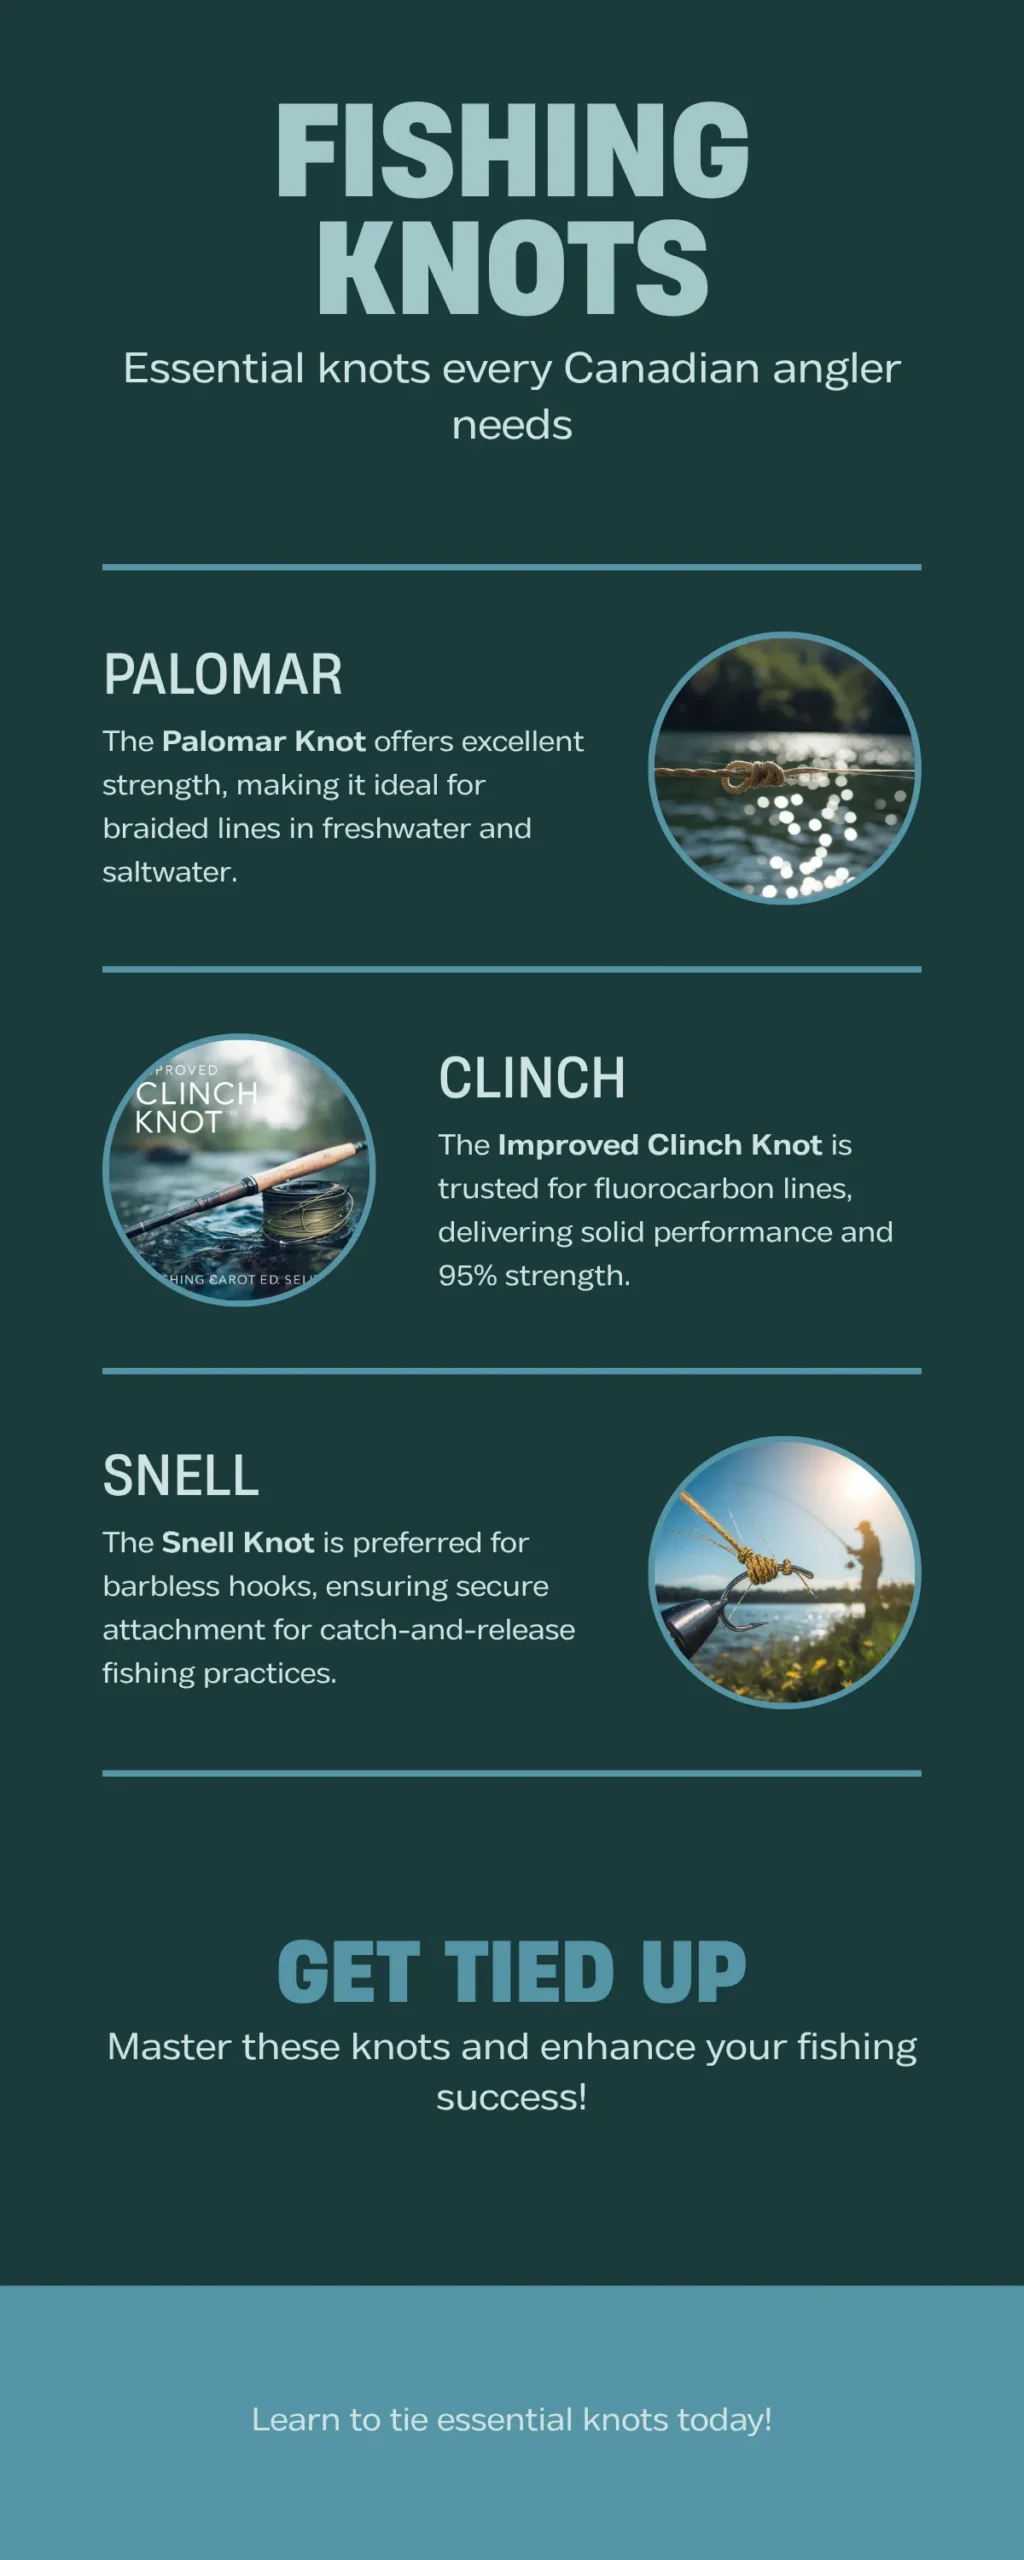
- Use the Improved Clinch Knot as your reliable, everyday connection for monofilament and fluorocarbon.
- Switch to the Palomar Knot when using slippery braided line for heavy-duty Northern Pike or Musky setups.
- Employ the Uni Knot when tying fluorocarbon leaders or connecting line securely to swivels.
Understanding these connections is the absolute foundation of your success on the water—and a core component of our Master Angler’s Guide to techniques. It doesn't matter if you have a thousand-dollar sonar or the finest baitcast combo; if your knot is weak, the fish will win.
In this comprehensive guide, we won’t overwhelm you with twenty different knots. Instead, as your Lead Outdoor Guide, I’m going to detail the exactly three essential knots every Canadian angler needs. Whether you are using thick braided line to punch through heavy weeds in Ontario, or tying tiny fluorocarbon leaders for early-spring Walleye runs in Manitoba, we've got you covered.
The Guide’s Log
I’ll never forget a damp September morning on Lake of the Woods. A massive Musky hit my bucktail so hard it nearly ripped the rod from my hands. I fought her for five minutes before the line suddenly went slack. I reeled in to find my Palomar knot had completely slipped—I hadn’t left enough of a tag end. Losing a 50-inch fish because of a sloppy knot is a pain that sticks with you forever. That day, I promised myself I’d never rush tying a hook again.
The Golden Rule: Lubrication is Everything
Before we dive into the specific knots, there is one non-negotiable rule you must follow: always lubricate your knot before pulling it tight.
When you tighten a knot, the line rubs against itself, creating friction and heat. Monofilament and fluorocarbon lines are highly susceptible to this heat; it physically weakens the structure of the line, creating a fracture point.
Simply dip the knot in the water, or use a bit of saliva, before the final cinch. This allows the coils to slide together smoothly and seat properly against the eye of the hook.
1. The Improved Clinch Knot: The Canadian All-Rounder
If an angler could only learn one knot for the rest of their life, the Improved Clinch Knot is it. It’s incredibly reliable, works exceptionally well with monofilament and fluorocarbon, and is the absolute standard for tying on jigs, crankbaits, or bait hooks.
Best Used For:
- Species: Walleye, Bass, Perch, Trout
- Line Type: Monofilament, Fluorocarbon (up to 20lb test)
- Scenarios: Fast lure changes, cold-water finesse fishing where you need a thin line.
Step-by-Step Guide
- Thread the Line: Pass the tag end (the working end) of your fishing line through the eye of the hook. Pull about 6 inches of line through.
- Wrap it Up: Tag the loose end and wrap it around the main standing line. You want 5 to 7 wraps. If the line is thick (like a 20lb leader), do fewer wraps. If it's a very thin line (like 4lb ice fishing mono), use 7 wraps.
- The First Loop: Look closely near the eye of the hook; an initial gap (or loop) has formed. Thread the tag end back through this loop.
- The Final Tuck (The 'Improved' Part): Bringing the tag end through that first loop created a new, larger loop. Pass the tag end back through this new, larger loop.
- Cinch it Down: Hold the standing line and the hook securely. Moisten the knot. Slowly pull the tag end to tighten the coils, then pull the main line firmly to slide the knot down neatly against the eye of the hook.
- Trim the Tag: Use clippers to trim the excess line, leaving about 1/8 inch of tag.
The Local Secret
If you’re out ice fishing in Alberta or Saskatchewan and the temperature is -20°C, saliva freezes almost instantly when you try to lubricate a knot. I keep a cheap, unscented lip balm in my pocket. A quick swipe of lip balm on the line acts as a fantastic, freeze-proof knot lubricant.
2. The Palomar Knot: The Heavy Braided Brawler
When you're chasing trophy fish in thick Canadian weed beds—think giant Northern Pike, Musky, or flipping jigs for Largemouth Bass—you will be using braided line. Braided line is notorious for slipping out of standard knots because it lacks the "bite" or stretch of monofilament.
Enter the Palomar Knot. It is widely considered one of the strongest knots known to fishing because it doubles the line passing through the eye of the hook. Once tied correctly, a Palomar knot will almost never fail; the line will break somewhere else first.
Best Used For:
- Species: Northern Pike, Musky, Sturgeon, heavy cover Bass
- Line Type: Braided Line (e.g., PowerPro), fluorocarbon
- Scenarios: Frogging in lily pads, casting heavy spinnerbaits, fighting fish in strong river currents.
Step-by-Step Guide
- Double the Line: Create a loop at the end of your line by folding it over itself. You want a piece of doubled-up line about 6 inches long.
- Thread the Eye: Pass this doubled-up loop straight through the eye of the hook.
- The Overhand Knot: Tie a very loose, simple overhand knot with the doubled line. Let the hook dangle down inside this open knot.
- Pass the Hook: Take the large remaining loop and pass the entire hook (or lure) through it.
- Cinch it Down: Moisten the line. Slowly pull both the standing main line and the tag end at the same time. The knot will pull tight and clamp down perfectly around the top of the eye.
- Trim the Tag: Cut the tag line, leaving a tiny bit of space.

Top Pick: PowerPro Spectra Fiber Braided Line
To hit those massive Northern Pike, you need a braid that bites into itself perfectly on the Palomar knot. PowerPro Spectra is the Canadian standard.
3. The Uni Knot: The Versatile Connector
The Uni Knot (also known as the Duncan Loop) is highly versatile. Not only is it exceptional for tying hooks to lines, but you can also use it to connect two different types of lines together (as the "Double Uni-Knot").
When you are fishing in clear Canadian waters, such as Lake Huron or the pristine glacial lakes of British Columbia, you often have to tie a nearly invisible fluorocarbon leader to your main braided line. The Uni Knot is your best friend here.
Best Used For:
- Species: Lake Trout, Smallmouth Bass, Salmon
- Line Type: Fluorocarbon, Monofilament
- Scenarios: Creating a highly reliable connection to a swivel, hook, or tying a fluorocarbon leader.
Step-by-Step Guide
- Pass the Line: Thread the tag end of the line through the eye of the hook and pull about 6-8 inches through. Fold it back so it lays parallel alongside the standing main line.
- Form a Circle: Take the tag end and bend it back toward the eye of the hook, forming a distinct circle.
- Wrap Inside: Take the tag end and wrap it around both the double line and through the circle you just made. Do this 4 to 6 times.
- Initial Tighten: Pull the tag end gently. The wraps will gather into a neat, barrel-shaped coil.
- Final Cinch: Moisten the line. Grab the standing line and pull firmly. The barrel knot will effortlessly slide down to seat securely against the hook eye.
- Trim: Snip the tag end down.
The Pre-Trip Protocol
The Fray Check: Before making your first cast of the day, run your fingers over the bottom three feet of your line and the knot. If you feel any scuffing, nicks, or abrasion from rocks or fish teeth from the previous trip, cut the line and immediately re-tie your hook. A perfect knot won’t save you if the line right above it is frayed.
Dealing with Barbless Hook Regulations
In many Canadian provinces (for example, Manitoba's provincial fishing regulations mandate barbless hooks, and certain lakes in BC and Ontario have strict barbless rules), you have to adjust your mindset.
When you pinch the barb on a hook or use a specialized barbless hook, the knot becomes even more important. Because the fish can spit the hook the moment there is slack in the line, you must maintain intense, direct pressure. Tying a poor knot that creates a "hinge" can give the hook a weird angle that leads to lost fish.
For barbless hooks, the Snell Knot is also highly respected because it aligns the pull of the fishing line directly with the shank of the hook, increasing your hooking percentage, but for beginners, sticking to the Palomar or the Improved Clinch to a ringed eye will still serve you incredibly well if you keep your rod tip high and line tight.
Choosing the Right Gear to Match Your Knots
Knots don't work in isolation. The line you use directly determines the success of your knot.
For The Palomar (Braided Main Line)
You want a high-visibility or moss-green braid depending on clarity. Braid cuts through water easily and offers zero stretch, giving you monstrous hooksets on big pike.
For the Improved Clinch (Fluorocarbon Leaders)
When fishing the ultra-clear Canadian shield waters for spooky smallmouth or walleye, you must tie a fluorocarbon leader. Fluorocarbon sinks, is highly abrasion-resistant, and is virtually invisible underwater. Match it with an Improved Clinch knot directly to the lure or hook.

Top Pick: Seaguar Blue Label Fluorocarbon
Highly abrasion resistant and virtually invisible underwater. I use the 10lb test for my walleye leaders. It ties a perfect, clean Uni Knot.
Frequently Asked Questions (People Also Ask)
1. What is the strongest knot to tie a fishing hook?
The Palomar Knot is widely considered the strongest, most resilient fishing knot, especially when using braided line. Because it doubles the line as it passes through the eye of the hook, it provides nearly 100% knot strength and rarely slips.
2. Does wetting a fishing knot really make a difference?
Yes, it is absolutely critical. When monofilament or fluorocarbon lines are pulled tight, the friction creates heat. This heat can physically warp and weaken the line's structure. Wetting the knot with water or saliva lubricates the line, preventing heat damage and helping the knot seat smoothly.
3. How long should the "tag end" be after trimming?
You should leave about 1/8 to 1/4 inch of tag end after snipping your knot. If you cut it completely flush against the wraps, a sudden, violent strike from a fish could cause the knot to slip just enough to come undone.
4. Do different fishing lines require different knots?
Yes. Braided line has very little stretch and a slick coating, meaning knots like the basic Clinch Knot will often slip out. Braid requires knots that bite into themselves, like the Palomar. Monofilament and Fluorocarbon have more stretch and memory, making the Improved Clinch or Uni Knot ideal.
5. Why does my fishing knot keep breaking or slipping?
If your knot is constantly failing, it is usually due to one of three reasons: failing to moisten the line before tightening, tying the wrong knot for the type of line you are using, or tying the knot over a section of line that is already frayed from rubbing against underwater rocks.
In Conclusion
Tying a fishing hook correctly shouldn't be complicated. Don't be the angler sitting in the boat frustrated with bird's nests and slipping knots while your buddies are hooking into stringers of Walleye.
Master these three—the Improved Clinch, the Palomar, and the Uni knot—and your line will stay tight, your lures will swim straight, and the only reason you'll be empty-handed is if the fish simply aren't biting.
Tight lines out there!