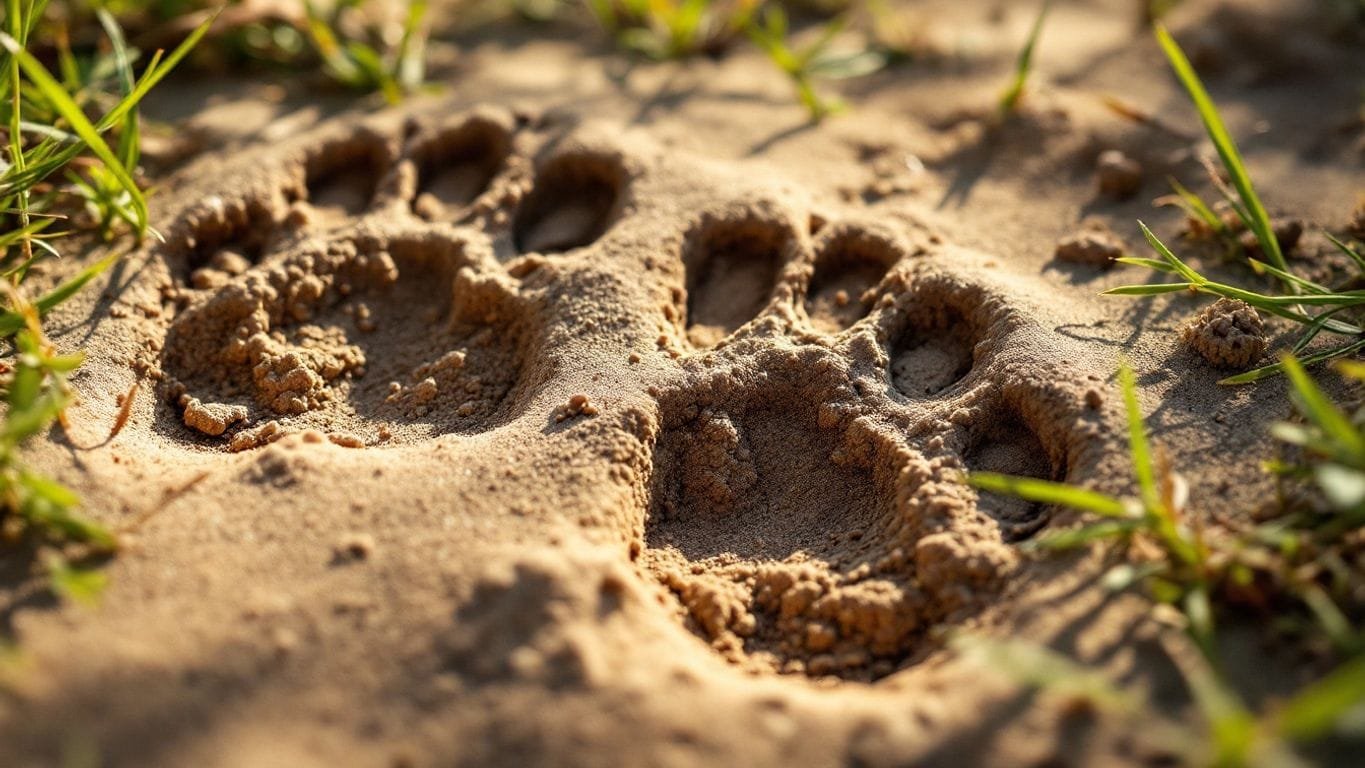
Wildlife tracking is a fascinating skill that allows us to connect with nature on a deeper level.
By learning how to accurately age animal tracks, we can uncover stories about the animals that roam our surroundings.
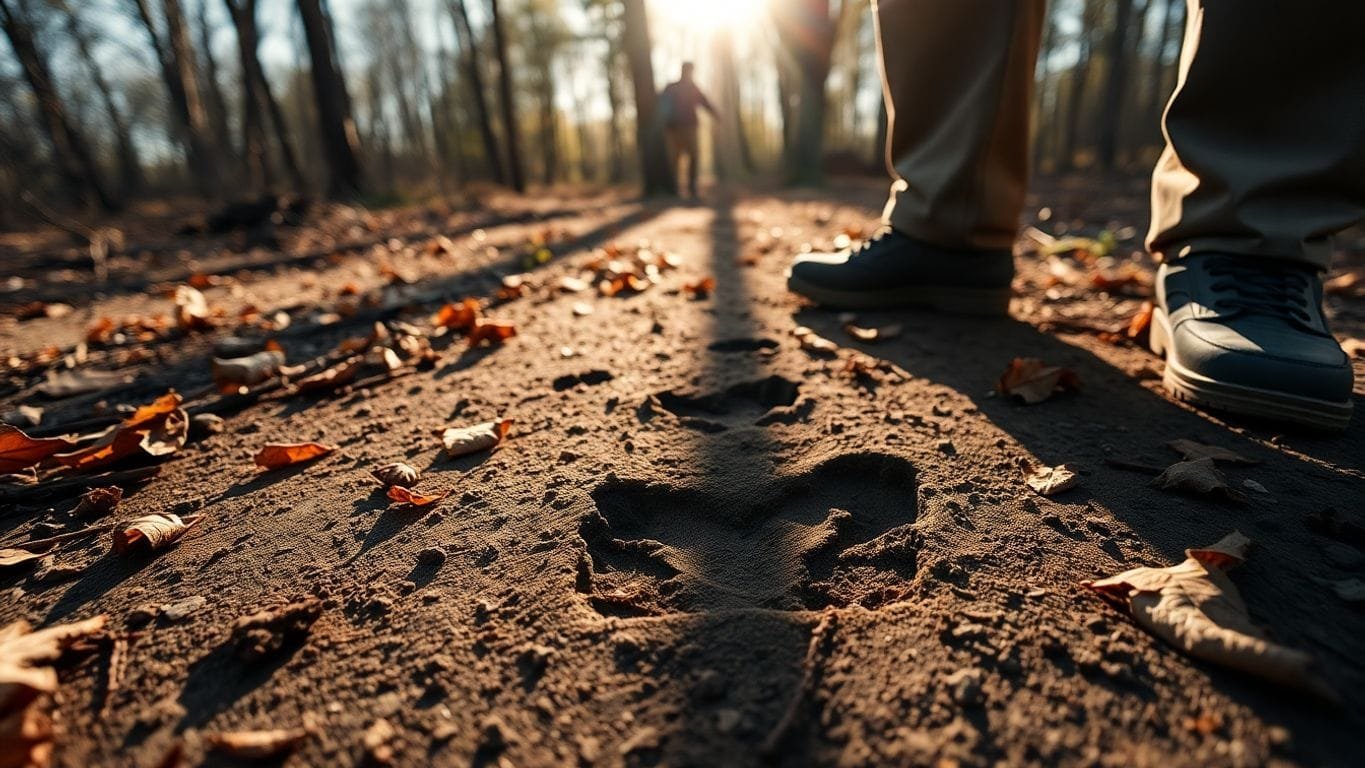
Aging Animal Tracks — Summary
Quick picks
Top‑10 tells to estimate track age
- Weather log first: Note last rain/snow/frost, sun, wind & temps; aspect (N/S) and canopy.
- Edge crispness: Fresh = sharp micro‑ridges & intact grain; older = rounded, crumbled edges.
- Moisture & color: Dark, damp substrate and sheen inside track fade as it dries.
- Substrate rebound: Mud/clay slumps over hours; sand fills by wind; grass blades rebound.
- Infill & overlays: Wind/dust grains, rain splash, insect tracks, or fresh prints on top layer time.
- Kick‑out clues: Displaced pebbles/duff still loose & moist underneath = recent.
- Snow signals: Fresh: crisp edges, sugar crystals; later: rounded, glazed, or sun‑cupped.
- Micro‑sign: Dew beads intact in print = very fresh; spider silk over print = older.
- Control print: Make a boot print now; compare edge/shadow, moisture, and infill over time.
- Context stacking: Pair tracks with scat (wet→crusted) and trail disturbance to triangulate age.
Rule of thumb: Read edge → moisture → infill, then calibrate with known‑age controls.
This article will guide you through the basics of animal tracking, essential tools, techniques for measurement, and the importance of practice.
Whether you’re a beginner or looking to sharpen your skills, these insights will help you become a more confident tracker.
Understanding the Basics of Aging Animal Tracks
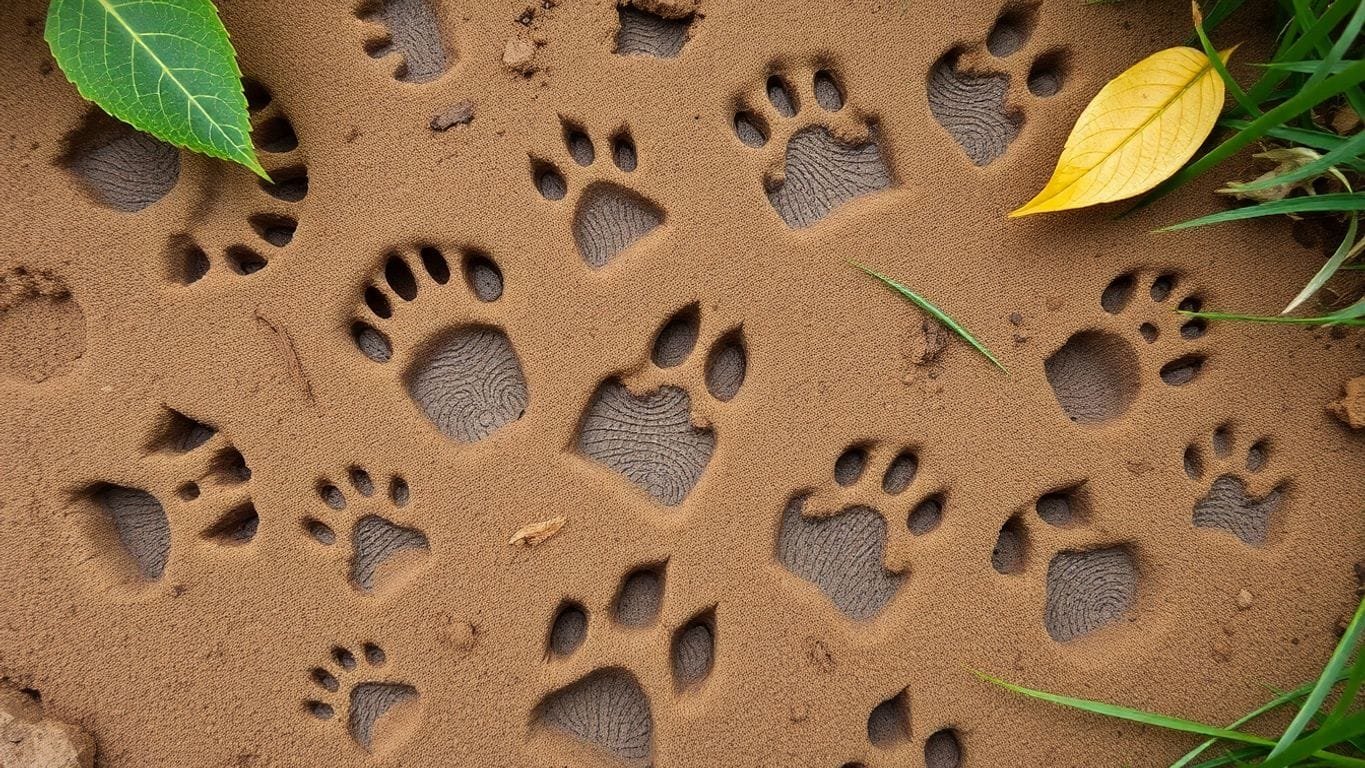
What Are Animal Tracks?
Animal tracks are the footprints left behind by wildlife as they roam through their environment.
These tracks tell us a lot about the animals that made them!
By observing the shape, size, and pattern of the tracks, we can start to piece together which species is nearby and what they might be doing.
For instance, deer tracks are often heart-shaped, while fox tracks are long and slender, indicating their agility.
Why Aging Tracks Matters
Aging tracks is crucial because it helps us understand the behavior and movement patterns of animals.
Knowing how old a track is can tell us if the animal is still in the area or if it passed through earlier. This can be especially important for activities like hunting or wildlife observation.
Here are a few reasons why aging tracks is beneficial:
- Identifying recent activity: Fresh tracks can indicate where animals are currently feeding or resting.
- Understanding movement patterns: Older tracks can show us how animals navigate their territory over time.
- Planning wildlife encounters: Knowing when animals were last in an area can help us decide the best times to observe them.
Common Misconceptions About Track Aging
There are some common myths about aging animal tracks that we should clear up.
For example, many people think that all tracks look the same regardless of age, but that’s not true!
Here are a few misconceptions:
- All tracks fade the same way: Different substrates (like mud, sand, or snow) affect how tracks age.
- Older tracks are always harder to identify: Sometimes, older tracks can still provide clear clues if you know what to look for.
- You need special tools to age tracks: While tools can help, a keen eye and some practice can go a long way!
Aging animal tracks is like piecing together a puzzle. Each track tells a story, and with practice, we can learn to read those stories with confidence!
Essential Tools for Tracking and Aging Animal Tracks
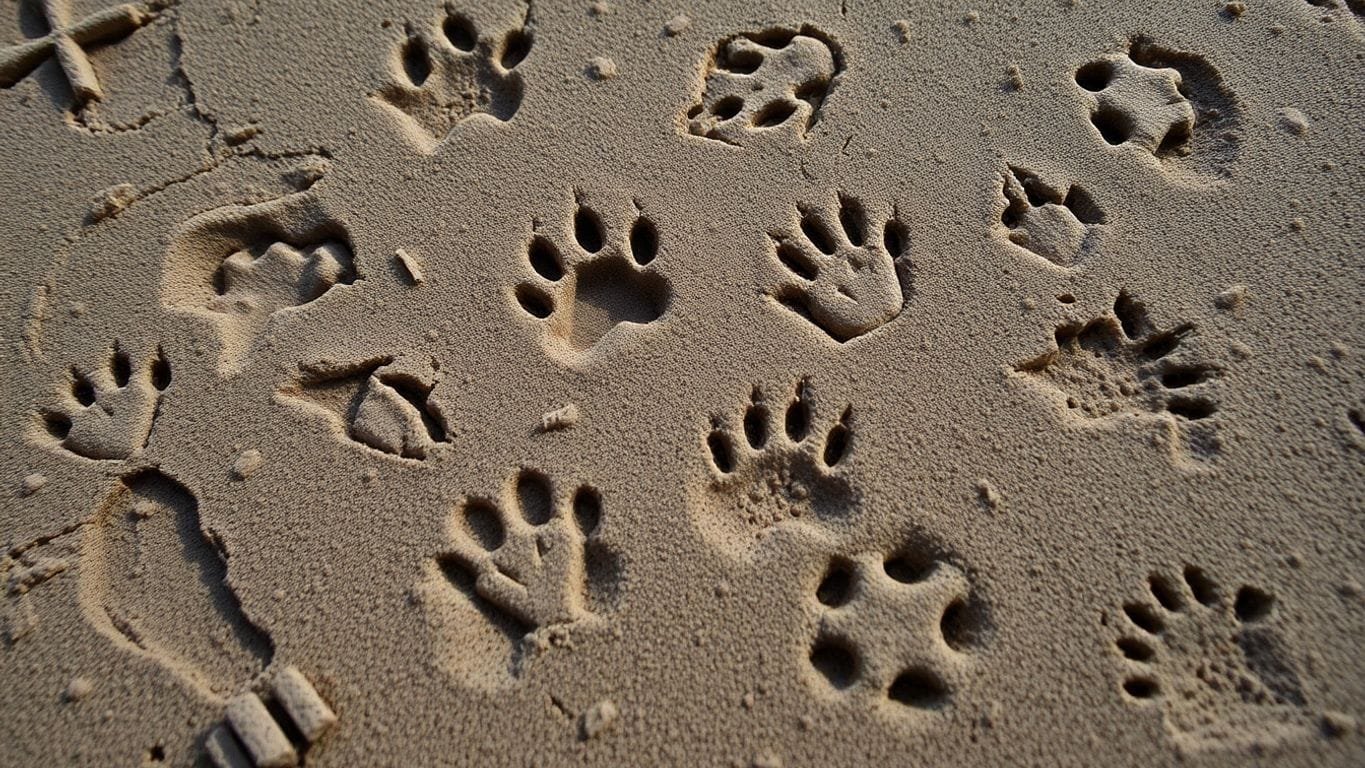
When we’re out in the wild, having the right tools can make all the difference in tracking and aging animal tracks.
Here’s what we need to have in our gear bag:
Field Guides and Their Importance
A field guide is like our trusty sidekick.
It’s packed with detailed info about animal tracks, their characteristics, and the species they represent.
With a good field guide, we can easily identify prints and learn about the behaviors and habitats of various animals.
Plus, they often include illustrations and maps that help us understand the nuances of each track’s shape and size.
Using Measuring Tapes and Rulers
A measuring tape might seem simple, but it’s super effective for measuring animal tracks.
We can use it to check the length and width of tracks, which helps us identify species.
Just make sure to lay it straight alongside the track for accurate measurements. This way, we can gather valuable data that contributes to wildlife tracking studies.
Casting Tracks with Plaster of Paris
Using plaster of Paris is a fantastic way to preserve animal tracks. It allows us to create castings that we can study later.
To get started, we need plaster, water, a mixing container, and a flat surface. After mixing the plaster, we pour it over the track and let it set.
This method not only helps us identify tracks but also gives us a deeper understanding of animal movement and behavior.
Remember, having the right tools not only boosts our tracking skills but also deepens our connection with nature.
Here’s a quick summary of our essential tools:
| Tool | Purpose |
|---|---|
| Field Guide | Identify animal tracks and learn behaviors |
| Measuring Tape | Measure track size for accurate identification |
| Plaster of Paris | Create castings for later study |
By using these tools, we can enhance our tracking experience and gain a better understanding of the wildlife around us!
Identifying Different Animal Tracks
Recognizing Unique Features
When we’re out in the field, one of the first things we do is look for unique features in the tracks.
Each animal has its own style, and knowing how to tell the different gaits apart and familiarizing ourselves with the baseline gaits of different species will help us quickly identify a trail.
Here are some key features to consider:
- Number of Toes: Count how many toes are visible. This can help narrow down the species.
- Track Shape: Is it round, oval, or more elongated? The shape can give clues about the animal.
- Claw Marks: Are there clear claw marks? Some animals, like cats, have retractable claws that won’t show up in their tracks.
Differentiating Similar Species
Sometimes, tracks can look quite similar, especially among species that share habitats. To differentiate them, we can:
- Measure Track Size: Size can be a big clue. For example, deer tracks are larger than those of a rabbit.
- Observe Track Patterns: The way animals move can help us identify them. For instance, canines often leave a distinct pattern compared to felines.
- Check for Negative Space: This is especially useful for identifying bear tracks when the toes aren’t clear.
Using Track Patterns for Identification
We can also use track patterns to help us identify animals. Here’s a quick reference table:
| Animal Type | Track Pattern | Notes |
|---|---|---|
| Canines | 4 toes, often with claw marks | Dogs, foxes, wolves |
| Felines | 4 toes, no claw marks | Cats, bobcats |
| Hoofed Animals | 2 toes, often deeper impressions | Deer, elk, moose |
Understanding these patterns is crucial for tracking. The more we practice, the better we get at spotting the signs of wildlife around us!
Techniques for Accurate Track Measurement
When it comes to measuring animal tracks, there’s a bit of an art and science to it.
Getting accurate measurements can really help us identify the animal.
Here are some techniques we can use:
Measuring Length, Width, and Depth
- Use a measuring tape: This simple tool is super effective. We should lay it right next to the track without any bends. Measure from the outer edges to get the true size.
- Record the measurements: Keep track of the length and width in consistent units. This makes it easier to compare later.
- Consider depth: If the track is in soft ground, measuring how deep it is can give us clues about the animal’s weight and behavior.
Recording Stride Length and Spacing
- Stride length: Measure the distance between tracks to understand how the animal moves. This can help us figure out if it’s walking, running, or trotting.
- Spacing: Note how far apart the tracks are. This can tell us about the animal’s speed and size.
- Use a notebook: Jot down these details as we go. It’s like creating our own tracking diary!
Considering Environmental Factors
- Look at the ground: The type of soil or mud can affect how tracks appear. Softer ground might show more detail, while hard ground can make tracks less clear.
- Weather conditions: Rain or snow can change how tracks look. We should keep this in mind when measuring.
- Time of day: Tracks can look different depending on the light. Early morning or late afternoon can give us better visibility.
Remember, the more we practice these techniques, the better we’ll get at identifying tracks. It’s all about getting down and dirty in the field!
The Role of Habitat in Aging Animal Tracks
When we think about tracking animals, we often focus on the tracks themselves, but the habitat plays a huge role in how we interpret those tracks.
Different environments can change how tracks look and how long they last.
Here’s what we need to keep in mind:
Exploring Different Habitats
- Forests: The edges where dense trees meet open spaces can reveal paths taken by various animals.
- Wetlands: Soft ground here captures detailed imprints, making it easier to spot tracks.
- Open Fields: These areas can show signs of animals foraging or moving between habitats.
How Terrain Affects Tracks
The type of ground can dramatically change the clarity of tracks. For example:
- Wet Sand: Great for detail, showing toe and nail prints clearly.
- Dry Sand: Often loses detail, making tracks hard to read.
- Mud: Perfect moisture can hold tracks for a long time, but too dry can erase them.
Identifying Feeding Areas and Dens
By recognizing where animals feed or rest, we can better understand their movements. Look for:
- Feeding signs: Scratches on trees or disturbed ground.
- Dens: Burrows or hidden spots where animals might sleep.
- Water sources: Tracks leading to these areas can indicate hydration needs.
Understanding the habitat not only helps us find tracks but also gives us clues about where animals might be headed next.
In summary, the habitat is a key player in aging animal tracks. By paying attention to the environment, we can enhance our tracking skills and gain deeper insights into wildlife behavior.
Let’s get out there and explore!
Practical Tips for Field Tracking
Balancing Focus and Awareness
When we’re out tracking, it’s super easy to get lost in the details of the tracks and forget about everything else around us.
We need to remember to look up!
While it’s important to study the tracks closely, we should also take a moment to observe our surroundings. This helps us understand the bigger picture and can even lead us to more signs of wildlife.
Here are some quick tips:
- Stop moving when you find a track.
- Get down on your hands and knees to examine it closely.
- Look around to see what else is happening in the area.
Getting Close to Study Tracks
One of the best ways to really see what’s going on is to get up close and personal with the tracks.
This means we might get a little dirty, but that’s part of the fun! Dirt time is essential for learning.
Here’s how we can do it:
- Start by standing and observing the habitat.
- Then, crouch down to get a closer look at the tracks.
- Spend a good 5-10 minutes studying every detail.
Journaling and Sketching Tracks
Keeping a journal or sketching what we see can really help us remember the details of the tracks. It forces us to slow down and pay attention. Here’s a simple way to do it:
- Measure the track dimensions first.
- Draw the track at life size.
- Fill in details like toes and claws.
By sketching, we train our brains to remember the shapes and sizes of different tracks, making it easier to identify them later.
In the end, tracking is all about practice and patience. The more we get out there and observe, the better we’ll become at understanding the stories that tracks tell us!
Interpreting Animal Behavior Through Tracks
Understanding Movement Patterns
When we look at animal tracks, we’re not just seeing footprints; we’re getting a sneak peek into the behavior of the animals that made them.
By analyzing these tracks, we can understand how animals move and what they might be doing.
For instance, if we see a series of tracks that are spaced closely together, it might indicate that the animal was running. On the other hand, wider spacing could mean it was walking or leisurely exploring.
Recognizing Behavioral Clues
Each track tells a story. Here are some clues we can gather from them:
- Track Size: Larger tracks often belong to bigger animals, which can indicate their strength or age.
- Claw Marks: These can show us if the animal was hunting or just passing through.
- Depth of the Track: A deep track might suggest the animal was heavy or moving quickly, while a shallow one could mean it was light or walking slowly.
Connecting Tracks to Animal Ecology
Understanding the context of the tracks is crucial. We can ask ourselves:
- What type of habitat are we in?
- Are there signs of feeding nearby?
- What time of year is it, and how does that affect animal behavior?
By piecing together these clues, we can gain a better understanding of the wildlife around us and their interactions within the ecosystem.
In summary, interpreting animal tracks is like solving a puzzle. The more we practice, the better we get at understanding the stories behind each print we find.
Happy tracking!
Advanced Tracking Techniques
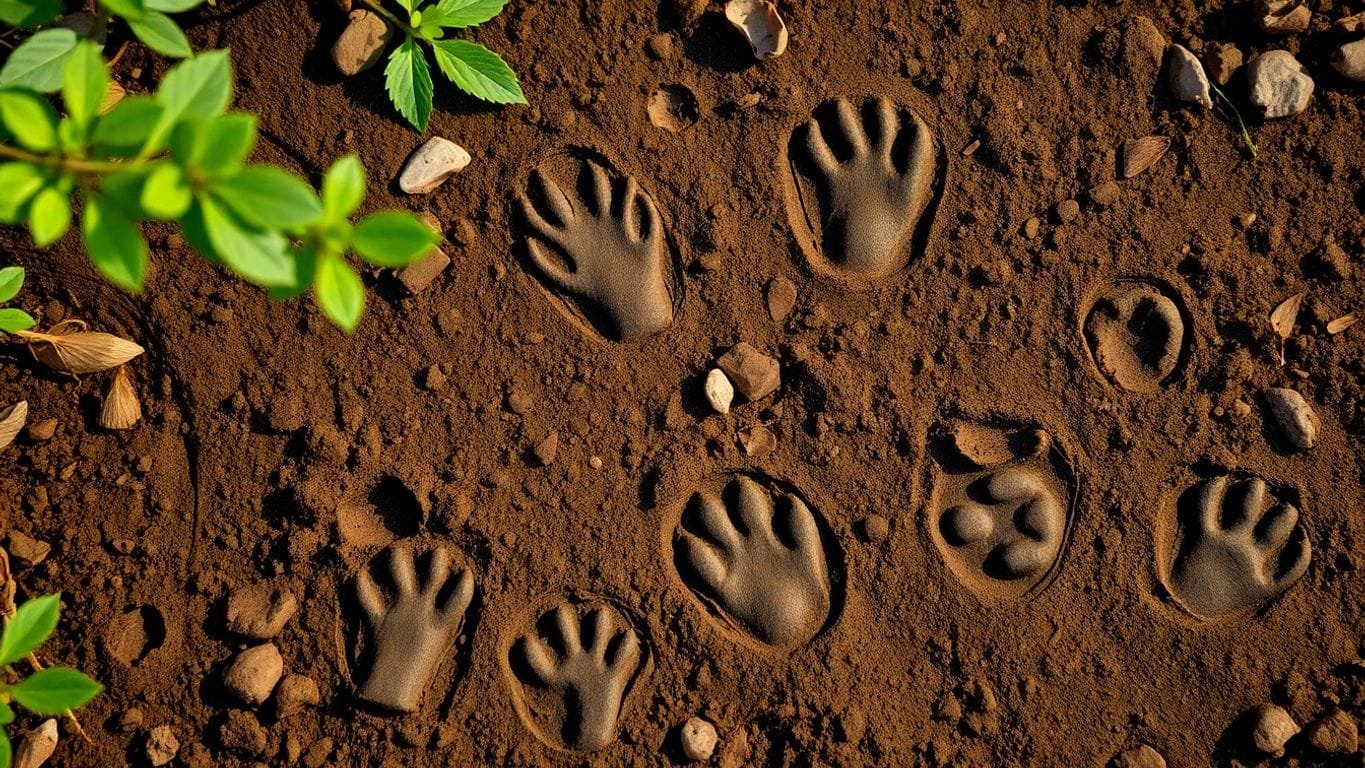
Training Your Sensory Brain
To really get good at tracking, we need to train our senses.
This means paying attention to everything around us. We can start by practicing these steps:
- Observe: Look at the ground and the surroundings. What do you see?
- Listen: What sounds are nearby? Birds? Wind? Other animals?
- Feel: Notice the temperature, the ground texture, and even the air.
By doing this, we can sharpen our awareness and become better trackers.
Using Bird Language
Birds can tell us a lot about what’s happening in the area. When we hear them, we should ask:
- Are they alarmed?
- Are they calm?
- What direction are they facing?
Understanding bird behavior can lead us to nearby animals. It’s like having a secret code!
Combining Tracking with Situational Awareness
We can’t just focus on the tracks; we need to keep our eyes open for everything. Here’s how:
- Look around: What’s happening in the environment?
- Stay alert: Are there any signs of danger?
- Connect the dots: How do the tracks relate to the surroundings?
By blending our tracking skills with a broader awareness, we can become more effective in the field.
In summary, mastering these advanced techniques will help us become better at tracking and understanding wildlife. Let’s get out there and practice!
The Importance of Practice and Mentorship
Dirt Time: Hands-On Practice
When it comes to tracking, nothing beats getting out there and doing it!
We can read all the books and watch all the videos, but the real learning happens in the field.
Here are some ways to make the most of our practice time:
- Spend time in different environments to see how tracks change.
- Try tracking at various times of the day to notice patterns.
- Keep a journal of your findings to track your progress.
Learning from Experienced Trackers
Having a mentor can make a huge difference in our tracking journey.
They can help us see things we might miss and offer insights that books just can’t provide.
Here’s why mentorship is key:
- They can share personal stories that bring tracking to life.
- They can challenge us to think deeper about what we see.
- They can guide us through tough tracking situations.
Building Confidence Through Repetition
The more we practice, the more confident we become. It’s all about repetition! Here’s how we can build our skills:
- Set small, achievable goals for each outing.
- Reflect on what we learned after each session.
- Don’t be afraid to make mistakes; they’re part of the learning process!
Remember, tracking is a journey, not a destination. The more we engage with nature and learn from others, the more we grow as trackers!
Using Technology to Aid in Track Aging
Photographing and Documenting Tracks
When we’re out tracking, taking photos of the tracks can be a game changer. It allows us to capture details that we might miss in the moment.
Plus, we can share these images with others for help in identification.
Here’s how we can make the most of our photos:
- Use a scale object (like a coin) in the photo for size reference.
- Take multiple angles to capture all features.
- Document the location and date for context.
Utilizing Tracking Apps
There are some cool apps out there that can help us with tracking. These apps can store our findings, help identify tracks, and even connect us with other trackers. Here are a few features to look for:
- Track identification guides.
- GPS mapping for tracking routes.
- Community sharing options to learn from others.
Sharing Findings with the Community
We can learn a lot from each other!
Sharing our findings online or in local groups can enhance our tracking skills. Here’s how we can do it:
- Post photos and details in tracking forums.
- Join local wildlife groups on social media.
- Attend workshops or webinars to connect with experienced trackers.
By using technology, we not only improve our tracking skills but also build a community of fellow nature enthusiasts. Let’s embrace these tools to deepen our understanding of wildlife!
Common Challenges in Aging Animal Tracks
Aging animal tracks can be a bit tricky, and we often run into some common challenges. Here’s what we’ve noticed:
Dealing with Weathered Tracks
Weather can really mess with our ability to read tracks.
Rain, snow, and even sunlight can change how tracks look over time. For instance, a fresh track might show clear details, but after a rainstorm, it could become almost unrecognizable. We need to be aware of how weather affects the clarity of tracks.
Overcoming Assumptions
Sometimes, we jump to conclusions about what we see.
It’s easy to think we know what animal made a track, but we might be wrong. We should always double-check our assumptions and look for unique features that can help us identify the animal correctly.
Here are a few tips to avoid mistakes:
- Look for unique shapes: Different animals have distinct track shapes.
- Check the size: Size can be a big clue in identifying the animal.
- Consider the environment: The habitat can give us hints about which animals are likely to be around.
Staying Patient and Persistent
Aging tracks takes time and practice. We might not always get it right on the first try, and that’s okay!
We should keep practicing and learning from our experiences in the field.
Remember, every track tells a story, and with time, we’ll become better at interpreting them!
Wrapping It Up: Your Journey in Wildlife Tracking
Tracking animals is like a fun puzzle waiting to be solved.
With the tips and tricks we’ve talked about, you can start to feel more confident in figuring out which animals left those tracks behind. Remember, it’s all about getting out there and practicing.
The more time you spend observing and sketching, the better you’ll get. Don’t forget to look around and take in the whole environment, too!
Each track tells a story, and with a little patience and curiosity, you’ll uncover the secrets of the wild. So grab your gear, hit the trails, and enjoy the adventure of tracking! I can’t wait to hear about the cool tracks you find!
FAQ — Aging animal tracks
Short. Direct. Actionable.
Start with edges and texture. Sharp rims, crisp toe marks, moist or glossy bottoms, and undisturbed silt mean fresh. Rounded rims, wind‑blown debris, cracked mud, and softened details point to age. Cross‑checks help: compare to prints you make now and factor in recent weather. Practice on the same substrate after sun, wind, and frost – patterns emerge fast.
Sun, heat, wind, and traffic speed up weathering; shade, cold, and still air slow it. Substrate matters: dry sand and powder snow break down quickly, while damp mud or firm sand hold detail longer. Rain, melt, or freeze can distort, crust, or slump the walls. Knowing the last 24–48 hours of weather is half the job.
In snow, look for sparkle (very fresh), feathered crystals (minutes to hours), and sun‑melt or slumped walls (older). A thin ice crust inside a print often forms overnight; thickness hints at timing around freezes. In mud, check for sheen, stickiness, and crisp micro‑ridges (fresh) vs. drying cracks and rounded edges (older). Feel the substrate—surface hardening or crumble tells you a lot.
No debris settled in the print, tiny grains still standing on edge, and water seeping or pooling at the bottom. Sharp claw or hoof tips with intact micro‑details. On calm days you can often follow a crisp trail line into the distance. Pair with other sign: warm scat, damp rubs, or kicked‑up duff tighten the window further.
Yes—combine weathering with species‑specific cues. Heavy bucks leave deeper, wider, often more splayed front tracks; in freeze–thaw, ice forming within the print can bracket timing. In wet spots, the thickness of refrozen water inside hints at night vs. day movement. Use stride, trail freshness, and overlaying sign to narrow it to hours rather than days.

