

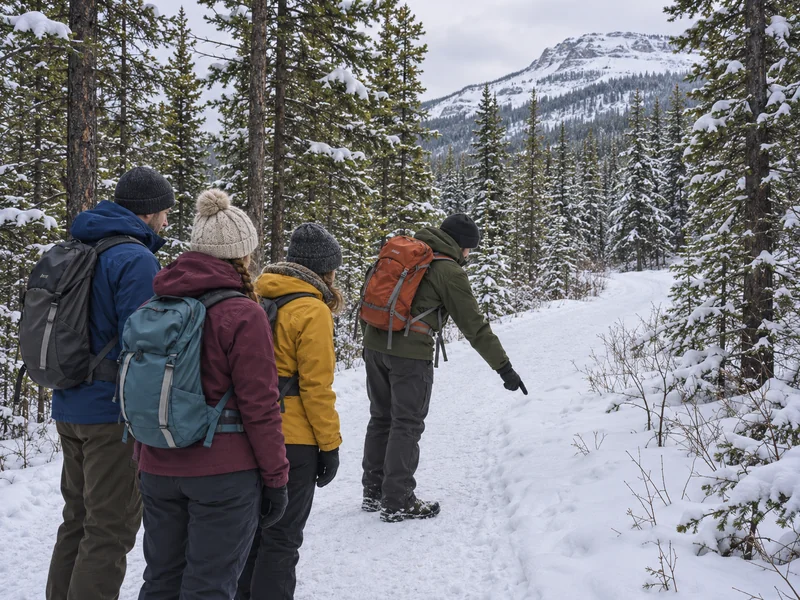
Cover illustration of recording tracks on a winter trail, generated with AI.
Predator vs. prey tracks are easier to read when you start with the shape of the foot. A four-toed paw with a central pad belongs in a different comparison from a two-part hoof print. The shape gives you a shortlist. A series of steps, the surface and the animals that live nearby help you decide how far to narrow it.
A domestic dog and a coyote can leave very similar tracks. An animal that hunts can also be prey for something else. For a footprint you find on a Canadian trail, a label such as “canid-like,” “split hoof” or “unidentified paw” is often the most useful first result.
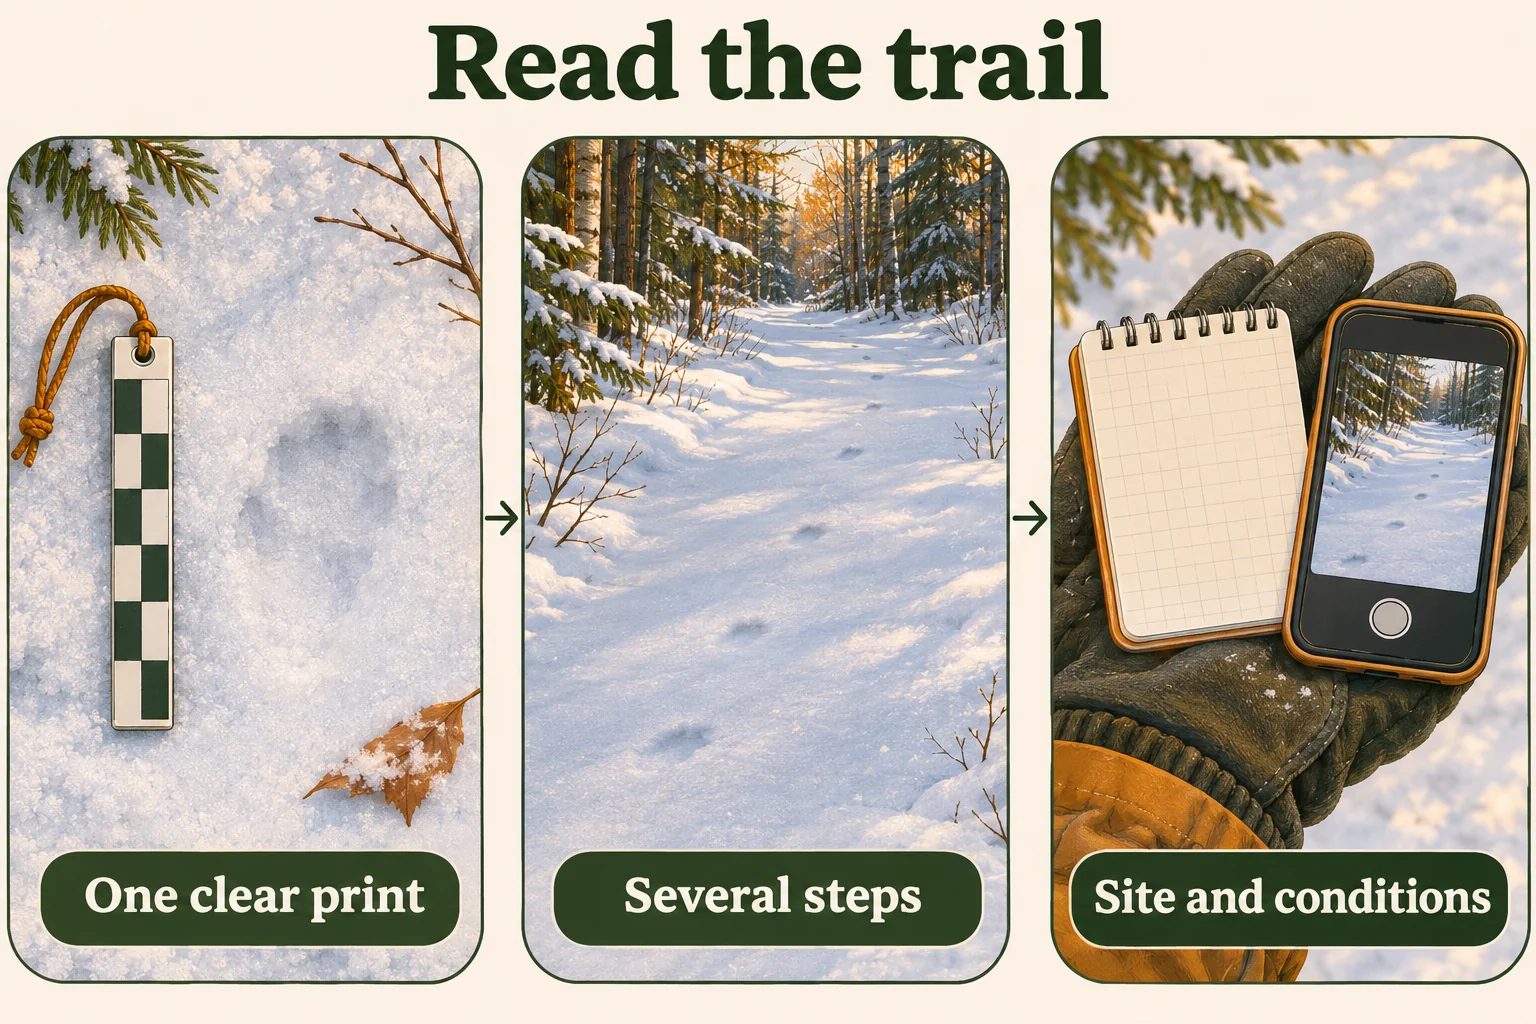
Predator vs. prey tracks in Canada at a glance
Use this table to decide which reference page to open. It groups visible features rather than assigning a species. If you only have a soft depression, skip the rows that require detail you cannot see.
| What you see | First comparison | Evidence to check next |
|---|---|---|
| Four toes and a pad | Canid or cat. Claw marks, pad shape and symmetry help separate the groups. | Find a second complete print before relying on any one feature. |
| Two hoof halves | Split-hoofed animal. Deer, elk, moose and other hooved species may overlap in shape. | Check dimensions, local range and whether extra marks repeat. |
| Five clear toes or a long heel | Compare bears, mustelids and other five-toed mammals. | Look for both front and hind prints before calling a species. |
| Groups of prints with gaps | Compare hopping or bounding trails. Several different animals move this way. | Check the repeated arrangement and which prints appear larger. |
Track clue selector
Open the observation you can make confidently. If the edges are soft or several tracks overlap, start with the last option.
Four toes and a distinct main pad
Start with canids and cats. Look for a consistent toe arrangement and heel-pad outline across several clear prints. A centred arrangement with repeated claw points can favour a canid comparison. A broad pad with a distinct lobed rear and asymmetrical toe placement can favour a cat comparison. If only the toe count is reliable, keep both.
Two hoof halves with a centre split
Start with split-hoofed mammals. Photograph the two main halves and record any smaller marks separately. Compare the measured print with regional guides for deer, moose, elk, caribou or other local candidates. A small print can belong to a young animal, and a broad impression can come from soft ground.
Five toes or a long impression behind the toes
Compare the front and hind feet. A hind print with a long sole can suggest a bear, but toes and sole proportions need to match. Smaller five-toed prints and bounding groups call for a different comparison. Check the size and the whole set before choosing a group.
Repeating groups of small prints with gaps
Look at the arrangement within each group. Compare two or three groups from where you stand. Identify which prints appear larger and whether the smaller prints sit side by side or one ahead of the other. Then compare regional examples of hare, squirrel and mustelid trails.
Partial, melted, blurred or overlapping impressions
Record an unidentified track. Take a wide photograph from the permitted route and note why the shape is unclear. If a nearby print is better defined, use it only if you can tell that it belongs to the same sequence. Leave exact size and species blank if you cannot support them.
When to stop examining a track
A track tells you that something passed through. It does not tell you where the animal is now. Conditions can make a recent track look worn or preserve an older track with sharp edges. Make the safety decision from what you can see around you, the rules for the site and any instructions from staff.
- Stop on the route you are allowed to use. Check traffic, footing and visibility before taking a picture. Leave the track alone if you would need to stand on a road, cross a closure or step onto ice to get close.
- Leave space for wildlife. Move on if getting a better view would mean following the track, approaching an animal or investigating a carcass. If you encounter wildlife, use the park’s instructions for that species and place.
- Report to the park when asked. Record what you observed and when, and give precise location details to staff through their reporting channel. Keep den, nest and carcass coordinates out of public posts.
Parks Canada asks visitors to keep a safe distance, avoid attracting wildlife and respect closures. Consult its national wildlife safety advice and the bulletin for your actual park. The responsible wildlife viewing guide gives examples of the same decisions from roads and trails.
Predator vs. prey tracks by foot shape
Start with the clearest print in the stretch you can see from the trail. Two hoof halves, four toe pads around a central pad, and a row of five toe impressions are different starting points. Each points to a group of animals with similar feet. A round track by itself tells you much less, especially when a thin layer of crust has broken away or the foot has sunk through the surface.
The words predator and prey describe a relationship. A coyote hunts small animals, and an animal that spends most of its time browsing can still be dangerous to approach. A bear’s track has the same anatomy whether it was looking for berries or pursuing an animal. Use a print to narrow down the animal that left it. A second trackway crossing the first is evidence that both used the spot, with the timing and reason still open.
Wolf, coyote, dog and fox tracks
In a well-preserved canid print, look for four toe pads, with the middle pair set ahead of the outer pair. The outline often looks longer than it is wide. You may see short claw impressions ahead of the toes. Compare prints in a few steps from the same visible line before treating a mark as a claw. A single pinhole or scratch can be debris, and a faint claw mark may disappear on a firm surface. The heel pad can add a clue when its edges survive. Parks Canada’s Banff carnivore track guide
Parks Canada gives a typical coyote length of about 6.4 cm and wolf lengths of about 10–12 cm in its Banff examples. Use those figures to get a sense of scale. A large dog can leave prints as big as a wolf’s, and other dogs overlap coyotes. One set of length and width measurements cannot settle the species. If you measure, keep the pad-and-toe boundary separate from claw marks, sliding marks and broken snow at the rim. Write down what you included so a reader can compare like with like. Banff track examples · New York State DEC canid comparison
Compare the trackway with the setting. Wolves often travel directly, and a dog may wander between objects or stay near a person’s boot prints. Either can travel straight on a road or packed trail. Boot marks can also come from a different outing. A straight line without boot prints may fit a wild canid, but it still fits some dogs. Red foxes leave smaller, narrow canid prints and may place their hind paws into their front prints. Small dogs remain possible, especially where people walk pets. Pacific Rim’s wolf and dog comparison · B.C. track chart
Cougar, lynx and other cat tracks
Cougar and canid tracks can each show four toes. A good cougar print tends to be rounded and asymmetric, with one toe ahead of the others and a broad main pad. Parks Canada’s Banff example shows three lobes along the back of that pad. Claws are usually absent in a clear walking print. To make the distinction, compare toe placement and the back edge of the pad as well as the claw impressions. A track missing its lower half cannot tell you much about the pad. Banff cougar track guide · Pacific Rim cougar examples
Canada lynx have large padded feet. Fur can soften the outline and hide the edge of the main pad, particularly in snow. A wide soft impression can therefore fit a lynx even if you cannot trace four clear toes. The same softness can occur when an older track has melted. Check another impression from the same line if you can see one. Where bobcat and lynx ranges overlap, an ambiguous cat track may stay “felid, species uncertain.” Check the local park’s species list before you use either name. Pukaskwa’s lynx profile · Nááts’įhch’oh animal sign guide
Check whether a print looks oversized because two paws landed in almost the same place. A cougar may set its hind foot into the front impression when walking. Look for a second edge on one side or two slightly offset toe rows. Compare the prints along the sides of a dip or curve where the feet landed separately. Seeing an overlap helps explain the apparent size and odd toe count. Several clear pawprints are more informative than one deep combined mark. Parks Canada’s walking pattern description
Bears and five-toed prints
A bear can leave a broad front print and a longer hind print with a more obvious heel. The hind print can resemble a wide bare human foot. Look for five toe impressions and claws when conditions preserve them. Pacific Rim’s black bear guide notes that the small inside toe can be faint. Counting four visible toes in one large print is a poor reason to decide it came from a cat or dog. Pacific Rim black bear track description
B.C.’s inventory guide compares front prints of black bears and grizzlies. Grizzly toes tend to sit in a flatter row and closer together, with longer claw impressions. Black bear toes tend to form a more curved row with shorter claws. Check the toe row only on a complete, clearly oriented front print. A partly broken toe row or one set of marks in mud cannot establish species. If bear is the best fit and details are missing, record “bear, species uncertain” and use the area’s bear guidance. B.C.’s bear inventory methods, figure 2
Weasels, martens, mink and otters
Small, repeated groups of prints with a gap between them can come from a bounding mustelid. Alberta Parks illustrates this kind of pattern for both short-tailed weasel and marten. B.C.’s guide shows that mink have five toes per foot even though only four can register. A clean impression with several toe marks gives you something to compare, but a faint print in snow is better read with its neighbours. Look at the spacing between groups as well as the spacing between individual marks in each group. Alberta Parks’ winter track diagrams · B.C.’s mink and weasel examples
Near a stream, a narrow trough interrupted by foot impressions can suggest river otter. Otters sometimes slide across snow, and a clear impression can show five toes. A smooth groove without recognizable feet is weaker evidence. A sloping bank can collect plenty of ambiguous marks. Observe from the trail or a bridge where you can stay back from the edge, especially when there is ice. Missouri Department of Conservation’s river otter sign guide
Split hooves from deer, moose and caribou
Deer-family prints usually show two hoof halves. In a clear deer print those halves can meet toward a pointed end, giving the track a heart shape. Two smaller marks behind the main impression may be dewclaws. They can show in yielding snow or other soft ground. Check where the two small dots sit relative to the hoof before counting four equal toes. The presence of dewclaws does not establish sex. Alberta Parks’ deer and moose diagrams · Missouri Department of Conservation on dewclaws
Parks Canada’s guide to Nááts’įhch’oh contrasts the long, nearly parallel halves and pointed tips of a moose print with the more rounded, curved halves of a caribou print. Size and shape help in a clean series, especially if you know which animals occur locally. Elk and deer also have split hooves, and a young animal may leave a smaller print than you expect. A partial hoof on a muddy slope might justify only “hoofed mammal.” If there is a clear print on flatter ground within view, use that one to compare the cleft and tips. Nááts’įhch’oh caribou and moose guide
B.C.’s ungulate survey manual warns that small moose tracks can be confused with elk and that white-tailed deer and mule deer tracks are generally indistinguishable. If more than one deer species occurs locally, give less weight to size and more weight to repeatable details. Photograph the cleanest hoof from directly above, show which end is which, and leave room in a second frame for adjacent steps. If the tips look pointed on the first print and blunt on the next, note the change in the ground between them before you put either shape down as a species trait. B.C.’s ground-based ungulate inventory methods
Snowshoe hares, squirrels and the direction of travel
With a snowshoe hare, two large hind feet land beyond the smaller front impressions during a hop. That can look backwards on the ground. Find a whole group of four and compare it with the next group. The large pair points to the leading part of each group. The smaller front prints often fall one ahead of the other, while the longer hind pair sit farther apart. A red squirrel also brings its hind feet forward, so a single group of four depressions cannot establish hare. Alberta Parks’ hare and squirrel diagrams · U.S. National Park Service trackway exhibit
Compare where the visible groups go. A short series that begins or ends at a spruce trunk, with the small prints paired, fits a red squirrel. Longer hind prints paired ahead of staggered small prints fit a hare. A tree trunk and a buried branch can break up the trackway, and snow can merge two impressions into one. If the repeated pattern stops being clear, keep the family-level description or leave the track unidentified. A photo of the whole series preserves context that a close-up alone would miss.
Include bird tracks in the comparison when small impressions run between shrubs. A walking grouse can leave a sequence of alternating impressions with forward-facing toes. Several toes radiating from one central point fit a bird foot better than a hare’s repeated sets of four separate feet. If only two toe tips survive in the crust, look for an intact print nearby before treating it as a split hoof. Compare the arrangement with Alberta Parks’ diagrams for grouse and hare. Alberta Parks’ grouse track diagram
Measure the trackway before naming the animal
A trackway is the visible sequence of prints an animal left. Start with the portion you can see from the open trail. Look for a repeat: single marks in a line, alternating impressions to either side, or clusters with clear gaps between them. Draw what is actually on the ground. If one mark is faint or missing, leave a space in the sketch instead of drawing the foot you expected to see.
A change in pattern can be as useful as a tidy run. Note where the prints become spaced farther apart, spread sideways or disappear into churned snow. Check whether the surface changed at the same point. A ditch, a turn or a snowbank can change the spacing over a few steps. Keep measurements from these sections separate so you can compare like with like.
Write down what you measured
- Print length and width. On a clear impression, measure from the front of the toes or hoof to the back of the print, and across its widest part. For a paw print, note claw marks separately so a long scratch does not become part of your length. If the toe tips or heel disappeared into a crumbled edge, record an approximate size or leave that dimension blank.
- Spacing along the trail. Use the same point on each print, such as its centre. Record spacing between adjacent prints as a step interval. For this guide, a stride means the distance between successive marks from the same foot. If you cannot work out which foot landed where, record the interval between visible marks or the distance between matching points in two clusters. State which measurement you used.
- Width across the trail. On a straight stretch, identify the outside edges of the farthest left and right prints. Measure across the direction of travel at right angles to the trail. Record the width of the repeated pattern and leave turns out of that measurement.
Some guides use different terms for spacing. If you share a note with someone else, write “centre to centre between neighbouring impressions” or “front left to the next front left” alongside the number. Saskatchewan’s field protocol asks surveyors to record print dimensions, stride, trail width, track depth and conditions. You can borrow its measurement and photography methods for the section already visible. Parks Canada advises visitors to avoid following tracks toward the animal. Saskatchewan snow-track survey protocol · Banff winter trail guidance · Mount Rainier stride diagram.
Suppose four print centres along a straight section fall at 0, 29, 58 and 86 cm on your tape. Your adjacent intervals are 29, 29 and 28 cm. If you can identify the first and third marks as prints of the same foot, the first stride is 58 cm. If the front and hind prints are merged, you may have no basis for assigning those marks to individual feet. A hind foot can land directly in the impression left by a forefoot, a pattern called direct register. Note a doubled edge as possible overlap and keep the adjacent measurements as such.
Notice when the surface is doing the drawing
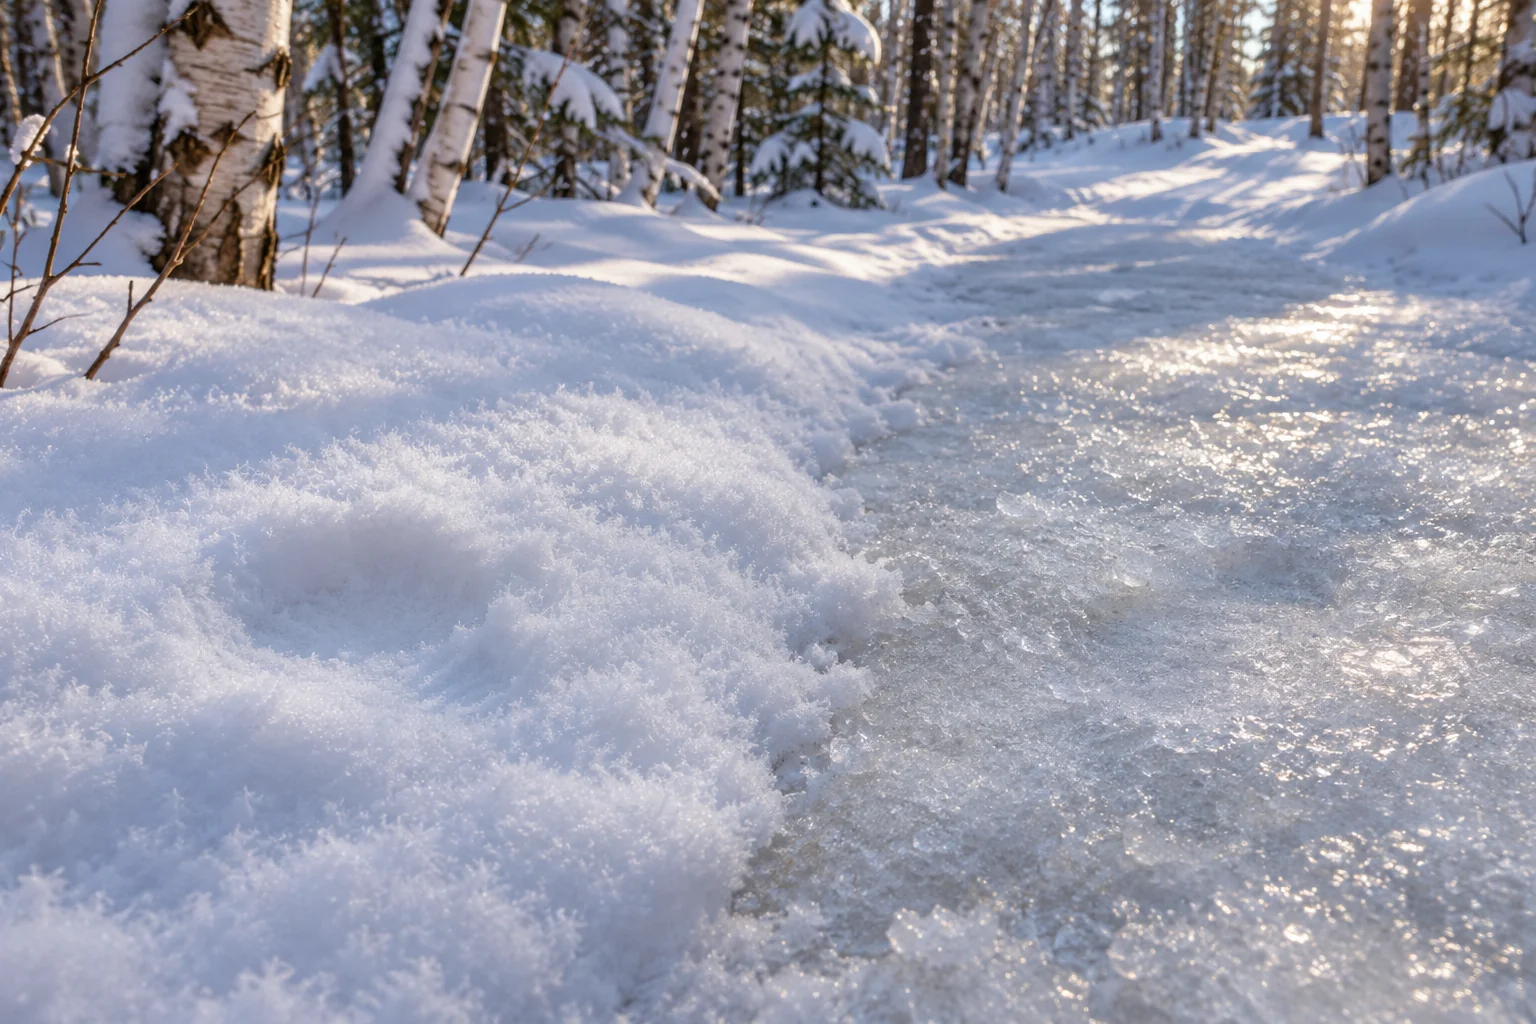
In shallow, cohesive snow you may get a usable toe and pad outline. In deep powder you may see a hole with no edges to measure. A crust can break wider than the foot that went through it. A muddy slope can add an uphill or downhill smear. Keep the imprint and the disturbance separate in your sketch. For example, write “two pads visible; scrape extends 3 cm downhill” and measure the visible pads separately from the scrape.
Sun, wind and later snowfall can round, fill or enlarge an impression. A sharp print in sheltered shade and a blurred one on the exposed side of the trail may differ because of weather. Note where each was found and whether a known event limits its possible age. If a clear print cuts through a thin snowfall you actually observed ending, it may have been made after that layer was deposited, provided drifting did not move the layer. Rounded edges alone will not tell you the hour the animal passed. Ontario wildlife survey guidance · New Mexico State University track guide.
Four practice cases for reading tracks in Canada
These are fictional field notes. The dimensions describe individual impressions in the examples and should not be used as species cutoffs.
1. A narrow line of paw prints on a packed Alberta path
Three readable impressions are about 6 cm long. Each shows four oval toe marks and a heel pad. Two prints show fine marks ahead of the central toes. The next few impressions are almost in one line, but you cannot separate front feet from hind feet. There are boot marks on the path. You have no visual record of the animal.
Log the print as canid-like. The length and shape are compatible with the coyote example in Banff’s carnivore guide. A dog remains possible on a shared route, and the line of travel does not settle it. Mark whether the pads are clear, save the consecutive intervals you can measure and omit same-foot stride. A close photograph of two intact prints gives a reviewer more than a longer photograph of poorly defined marks. Parks Canada’s carnivore track examples · University extension comparison of dog and coyote tracks.
2. Four-print clusters on the edge of a snowy Ontario trail
From the path you can see three clusters. In each cluster, two longer impressions sit beside each other at one end. Two smaller impressions lie behind them, one slightly ahead of the other. Between clusters there is a strip of undisturbed snow. The smaller prints have a readable outline, but the longer pair has furry-looking edges and little toe detail.
A hare is a candidate. The repeated arrangement gives you a better clue than the largest mark on its own. Hares bring their longer hind feet forward of the front feet during a bound. Compare the stagger of the smaller prints and the size difference with a local reference. Some squirrels also leave grouped bounding prints. If the group is partly buried or the small marks cannot be separated, leave the species open. Sketch one full cluster with an arrow towards the paired larger marks, then mark that direction as an inference. Canadian Wildlife Federation’s guide to winter tracks.
3. A split impression where meltwater crosses a trail
One impression in slush looks almost round. The trail also has three shallower impressions in wet soil, each with two long halves divided by a seam. The round mark is 2 cm wider than the next clear print. It sits in a patch where snow has sagged into the water.
Use the seam repeated in soil to record a split hoof, and keep the slushy width out of your size comparison. Consider which hoofed animals are plausible in that location, including livestock if the site is near managed pasture. One clear hoof group can be enough for a family-level note such as “deer family possible.” Where multiple deer species are plausible, a single track rarely justifies a species name. Write the widths of the clear marks as a range instead of averaging all four. British Columbia’s track comparison sheet · University extension notes on deer track variation.
4. A hoof trail and a paw trail meet at a pinch point
A row of split hooves crosses a paw trail where the open path narrows around a fallen branch. One paw impression cuts into the edge of a hoof mark. Both lines continue beyond the crossing. The nearest prints away from the crossing are in different patches of snow, so their sharpness is difficult to compare.
If the overlay is clear, record which mark locally overlaps the other. It may establish order at that one spot. There is no measured gap in time and the two lines do not show what the animals were doing elsewhere. Two routes through the same pinch point are enough to explain the crossing. Record two separate observations and keep any suggested interaction in the uncertainty column. A photo covering both approaches and the crossing will preserve what a tightly cropped paw photo would leave out.
Make a field record another person can check
Take an overview with several repeats, then an overhead photo of the clearest print. If you can reach it without stepping off the permitted route, set a metric ruler beside the mark on the same surface. Keep it out of the toe area and frame the entire heel, toe and scale. Hold the camera parallel to the surface to reduce distortion. If the only view is from across a ditch, take the photo you can and mark the size as unmeasured.
When side light is low, take a second photo from the same position with the print lit from the other side. A dark spot that looks like a fifth toe in one view may turn out to be shadow from a broken edge. Keep both frames, along with the original overview. If you share a crop, include the scale and the rest of the set so another person can judge what you could see.
- Conditions: Date and time observed, surface, recent weather you actually know, and whether the site was in sun, shade or wind.
- Evidence: Number of readable marks, print width and length where measurable, repeated pattern, and which distances came from the same surface.
- Interpretation: The most specific category you can defend, one plausible alternative and what evidence is missing. Note whether a direction comes from visible toe orientation or from the layout of a bound.
Keep the location general when sharing signs near a sensitive site. Use a reporting channel designated by the park or agency when staff ask for a precise location. If you post through iNaturalist, its geoprivacy guide explains the difference between open, obscured and private coordinates. Check your image and notes for details that could identify the site even when the map point is hidden. iNaturalist guidance on geoprivacy.
What to bring for a short tracking walk
Start with a phone or camera, a ruler marked in centimetres, and something to write on. Take the gear you can reach while standing safely on the trail. If you have to unpack your whole bag to record a track, the next person in your group may walk through the trail of prints while they wait.
Choose a scale you can set down without damaging the print
Choose a flat, matte ruler with large centimetre markings that contrast with the ground. Before leaving home, photograph it on a light surface and on a dark one. Check that you can read the units in the image after zooming. If a scale slips beneath the snow or sits on a ledge higher than the print, record the photograph as unscaled.
Use field notes to keep the trail and the close-up together
Give one trackway a short identifier and note the order of its photos. “A: photos 4–6, shaded patch beside packed snow, two clear edges” is more useful than “wolf?” as a filename. On a short walk in dry weather, paper you already have will do. If you often take notes in wet snow, consider a pocket notebook with water-resistant paper and a pencil. Keep the ruler and notebook separate when the ruler is muddy so you do not transfer grit onto the pages.
Compare two plausible matches at home
A detailed field guide earns its place when it lets you set two candidates side by side. Look for photos or drawings of both front and rear feet, notes on the trail pattern and a description of other signs the animal leaves. Start with animals known from the area you visited. List one feature that agrees with each candidate and one that is missing, uncertain or inconsistent. An illustration can look close even when the track sequence points to another group. Keep a broad identification in the log if the best features were blurred or hidden.
Borrow a guide from a library if you are still deciding how much detail you need. A large reference can stay at home while a notebook and phone go on the walk. On your next outing, try to record the one piece of evidence you were missing, such as a second clear print from the same visible trail or a wider shot that shows how the prints are grouped.
A field guide and notebook for your kit
As an Amazon Associate we earn from qualifying purchases. Check delivery and total cost for your address on Amazon.com.

For comparing tracks at home
Mammal Tracks & Sign, 2nd Edition
Mark Elbroch and Casey McFarland’s North American mammal reference for comparing photographs with more than one possible identification.
- The Stackpole Books edition combines photographs and illustrations for side-by-side comparisons.
- Species accounts cover tracks, trail patterns and other signs, so you can compare more than the shape of one print.
- The 680-page paperback is better suited to a desk or car kit than a jacket pocket.
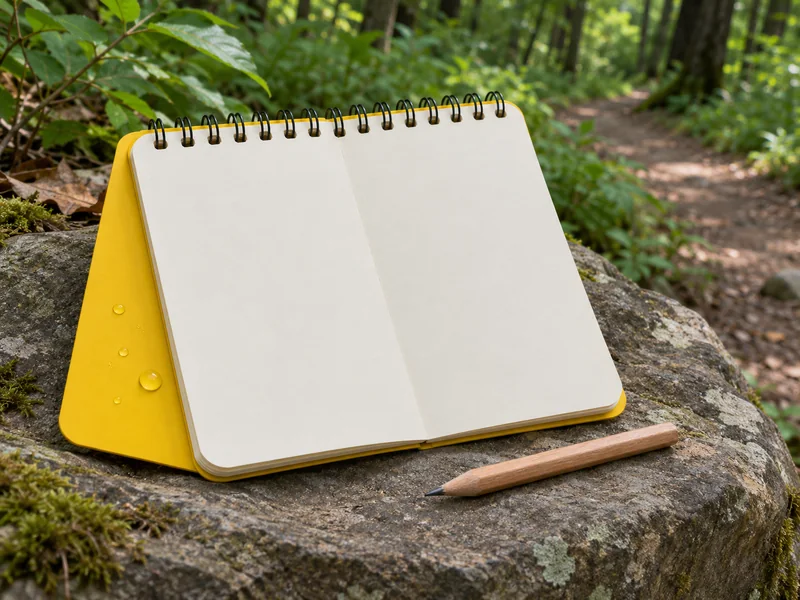
For jotting down measurements outdoors
Rite in the Rain 3 × 5 in Top-Spiral Notebook, 3-Pack
A yellow pocket notebook three-pack with all-weather paper for quick notes when a phone screen is awkward to use.
- Each notebook has 50 sheets of 3 × 5 inch paper for observations, photo numbers and simple sketches.
- The cover has metric and imperial ruler markings. Bring a separate ruler if you want to show a longer track sequence in scale.
- Pack a pencil for damp conditions and keep one notebook in your pocket so you can write without opening your pack.
Practise reading tracks on a guided walk
Affiliate disclosure: We may earn a commission if you book through this Viator link. Check seasonal dates, conditions and the exact meeting point before booking.
Banff, Alberta
Banff Winter Wilderness Walk with Wildlife Tracking
The route and the signs you encounter depend on trail and snow conditions. The walk offers practice reading sign without a promise of a particular species or a live animal sighting.
- A two-hour guided winter walk that teaches visitors to read animal tracks and other signs.
- Meet near Cave and Basin at 309 Cave Avenue in Banff. Plan your own transport to the meeting point.
- The listing offers walking poles on request and ice cleats when needed. Check the current age and mobility requirements before booking.
Canadian track references to use in the field
- Parks Canada’s Banff carnivore track guide compares the pads, toes and other clues in wolf, coyote and cougar prints.
- Alberta Parks’ animal tracks booklet illustrates common track patterns and terms used to describe spacing.
- Ontario Parks’ winter wildlife tracking guide explains how to start with patterns and consider the animals that occur in a park.
The Pre-Trip Protocol
Before the walk, check that your route is open and decide what you will do if visibility or footing changes. Bring a phone, a small scale and a way to note the surface and weather. Save a relevant regional reference offline if service is unreliable. Practise taking a close and a wide photograph somewhere you already know, using a boot print if there are no animal tracks nearby.
After the walk, compare your photographs in order and keep the original notes. If you need more than footprints, the guide to scat and other animal signs covers evidence you might see around the trail. The wolf viewing guide explains the difference between a chance encounter and an organized visit. Use the Canadian wildlife viewing guide when choosing a region for a wider trip.
Questions about identifying animal tracks
What can predator vs. prey tracks tell me about behaviour?
The shape can help you narrow down the animal group. A trackway can show where the steps changed. A print alone tells you little about why the animal passed through. Use the toes, pad or hoof shape first, then compare the trail and local range.
How can I tell a wolf track from a dog track?
A complete print and several repeated steps are more useful than a single size measurement. Large domestic dogs overlap with wolves. A straight path, visible claws or a large paw print alone cannot separate them. If the best evidence is four toes and a pad, “canid-like” is an honest result.
Do cat tracks ever show claws?
Cat tracks often lack visible claw points in an ordinary step. Substrate and movement can change what is visible. Compare the main pad and toe arrangement instead of treating claw visibility as a pass-or-fail test.
Can I tell how old a print is by looking at it?
Sharp edges are a description of the impression you see. They are an unreliable clock without a known change in weather or another event that sets a time boundary. Write down what you know, such as snow falling since the last confirmed observation.
What should I do if the trail might belong to a bear or cougar?
Stay on the permitted route and leave the track alone if checking it would take you closer to wildlife or into unsafe terrain. Follow the current park guidance and report the observation when the park asks for reports. A footprint by itself is a poor reason to change direction and look for the animal.