

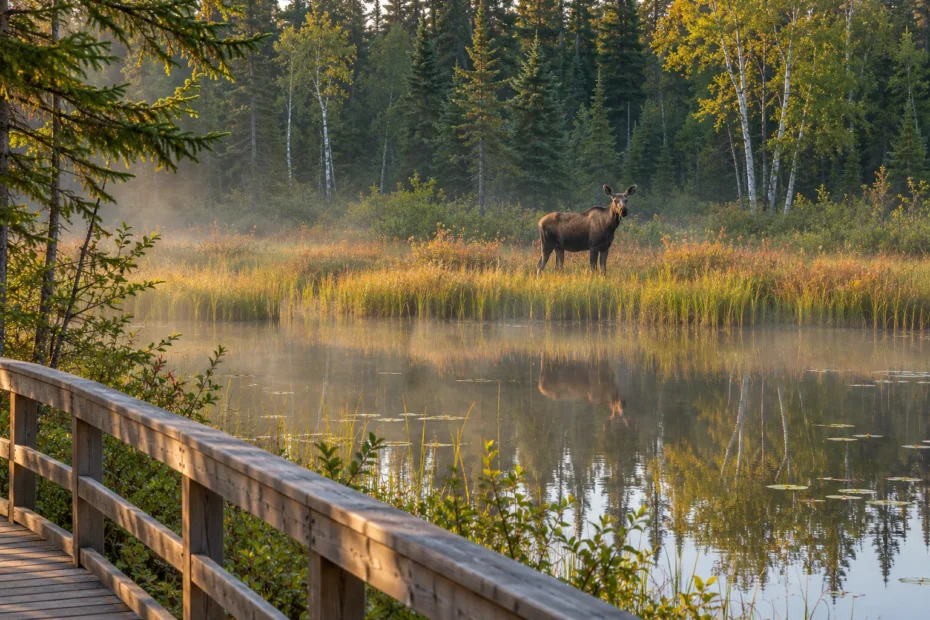
AI cover illustration of a moose across a Canadian marsh.
Scouting water sources for wildlife starts with a view of the edge. On a beaver pond, watch the seam between open water and sedges. On a creek, pick a bend you can see from an established trail. At a shallow marsh, scan the exposed margin before looking out to the farther pools.
Animals may use a wet place to feed, breed, rest or travel. A set of tracks by a pond can record one crossing without telling you why the animal was there. Choose a vantage point that lets you watch quietly and get back without crossing a bank, channel or patch of ice.
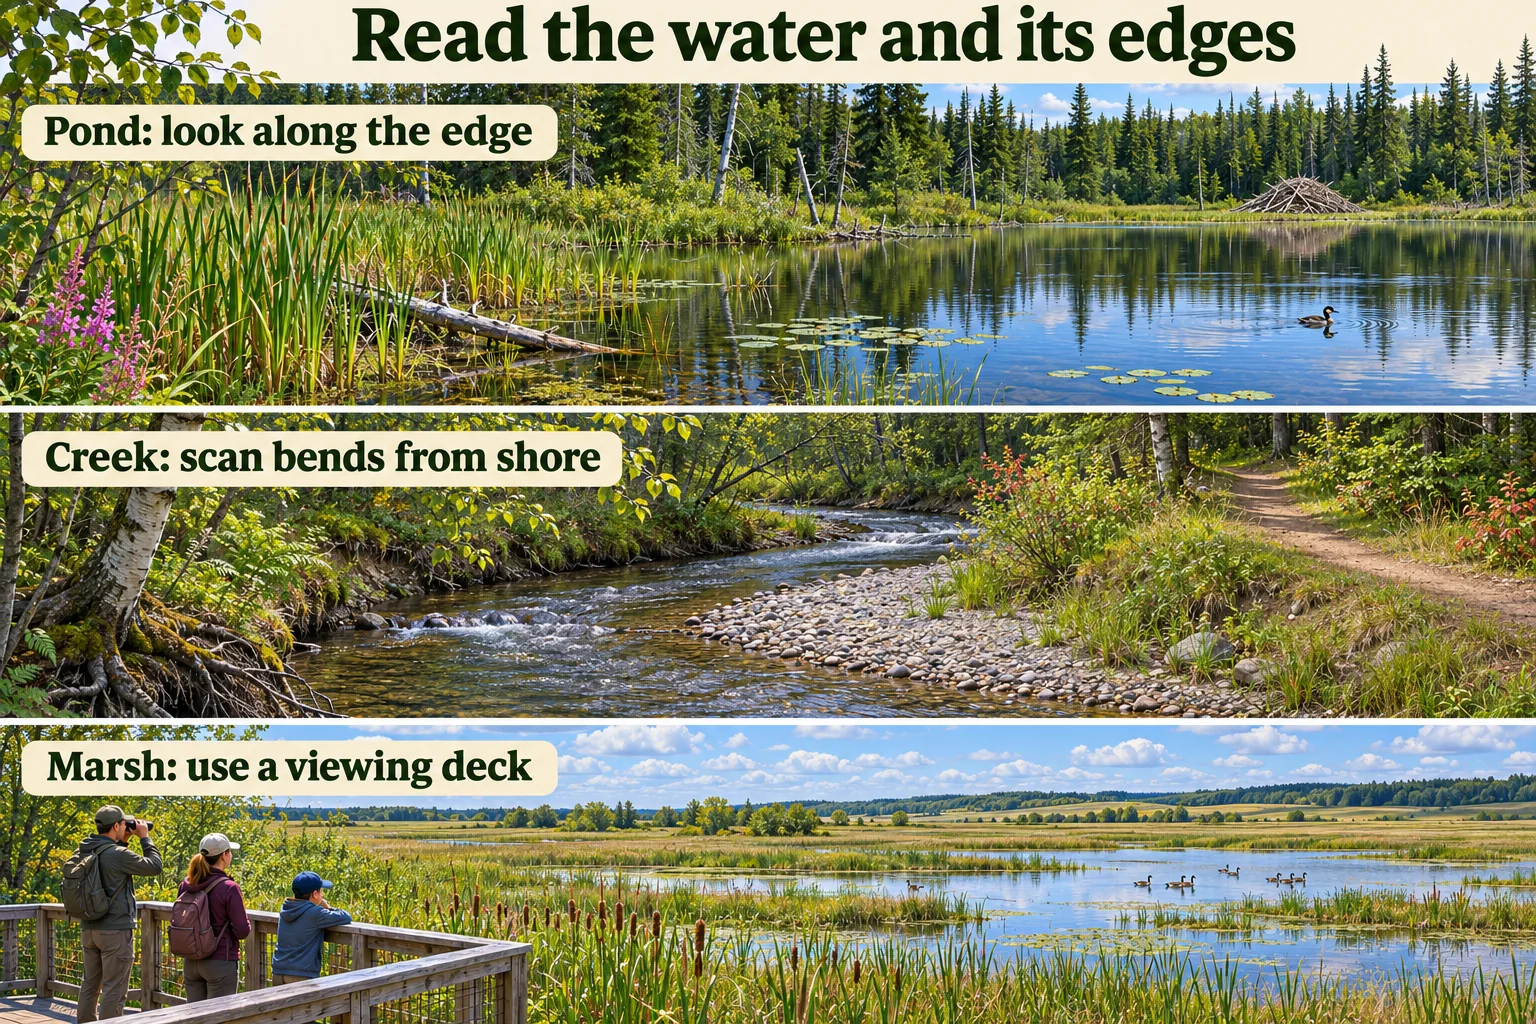
Read the water and the land beside it
Start by asking what an animal could do here. A shallow bay might offer plants to eat. A bank lined with shrubs might offer cover along a travel route. A pool in the middle of a marsh might be a resting place between feeding bouts. If you see an animal at any of these spots, watch what it does before calling it a drinking site.
Look for changes in depth, cover and footing. From one viewpoint you might see submerged vegetation at the near edge, tall reeds around the bend and open water beyond them. Each feature gives you something different to watch. Spend part of the visit on the seam where two features meet, then scan the open water and surrounding cover again. A map can help you find the bay. It rarely tells you which part of it is visible from the trail.
Beaver ponds and flooded woods
Start with the open lanes between flooded shrubs and standing dead trees. Parks Canada describes how beaver dams in Riding Mountain National Park create ponds and expand wet areas used by birds, fish, mammals, amphibians and insects. A place that looks like one flat pond from a distance can contain deep water, small pools and a ragged edge where newly flooded vegetation gives way to open water. Parks Canada on beaver-created habitat.
Gnawed stems and a dam tell you that beavers have worked there. They do not establish that a beaver is present during your visit. Compare the colour of cut surfaces with older exposed wood and note whether cuttings appear newly moved. Treat those comparisons as relative, since exposure and moisture change the look of wood. A wake is worth following with binoculars, but keep the record at “unidentified wake” if the animal stays hidden.
A beaver pond can retain water when a nearby shallow basin dries, but the effect depends on the site. Elk Island National Park monitors changes in the extent of its lakes and wetlands and identifies beaver dams, drought and flooding as possible drivers. Check what the pond actually holds now. A dam visible on a previous visit may have a much smaller pool behind it today. Parks Canada’s open-water monitoring.
Glynnis Hood and Suzanne Bayley compared aerial photos of east-central Alberta wetlands across more than five decades. Open water covered more area when beavers were present in the study wetlands, even during dry periods. That study compared water extent across a landscape. It gives you a reason to check both a beaver pond and a shallow basin after a dry spell. Neither the dam alone nor the historic image tells you how much water is behind a particular dam now. Hood and Bayley’s open-water study (PDF).
Creeks and riparian strips
A riparian strip is the land beside the water where moisture shapes the soil and plants. Alberta’s habitat guidance describes it as productive and sensitive to disturbance. At a creek, scan the cover beside the channel as carefully as the channel itself. A willow-lined bend can hide an animal passing through, while a gap in the shrubs can let you see whether it crossed, browsed or continued along the same bank. Alberta’s riparian habitat overview.
If a footbridge or lookout gives you a view up and down the creek, divide the scene into short reaches. Try a slow scan of the quiet edge behind a bend, then the gravel or mud exposed farther downstream. Two observations from the same position can reveal whether an animal stayed in cover or entered the water. Give the bank an honest visibility rating. A tunnel of alder can be excellent habitat and a poor place to confirm what is using it.
Prairie potholes and shallow sloughs
In southern Alberta, Saskatchewan and Manitoba, prairie potholes are shallow basins formed in glacial terrain. The Canadian Wildlife Service describes the region as important breeding and migration habitat for waterfowl and many other birds. Look for a sequence of basins with different amounts of water and cover. One may have open water and little vegetation, another a sedge fringe, and a third only a wet depression. Those are three observation opportunities with different sightlines. Canadian Wildlife Service Prairie Potholes strategy.
Compare a muddy margin with the middle of the nearest pool. Ducks tipping forward with their tails up are dabbling, while a bird that disappears below the surface and comes up farther away is diving. A mixed flock can spread out and regroup. For a snapshot count, scan the same patch in one direction and log groups as you see them. Write “at least” or give a range when birds keep swimming behind the sedges. A high number of visible birds at a remaining pool does not tell you whether the wider wetland network has more birds.
Lakeshore bays and marshes
Compare a sheltered bay with an exposed point. Start where submerged plants, open pockets and emergent plants meet. Point Pelee National Park describes a marsh with pools among the cattails, where fish live below the surface and frogs, turtles, muskrats and insects can be seen nearer the surface. An animal can stay in one small pocket of that mosaic for most of a watch without showing itself on the main lake. Parks Canada’s Point Pelee habitat guide.
In suitable Ontario waters, a moose standing in a plant-rich bay may be feeding. In one study, researchers observed more aquatic feeding in late June and early July than in late May and early June. Feeding had declined by late July at the study sites. If you see a moose lift vegetation from the water and chew, log feeding. If you can see only its head go down and come up, log that movement and leave the activity open. Fraser and colleagues’ study of seasonal aquatic feeding.
Notice what changed since the last visit
In spring, snowmelt may connect low areas that look separate on an aerial image. Water can cover an exposed feeding edge or spread it over a broader patch of grass and sedge. On a repeat visit, use a fixed landmark such as a downed trunk to tell where the water moved. In summer, falling water can expose new feeding ground while shrinking the shallows elsewhere. Start each scan with the current edge.
The time a shallow basin holds standing water is its hydroperiod. An Alberta prairie pothole study compared two years with similar total precipitation but different timing. The researchers linked the later precipitation year to a shorter hydroperiod and found different communities of birds and aquatic invertebrates. A rainy week can be misleading if you forget when the basin filled or dried. Record both the current water and any earlier observations you can date. Daniel and Rooney’s Alberta hydroperiod study.
In autumn, a flock resting in open water can be passing through. Note whether birds feed, rest or move through without settling. Parks Canada’s monitoring in Pacific Rim National Park Reserve uses beach and mudflat stopovers to study how migrating shorebirds rest and refuel. A flock can shift between habitats during its stay. A count from one point is a snapshot of what you could see there. Pacific Rim’s shorebird monitoring.
In winter, note open water, shore ice and snow cover separately. Snow can preserve tracks from different times, and freeze-up can conceal activity that would be visible in open water. In some beaver ponds, the animals can retain underwater access to the lodge even after the surface freezes. A quiet, frozen pond can still be occupied. Describe the surface and signs you can see without trying to inspect the lodge. Parks Canada on winter beaver habitat.
Record the sign before deciding what it means
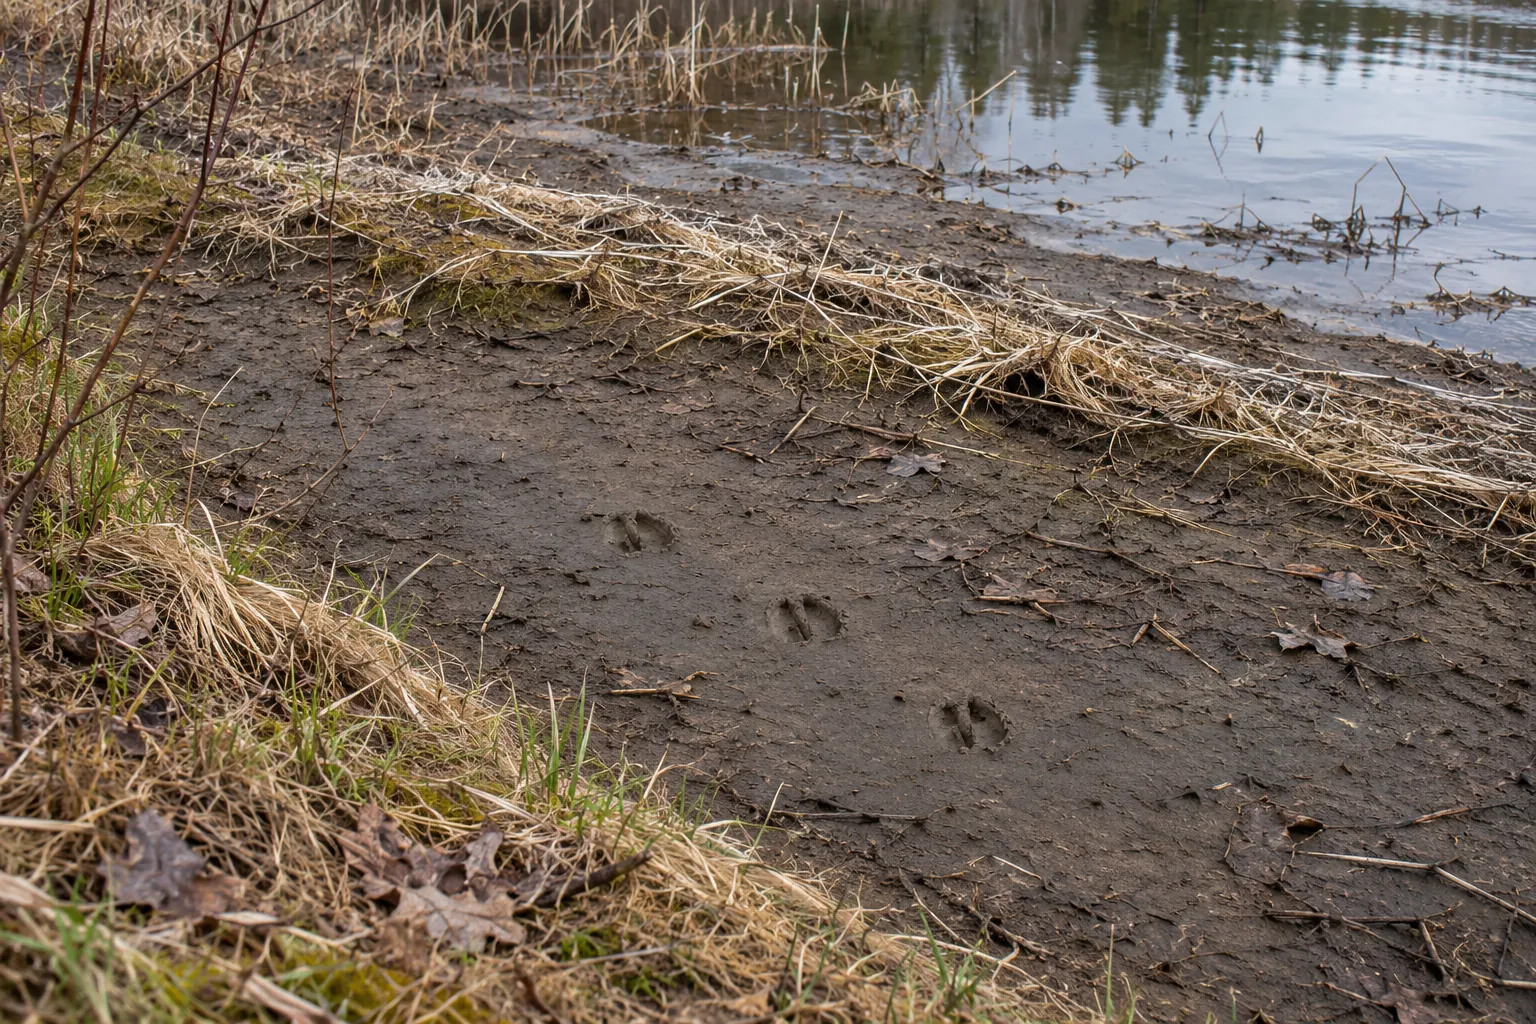
Look at sequences. Two parallel ripples that widen steadily could be the wake of a swimming animal, but wind and reflected waves can make patterns that look similar. A trackway that goes along a muddy margin supports movement along the edge. Tracks ending at the water tell you where the visible prints stop. They may not tell you whether the animal drank, entered the water or walked onto a surface that no longer held a print.
- At the waterline. Record whether the bottom was visible, how wide the wet margin looked and where tracks changed direction. Compare multiple prints before naming a species.
- In the cover. A rustle or repeated calls can direct your attention. Record what you heard and whether you could locate it. Save a species name for a reliable sight or sound.
- Across the water. Note how the light hit the far edge and what fraction of it was hidden. “No birds detected along the visible part of the far shore” is a more useful note than “empty pond.”
- On a repeat visit. Use the same observation point and a similar watch length if you want a comparison. Record the date, start time, wind and any large difference in water level or glare.
Glare can hide a low swimming head, wind can cover quiet calls, and dense reeds can mask movement a few metres from open water. Each of those changes what you can detect. In a field log, keep track of effort as well as sightings. Cornell Lab’s stationary birding protocol records where you watched, when you started and how long you stayed. Use that same idea for a personal log, even if you never submit the record. Cornell Lab’s guide to observation effort.
Try a short quiet watch from one established viewpoint. If birds pause feeding when you arrive or begin moving away repeatedly, give them more room and end that watch if the response continues. A bird may look in your direction for several reasons. You can change your position without having to prove what it noticed. If the spot is quiet and the view is still poor, return in different light instead of following wildlife around the edge.
Choose a viewing point you can reach and leave safely
Start with a dry route from the parking area to the place where you plan to stand. Then trace the same route back. A marsh may offer a better view from its far side, but that option disappears if the only approach is through private pasture, across a flooded causeway or over a thin shelf of ice. Pick the legal route first and accept the view it gives you. A raised platform lets you watch more of the water without moving toward the animals.
Check permission for the approach and the bank
Check the land manager’s map, official notices and signs at the entrance. Identify the parcel or unit, the authorized route and the place where you intend to stop. A public road can lead past private land, and a public viewing area can have trails or basins closed to visitors. In Saskatchewan, the province says people seeking recreational access to rural private property need the owner’s consent. An open farm gate or a visible track is no reason to enter. Ask before going and agree on the route, where to park and any gates you’ll pass. Saskatchewan’s rural access guidance.
Even inside a public reserve, check which activity and part of the site are open. Under the federal Wildlife Area Regulations, permissions in Schedule I.1 can be limited to designated places or periods. A trail mapped in the visitor guide may have a separate notice at its entrance, and permission to view from one unit may say little about access in a neighbouring unit. Check the site’s page before driving and read any current signs when you arrive. Wildlife Area Regulations, sections 3.1–3.2 and Schedule I.1.
When a boundary is unclear, give the managing office or landowner a location they can verify. Use a marked trailhead, named parking area or map pin. Ask about the route all the way to the viewing point. Get separate permission for any plan that involves leaving equipment behind. If you cannot establish access for your dates, keep a backup place on a verified public route. This is especially useful in agricultural country, where two wetlands on the same map can have very different access.
Choose an alternative when water or footing changes
Leave low river edges alone during high flows. Fast water can reach a trail while the bank above it looks intact. British Columbia warns that heavy rain can swell smaller streams quickly and make riverbanks more prone to collapse. If the approach is inundated, turn around. Use an open lookout well away from the edge, or go to a different site. For a gauged river, a Water Survey of Canada reading can help explain why the channel looks different, but a station measures its own location. Check local alerts and the actual route before leaving the trailhead. B.C. high-water and riverbank guidance · Water Survey of Canada gauges.
Keep muddy edges out of your route. Freshly exposed mud may hold excellent tracks and still offer poor footing. On a dry-looking bank, cracks, a fresh slump or ground undercut by the stream are reasons to give the edge more room. After a thaw, leave the snow shelf and ice alone. In southern Ontario, the Toronto and Region Conservation Authority warns that snowmelt and erosion can destabilize banks and advises staying off frozen rivers, streams and other water bodies in spring. If you came to watch an opening in the ice, watch it from an established dry position. A route that requires a frozen crossing is a poor choice for a viewing trip. TRCA spring water safety.
On a coast, check a tide prediction for the appropriate station, local wave forecasts and park notices. Allow for the retreat as well as the walk out. Swell can wash across a rocky bench or move drift logs before the predicted high tide, and a shallow gap on the way out can fill before you return. Recheck the route while you watch. If the dry way back is already narrowing, leave while it is still open. Move to a designated inland viewpoint or choose a different outing if you cannot keep a dry return route. Canadian Hydrographic Service tide predictions · Parks Canada’s Pacific Rim water hazards.
Give the species and the setting their own distance
Read the wildlife guidance for the site rather than borrowing a number from another park. For example, Parks Canada asks visitors in Banff to keep 30 metres from elk and 100 metres from bears. At Pacific Rim, the park asks visitors to allow at least 25 metres between themselves and shorebirds feeding or resting on the beach. These figures apply to different animals and places. Leave more room if wildlife interrupts feeding, looks repeatedly toward you or moves away. If the only way past a flock is to make it scatter, let the flock keep that part of the beach and turn back. Banff wildlife distances · Pacific Rim birding guidance.
Watch where the animal might go next. A beaver pond, creek or narrow shore can leave an animal one obvious route between water and cover. Pick a position off that line. When another group arrives from the opposite side, reconsider whether your position leaves an open way out. At a coastal haul-out, never make a resting seal enter the water for a photograph. The federal Marine Mammal Regulations prohibit disturbance and include approaching a marine mammal to cause it to move. Marine Mammal Regulations, section 7.
Agree on a place for everyone to stand before lifting binoculars or setting up a tripod. A crowded deck or narrow path can leave part of the group leaning toward the edge. If there is room for only two people at a rail, take turns and keep the rest of the route open. Plan where you will go if animals move toward the group. That decision is easier before someone is watching through a narrow viewfinder.
Three worked decisions at Canadian waters
These are fictional outings at real sites. The observation details are invented. Use the current site information and signs for any actual visit.
Last Mountain Lake, Saskatchewan · The shortcut crosses a field
On a fall morning, you arrive to watch waterfowl. A low point on the far side of the basin would give better light, and an obvious track runs from the road to the water. The track cuts through stubble outside the signed visitor route. You have no permission to use the field. You can instead follow the official approach to an open observation tower or trail and look across the basin from there. The federal site page identifies visitor facilities and authorized activities, and the sanctuary page notes that much of the surrounding land is privately farmed. Last Mountain Lake visitor information · Sanctuary access context.
From the public position, you can see ducks resting on open water and smaller birds moving along the shallow edge. The reeds hide the near corner. Record that the corner was out of view rather than entering the field to check it. On a return visit, check whether the official viewpoint offers better light later in the day. That changes the quality of the observation without changing the permitted route.
Big Creek, Ontario · The open trail ends at a closure
You arrive at the Big Creek Unit during fall migration. The short trail to the tower is open, but a notice closes the continuation farther into the marsh. Birds are feeding along a distant strip of open water and you could get a tighter frame by going beyond the sign. Stop at the open section and use the tower if it is accessible. Environment and Climate Change Canada describes the seasonal closure of the extension as a measure to give migrating birds space. It lists wildlife viewing at designated locations and times. Big Creek access and trail information.
From the tower, write down which pockets of open water you can see and where dense plants block the view. A few birds crossing one channel can be worth ten minutes of watching. Record the direction of movement and what you saw them do, then leave the interior marsh to the birds. If the short trail is also closed on the day, use another open site. Treat any old map or photo of the route as background information.
Pacific Rim, British Columbia · A rising tide shortens the beach
You plan to watch shorebirds from a wide stretch of sand. A rising tide and swell begin narrowing the route back past a rocky point. Small birds are feeding near the remaining dry line. Waiting for a break in the waves would leave you closer to both the water and the flock. Stop while the return remains clear. Stay on the open side of the point and look for a permitted, elevated viewpoint. If none is suitable, leave the shore. Parks Canada’s Pacific Rim advice pairs tide tables with swell and wave hazard information because a tide prediction alone cannot account for every wave. Pacific Rim shoreline planning.
Note that your watch ended when the safe viewing area narrowed. A shorter observation may show fewer birds for that reason alone. On a later trip, choose a more forgiving stretch and time based on the current tide, swell and access notices. Keep the same limit on how close you will stand when the flock shifts along the beach.
Plan two viewpoints before you set out
Start with the official trail map for the area and mark the public access, the maintained route and the place you want to stand. A map can show a wetland without showing a view of the wetland. Mature shrubs can hide the shoreline, and the shortest route on the screen can end at a fence. Check the land manager’s route description and notices as well as the map.
Aerial imagery is a good way to compare a straight ditch, a bend in a wooded stream and a shallow pool behind reeds. Check the date if it is available. A picture from a dry summer tells you little about where today’s high water ends. The Canadian National Wetlands Inventory overview describes the known mapped extent. Use it to find candidate habitats, then confirm the route and conditions locally.
- Choose a primary view. Look for an official deck, a broad trail segment or a maintained shore viewpoint. Mark where you will stand without blocking the path or walking down the bank.
- Choose a fallback that fails for a different reason. If your first stop is a low river boardwalk, a second low boardwalk on the same reach may also flood. A higher designated viewpoint on a different reach makes a more useful backup.
- Check what changed since the map was made. Look for closures, weather and any relevant flood, tide or flow notice. The Water Survey of Canada real-time data can help you spot a trend at a relevant river gauge. A reading from one station cannot establish that a bank, crossing or trail elsewhere is safe.
- Agree on when to turn around. A submerged boardwalk, a route that requires passing close to resting birds or a blocked exit is enough reason to use the fallback. Save the route on your device if coverage is unreliable. See the guide to maps and GPS for scouting for a way to record your own landmarks.
Where should you stop to watch?
Open the situation that matches the shoreline you can see. Start with the places the land manager has opened for visitors.
A pond has an open stretch and a belt of reeds
Scan the seam from the deck or trail. Watch a small gap in the reeds long enough to see whether animals are moving between the gap and open water. Leave the reed bed and any lodge undisturbed.
A creek bend is visible from the maintained trail
Stay on the trail. Scan the gravel margin, the inside bend and the cover beyond in turn. If a shrub hides part of the creek, write down the section you could see and keep the blind part out of your count.
A shallow marsh has a mud margin and a distant pool
Watch both zones from the same legal viewpoint. Count visible birds separately in the two areas and note if they move between them. Use binoculars instead of walking out to the mud.
High water has covered part of the route
Stop at the last permitted dry point or use the backup. Check notices from the land manager. An exposed railing, steps or a familiar trail line tells you where the route was. It gives no information about footing or current below the water.
You see tracks but no animals
Record the sign separately from the sighting list. Describe where the prints start, where they vanish and which surface preserved them. Leave any exact species or timing uncertain unless you have evidence.
Keep field notes you can compare on the next visit
Name the viewpoint, write down how long you watched and note the waterline against a feature you can see from the trail. A stump, post or distinct part of a gravel bar will do. Add which parts of the view were hidden by glare, fog or vegetation.
Count the number you can see together when birds are moving in and out of cover. If six ducks come out and three return behind the same reeds, you can write “at least six visible together.” Two groups passing the same gap can be the same birds circling back. Note flight direction or a distinctive feature if you have one.
Mark an observation as seen, heard or sign only. These are separate pieces of evidence. A splash without a view, a cut stem and an animal seen carrying a branch each support a different statement. The guide to reading behaviour from tracks can help you describe direction or a sequence while leaving the cause open.
| What you observed | Useful note | Next comparison |
|---|---|---|
| A broader strip of mud than last visit | The waterline receded relative to the same stump. Tracks are visible on the new margin. | Compare the visible surfaces before comparing track counts. |
| Ducks disappearing into tall reeds | Record the largest group you could see together and the direction of travel. | Repeat from the same deck with similar visibility. |
| No activity on the far shore | No animals detected during the watch. Glare obscured the far bank. | Return at a time with better light from the same permitted point. |
| The deck is closed | No observation at the original point. Name the alternate point separately. | Compare both locations only if you know how much habitat each one covers. |
Guide’s log · A fictional pond visit
I stop where an open rail gives me a view of a pond’s near and far edges. The far bank looks empty until I lower the binoculars and see a line of ripples spreading from a gap in the reeds. I pick a white stump beside the gap so I can find it again. Two dark birds swim out, cross a bright patch of water and disappear behind the stems before I can identify them.
On the way back, I see prints in a band of mud exposed below last week’s waterline. The boardwalk is dry, but the bank below it is soft. I leave the prints alone and write down where they are relative to the stump. I can see pairs of impressions along a short line. The rest of the trail disappears where the soil changes, and I cannot tell when the animal passed.
At home I save two entries. The first is a timed watch with two unidentified birds. The second is a sign observation, with no animal seen. On another visit I would use the same deck but pick an hour when light reaches the far edge from behind me. If the prints are gone, I will check whether the bank is wet again before drawing a conclusion about animal traffic.
Check the outing before you leave
Tick the items that apply to your plan. The checklist does not send your answers.
Bring the optics you can hold steady from your position. For your next outing, use the tracking and scouting hub to pair a watch from one place with a separate look for tracks on an open route.
Gear for a repeatable shoreline watch
As an Amazon Associate we earn from qualifying purchases. Check delivery and total cost for your address on Amazon.com.
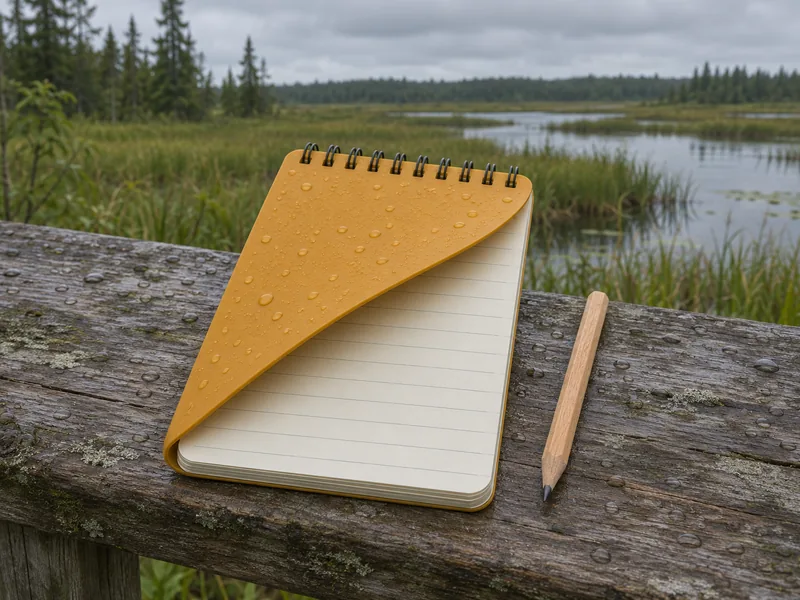
For a short field log in drizzle
Rite in the Rain No. 135 All-Weather Pocket Notebook
Give each visit its own line for time, water level and the part of the shoreline you could see.
- The 3 × 5 in sheets fit a small pocket notebook. Leave room on each page for a quick sketch of your viewpoint and the opposite bank.
- The yellow cover and top wire binding identify the No. 135 version. The book has 50 sheets, with a ruled grid pattern on 100 pages.
- Carry a pencil for damp conditions and write down a broad location if your notes might be shared. Keep exact sensitive wildlife locations in a private record.
For checking a distant bird after the scan
National Geographic Field Guide to the Birds of the United States and Canada—East, 2nd Edition
Use the illustrated paperback to narrow down a bird you watched from an eastern Canadian shoreline or viewing deck.
- This edition covers Canada and the United States east of the Rockies. Use a regional guide for a west-coast or mountain trip.
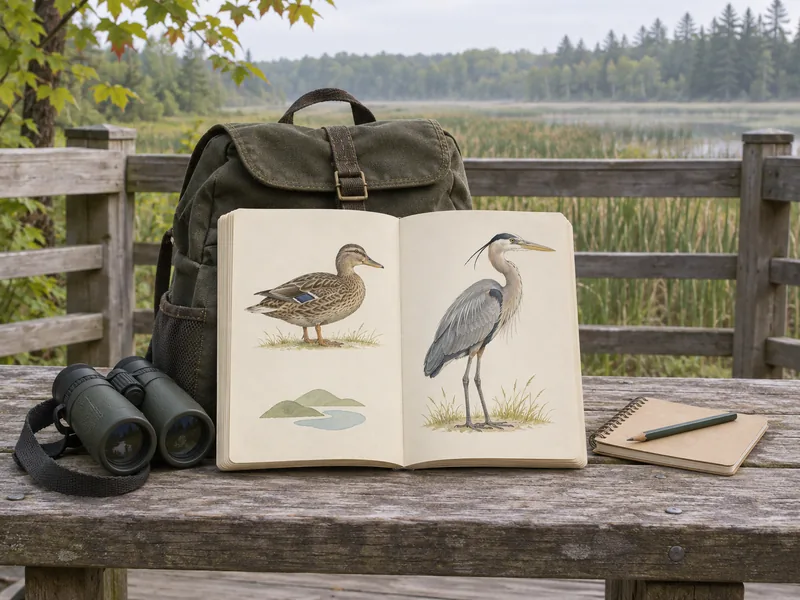
- Check the annotated illustrations against details you actually saw, such as the bill shape, neck position or a patch visible in flight.
- The paperback includes range maps. Compare the likely range with your observation, and leave the bird unidentified if the view was too brief.
See a mountain waterway with a local guide
Affiliate disclosure: We may earn a commission if you book through this Viator link. Check seasonal dates, conditions and the exact meeting point before booking.
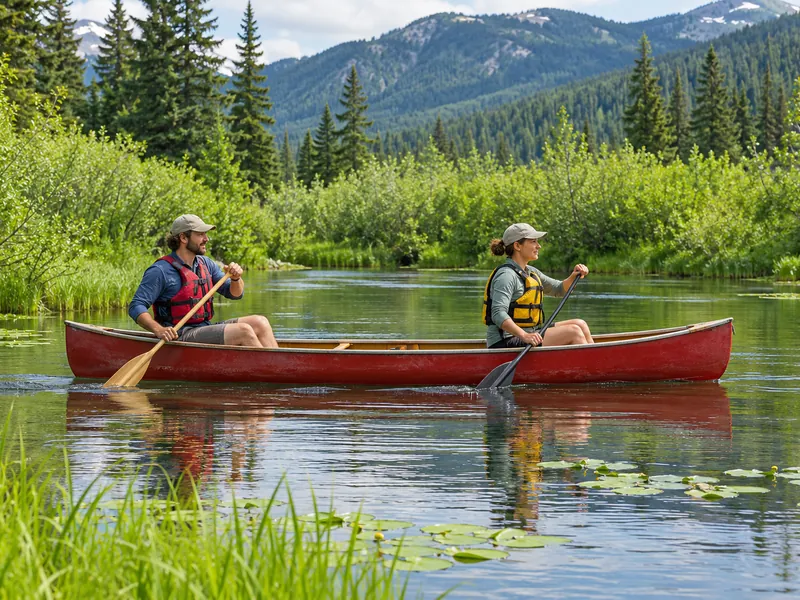
Alta Lake and Alta Creek, Whistler, British Columbia
River of Golden Dreams Canoe Tour in Whistler
Choose this trip if you want to compare a lake edge with a winding creek from a guided canoe. Ask the guide when to put the paddle down to watch the banks. Wildlife sightings vary.
- The guided summer paddle starts on Alta Lake. Watch the habitat shift from open water to lily pads and overhanging banks as the route enters Alta Creek.
- The listing includes equipment and a shuttle from Carleton Lodge in Whistler. Ask what river conditions and any portage mean for your departure.
- This is an active paddle. The operator requires guests to be able to swim, and the listing calls for two capable paddlers per canoe. Check group requirements before booking.
Questions about scouting water for wildlife
Do animals always come to water in dry weather?
Some may concentrate at remaining wet habitat, while others use other sources or shift their movements. Start with the places you can observe legally. Record what was wet and visible during the watch before comparing it with another visit.
Is dawn always the best time?
Pick a time that suits the habitat, the species you hope to see and the visibility from your vantage point. A later visit can give a better view if the bank is hidden by mist or the sun is shining into your binoculars. Compare visits of similar duration.
Can I use tracks to identify which animals drink there?
Tracks show movement over a surface. A readable sequence may support an identification, but tracks leading toward water may also record travel along the bank or a crossing. Describe the track, surface and direction separately from your interpretation.
Should I cross ice or wade to reach a better viewpoint?
Plan a dry route to a permitted viewpoint. A blocked route is a reason to change stops. The local authority’s current access and water-safety advice comes first, including any closure or warnings about current, ice or tide.
How can I watch a busy wetland without drawing a crowd to one bird?
Use an established deck or trail. Describe the animal relative to a landmark people can see from where they stand. Avoid sharing directions to sensitive nests or roosts. If people are crowding the view or birds keep interrupting what they were doing, end the watch.