

Cover illustration of an indistinct trackway in a boreal clearing, generated with AI.
Reading animal behaviour from tracks starts with a short sequence you can see from the trail. Look for a stretch where the steps repeat, a point where the pattern changes and something in the surroundings that could explain the change. Tracks can show where an animal moved or stopped leaving visible impressions. They give you much less certainty about why it did so.
A set of prints that spreads out on level snow may suggest a faster gait. If it spreads out exactly where the crust gives way, you have another explanation to consider. The useful result is a description another person could check, together with an explanation you are prepared to revise.
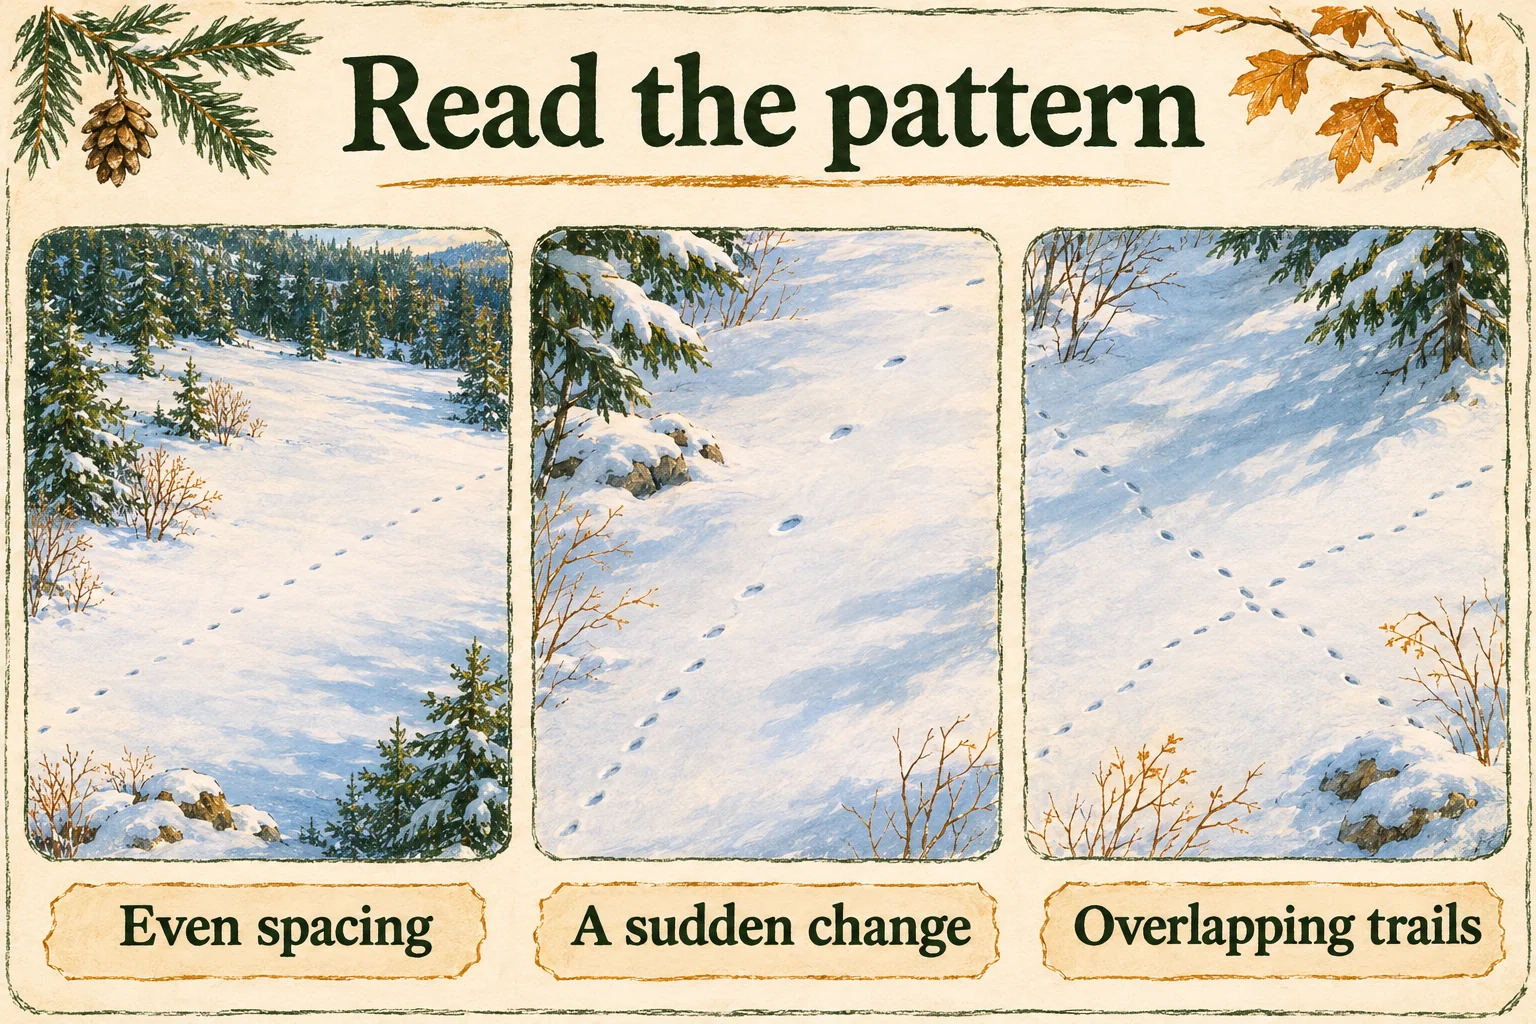
Reading animal behaviour from tracks by comparing short sections
Compare a few visible steps on either side of a change. Keep the surface in the picture. If the second section is incomplete, record the difference you can actually see and stop there.
| Visible pattern | What it can support | What else to check |
|---|---|---|
| Evenly spaced prints along one line | Consistent movement across that visible stretch. | A slope, path or wind-packed strip may explain the route. The line alone cannot show the destination. |
| A shift in gaps or print grouping | A possible change in gait, if the new pattern repeats. | Compare the ground before and after. A missing or merged print may make a gap look larger. |
| Short turns and disturbed ground near cover | Activity concentrated in a small area. Searching or feeding is possible. | Check for browse or another sign that would support a specific activity. |
| Two trackways overlap | Both sequences used the same ground. A clear overlap may give a local order. | Look for a definite edge that cuts another. Keep the time gap and any interaction open. |
What can you infer from this trackway?
Open the situation closest to what you can see. Each answer gives you a starting note and a check you can make from the permitted route.
The spacing changes on the same surface
Write: “The visible spacing changes here.” Look for the new pattern over several prints. A single long gap may be a step you cannot see. Keep a gait change as a possibility if the grouping changes too.
Prints circle a shrub or patch of exposed ground
Write: “Movement is concentrated around this feature.” Compare any visible browse, scratches or other signs with the pattern. Circling can also reflect footing, an obstacle or repeated visits.
A line ends beside a shallow depression
Write: “The visible line ends near a depression.” Check whether the marks approach and leave the depression and whether a fallen branch or drift could explain its shape. Leave it as a possible resting site if the evidence is incomplete.
Several trails converge or cross
Write: “Several lines use the same area.” Separate sequences only where their prints are distinct. An overlap may show which mark came later at that point. Shared routes can be used at different times.
The trackway disappears in crust, bare ground or deep powder
Write: “Visibility ends where the surface changes.” The animal could have kept moving beyond the last readable print. Photograph the transition and keep the missing section blank in your sketch.
Read what you can see from the open trail
Wildlife tracks are a record of earlier movement. You can learn from a visible segment without walking along the rest of the line. Parks Canada’s Banff winter guidance tells visitors to avoid following animal tracks toward the animal. Check the current bulletin for the park or reserve you are visiting, including any seasonal closures. Banff winter trail guidance
- Choose a safe place to stop. Stay on the permitted route, clear of traffic, steep banks and poor footing. If you cannot get close enough to take a useful picture, take a wider one.
- Leave sensitive spots alone. Keep away from dens, occupied resting sites and carcasses. If you see wildlife, give it space and follow local instructions. Leave immediately if staff tell you to move on.
- Report through the park’s channel. If staff request a report, share the place, time and what was actually visible. Keep sensitive locations out of public posts and remove location details from shared images where needed.
Rules and distances vary by place and animal. Use Parks Canada’s wildlife safety guidance to find the instructions for your visit. The CanadaFever guide to responsible wildlife viewing covers common decisions when an animal is present.
Read the movement before you assign a motive
Stand where the trail crosses your line of sight and look for the longest readable stretch. Sketch the route first, including changes of direction, gaps and the edges of different surfaces. Then mark any sequence that repeats. Write “even spacing across packed snow” or “closer steps beside the fallen trunk.” Those observations remain useful even if a second look changes your guess about the animal.
Recognize a sustained change in gait
Gait is the order and arrangement of footfalls. A trackway can suggest a walk, trot or bound when several successive placements show the same pattern. Foot spacing is part of that pattern. So are the placement of left and right prints and the way the front and hind feet land relative to one another. Alberta Parks publishes diagrams you can use to compare repeated arrangements. Alberta Parks’ winter tracking diagrams
Give more weight to a change that lasts across several sets of prints on the same surface. A single long gap could be a missing impression on hard ground, a step over a branch or a longer movement. If the new arrangement begins just where a trail turns uphill or crosses a snowbank, write down both changes. Compare it with a stretch on similar ground before assigning the difference to gait.
Sometimes a hind foot lands in the print of a front foot. This placement is called direct register. Parks Canada notes this overlap in walking cougars in Banff. Where the overlap is slightly offset, you may see two edges in one depression. Where it is exact, you may see just one. A row of depressions can therefore hide footfalls. When the feet are hard to separate, record the spacing between visible depressions and leave the individual stride unassigned. Banff National Park’s carnivore track notes
Explain route and pace separately
A relatively straight stretch with a repeated footfall pattern is good evidence of travel through that stretch. The route can follow a packed trail, a narrow gap through brush or the firm side of a ditch. When the prints take the same line as the easiest route through the terrain, record that relationship. You can describe where travel occurred and how the pattern changed without assigning a destination.
Researchers used GPS data from the Alberta–Saskatchewan border region to compare how wolves, black bears, moose and caribou used human-made linear features, such as roads and seismic lines. In their study, all four species moved faster on those features, while the species differed in how they selected or avoided them. Caribou data were limited. A rapid stretch across a cleared corridor is compatible with more than one reason for using it. Dickie and colleagues’ movement study
Record where the spacing lengthens or the pattern shifts from individual impressions to repeated groups. Speed in kilometres per hour requires a measure of time as well as distance. A timed observation or camera sequence can supply timing, provided you can connect it to the same animal and stretch. Without that connection, keep the note about the trackway separate from the timed record.
Snowfall can change both the evidence and the animal’s movements. In a study of 17 GPS-collared wolves in northeastern Alberta, wolves were less likely to be travelling on snowfall days than on the comparison days before or after. They also travelled more slowly during snowfall than 24 hours earlier. At a trail crossing, fresh snow may have covered an older route while animals changed how often they moved. Use the date and weather in your notes to describe the conditions under which you looked. Keep a blank stretch in your sketch so you can distinguish what you could see from where you had no clear reading. Droghini and Boutin’s study of snowfall and wolf movement
Tell travel, searching, feeding and resting apart
Start with where the pattern changes. A line may become irregular at a shrub, circle a stump or repeatedly turn towards a patch of exposed ground. Ask what the route makes accessible there. Shrubs can supply food or shelter. A gap beside a stump can make an otherwise awkward route easier. Record the turns and the feature they approach before deciding which explanation fits.
Look for a change concentrated in one patch
A winding series alone supports a description of route shape. Several clear turns, repeated approaches to the same small area and surface disturbance make localized activity a stronger reading. If the whole series bends wherever the undergrowth is thick, an obstacle explanation remains plausible. Compare the shape before, within and after the patch. The surrounding stretch is your best comparison when it was made by the same animal on similar ground.
Context helps explain why searching varies from place to place. During an eight-winter study in southwest Yukon, researchers used snow tracking and other records to study coyotes and lynx as snowshoe hare abundance changed. They reported more coyote activity hunting small mammals in open areas when hares were scarce, and more use of hunting beds by lynx during parts of the hare cycle. These were findings across repeated observations and seasons. The same species can use different tactics, depending on what is available. O’Donoghue and colleagues’ southwest Yukon field study
Connect possible feeding to an independent sign
Feeding becomes more plausible when a trackway stops at several reachable stems and disturbed or clipped material is visible at those stops. Start by documenting the position of the prints relative to the stems. Look for a repeated association from where you stand. Keep separate any browse marks that you cannot connect to the same path. A single old break in a twig near a set of tracks can come from another visit or another cause.
Compare nearby patches of exposed ground. If they have the same marks far from the prints, the association gets weaker. If the marks occur only where several readable tracks turn towards the same kind of plant, the association gets stronger. Record possible browsing and note what was visible at the stops.
Describe a possible bed before naming its use
An oval depression may be more interesting when a clear sequence enters it and another leaves it. Note the shape, the position of the prints and whether the connections can be traced in view. A depression beside a trail can also be a melt pocket, an impression left earlier or a place where an animal briefly lowered its body. The Yukon researchers separated resting beds, short lay-downs and crouches when recording signs. Apply that distinction by reporting “possible body impression connected to the trackway” when the evidence supports only that description. Yukon study methods for classifying beds
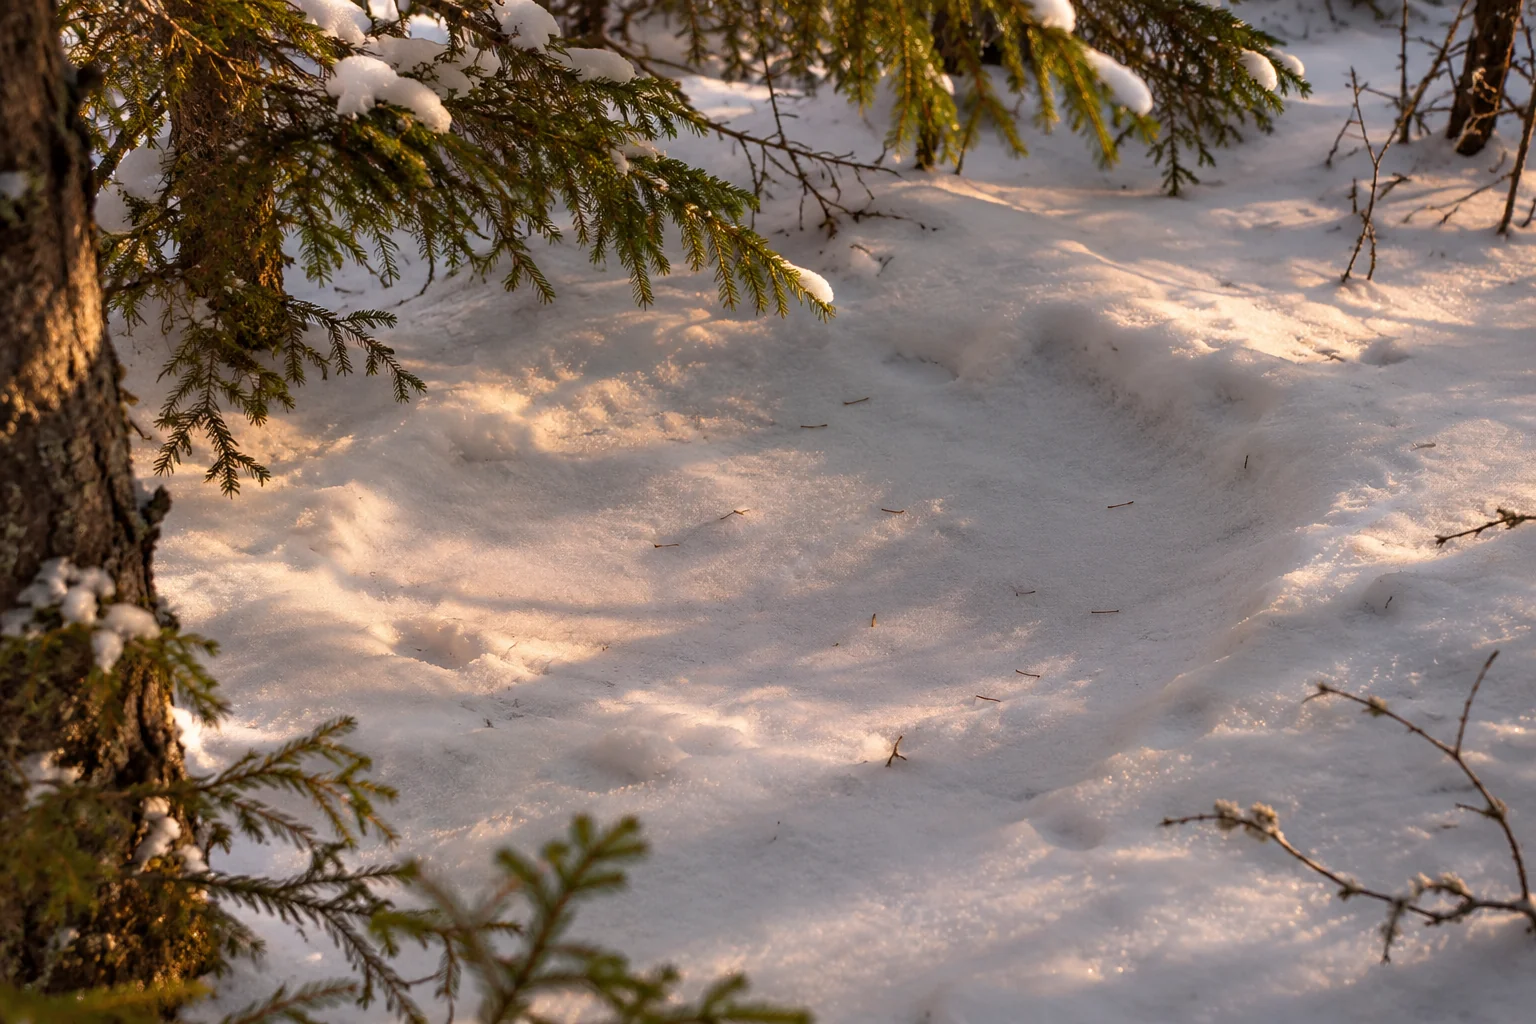
Leave potential beds and carcasses alone. Park staff can tell you which signs they want reported and how to send the location. In Riding Mountain National Park, professional wolf studies have used radio or GPS data and site investigations to study kills. That work shows how much additional evidence goes into identifying a kill site. From a public route, document only what you can safely see. Riding Mountain’s wolf research · Parks Canada’s wildlife guidance
Count visible trackways before estimating group size
Start by labelling lines A, B and C on a sketch. Give a line a label only where you can see repeated prints that belong together. At a junction, write whether the route turns, divides, crosses another line or becomes unreadable. A single animal making an out-and-back route can leave two lines. Several animals using the same trench can leave what looks like one. These are different reasons to report the number of readable lines first.
In a B.C. aerial survey in the North Cariboo Mountains and Narrow Lake ranges, surveyors used a minimum-count method for wolves. Their report describes wolves travelling in single file and individual tracks becoming visible where the animals separated in shallower snow. Crews also worked to avoid counting the same pack more than once. A visitor standing at a single trail crossing sees a much smaller piece of that evidence. B.C. wolf survey report and methods
Where three lines leave a trench in the same direction, you can reliably say that you saw three lines only if each one repeats and the routes remain distinguishable. Check whether any line loops back into the junction. If the next few steps disappear under a crust or on bare gravel, leave the number of animals unresolved. A note such as “three separate readable branches over the open patch, with the approach hidden in one trench” gives the reader the observation and its limit.
Repeated use over time can make a route look busy. If two lines cross and one clearly cuts into the other, that overlap may establish which impression came later at that point. It gives you no measured interval. If two lines run together for a while and there is no clear overlap, the sequence may fit either shared travel or separate visits. Record which tracks were actually connected and which were simply nearby. Ontario Parks’ deer surveys illustrate the difference between counting track crossings on a planned route and estimating animal numbers from those counts. Ontario Parks’ winter survey method
If you return on another day, mark the second visit as a separate observation. Use the same fixed view and note whether wind, thaw or snowfall changed the surface in between. Compare the number of readable crossings under those conditions. A larger count can mean more passages, easier detection or both. Leave the sketch with its date so the tracks from one walk do not become a running tally of individuals.
Five fictional field cases for reading animal behaviour from tracks
These practice cases take place in Canadian landscapes. The observations are invented and the sites are unnamed. In each case, work with the section visible from an open public route. Picture what you would write before reading the interpretation. A useful entry records where the evidence ends, such as a blind bend, a stretch of bare ground or an unsafe riverbank.
1. A paw trail joins a packed path in the Alberta Rockies
From the edge of an open winter walking trail, you see a series of deep paw impressions come out of loose snow. The line turns onto the packed path and runs along it. The prints there are shallower and more evenly spaced. Farther along, two impressions break away from the packed surface before the line disappears behind a mound.
The connected line supports a local route choice. If the animal was walking through soft snow, firm footing is one plausible reason it used the path. A study of wolf movement in Jasper shows how routes can change around roads and trails. Here the available prints leave several possible makers, and a different reason for the turn is easy to imagine. The path could have led through an opening in otherwise dense vegetation. The change in visible spacing could also reflect a difference in what the two surfaces preserved. Whittington and colleagues’ Jasper wolf movement study.
In one wide frame, record the turn, the gap in the vegetation and the edge of the packed path. If you can see the same footfall pattern on both sides, describe it. If a boot print obscures the join, label the two segments separately and mark their connection as uncertain. Leave the apparent exit where you saw it. Jasper’s winter trail guidance asks visitors to refrain from following tracks toward the animal. Parks Canada’s Jasper winter trail guidance.
2. Short hoof steps beside browsed shrubs in New Brunswick
A line of large hoof impressions passes three shrubs near a woodland trail. At the first shrub the marks bunch together and turn toward the stems. The pattern repeats at the second shrub. Several twig ends are torn. The tracks resume a more regular spacing beyond the third shrub. You can see the whole patch from the public path.
Browsing is plausible because the changes in movement recur where there is suitable food. Parks Canada describes moose in Fundy browsing woody material in winter, including bark, twigs and buds. Even if the tracks are consistent with moose, the broken ends could predate this visit. A load of snow could also have bent or snapped stems, and tracks might bunch simply because the animal had to turn around the shrub. Examine the association between the line and the damage before assigning them to the same event. Parks Canada’s Fundy moose account.
From where you stand, check whether the hoof marks show repeated stops beside damaged stems and carry on past intact plants. That pattern would support browsing more than one broken branch would. Record the twig damage and track pattern as separate observations. A moose standing near the route ends the exercise. Give it room and use the local wildlife instructions if it stays on the trail. Parks Canada’s moose safety guidance.
If you can see the damaged ends clearly, note their approximate height above the snow and whether they are on the same side of each shrub as the hoof impressions. The height helps another reader reconstruct what was within reach at the time of your visit. Leave it approximate when you have no scale.
3. Paw marks and a shallow slide on a New Brunswick riverbank
From a public bridge, you see a short set of paw impressions on a bank. They reach a narrow, smooth trough descending toward the water. You can see a second set near the lower end and a second trough a little farther along. The two features are partly hidden by a shadow under the bridge.
An otter slide fits the landscape and the apparent join between paw impressions and trough. Parks Canada’s otter monitoring in Kouchibouguac records tracks alongside other signs, including places where otters access water. Its Georgian Bay Islands wetlands guide describes the snow slides that river otters leave. The smooth strip alone could have formed from snow or water moving downhill. The paw marks could have crossed it later. Neither a smooth trough nor a set of prints shows why the animal went to the water. Parks Canada’s Kouchibouguac otter monitoring · Parks Canada’s Georgian Bay Islands wetland guide.
Look for a connection between readable prints and both ends of a trough using your camera zoom. Repeated transitions along the same visible line would make a slide more plausible. If the shadow hides a transition, leave it out of the sketch. Stay on the bridge or the public path. The bank and river ice are outside the observation area, regardless of how promising the lower marks look. Canadian Coast Guard ice safety advice.
4. A possible fox pounce in a British Columbia meadow
Along the visible edge of a meadow, a narrow paw trail leads to two deeper, closely spaced impressions. Snow is displaced at their edge. A short line of prints continues beyond the depression. Two similar hollows lie farther along the meadow edge, but from the path you can only trace one continuous approach.
A pounce is plausible if the paws belong to a fox. British Columbia’s red fox account describes foxes listening for small mammals and leaping onto prey under snow or grass. The tracks support a localized disturbance and a possible change in movement. The animal could also have landed after jumping a shallow dip or scuffed the snow while turning. Even a plausible pounce leaves the outcome unresolved. British Columbia’s red fox account.
Use the line you can actually see. In the photograph, check whether the approach and departure are both tied to the paired marks. Note whether a buried branch, depression or slope offers a competing reason for the change. If the other two hollows sit in untouched snow, record them separately until their connection is visible. An entry such as “paw sequence with a paired landing, possible pounce” keeps the observation useful without assigning prey or a successful hunt. Leave the meadow undisturbed when the only way to resolve the question is to walk off the permitted trail.
5. Oval depressions near conifers in central Ontario
Three broad depressions are visible under trees beside a winter trail. Hoof impressions reach the rim of one oval and continue away on the other side. A second hollow is cut by a newer boot print, and the third sits directly below a low branch carrying snow. Looking across the patch, you can see that the depressions have different outlines.
Record a possible bed at the oval with the connected hoof prints. Original field research from central Ontario found differences in the overhead cover and nearby trees at white-tailed deer bed sites used in different conditions. Cover makes a plausible place to rest, but its presence does not establish the species, time of day or length of the rest. The second and third hollows could be older impressions, fallen snow or differences in how the snow accumulated. One animal might also use more than one bed over time. Armstrong and colleagues’ Ontario bed-site study.
In your notes, pair each oval with its visible approach or leave the space blank. Compare a smooth compressed patch with the irregular hollows beside it. Separate the count of depressions from any estimate of animals. Keep the observation at the first oval if checking the others would take you into cover where an animal may be resting. A photo from the trail is enough to record the association.
Reconstruct the visible sequence in your notes
Use a wide photograph as your base map. Mark the public path and the direction you faced. Label the visible segments A and B. Add a separate mark for a twig, hollow or slide. If you lose the line behind a bush, draw the gap as you saw it. Back at home, you can compare the sketch with the image without relying on memory to join the two sides.
- Describe the marks. “A has four evenly spaced impressions in firm snow. B has two close marks beside a shrub.” Note the surface for each segment and the parts you could see.
- Write down both readings. A change in spacing near a shrub might fit a feeding stop or a turn around the stems. Add the observation that would separate those explanations, such as repeated stops at browse damage.
- Record the stopping point. “Line leaves the visible path after B” explains why the rest is unknown. Share the photograph and notes with park staff through their reporting channel if they request observations. Keep the location broad in a public post when the evidence is near shelter or resting cover.
Keep the date and time you recorded the signs separate from any time inferred for the animal’s passage. Where you know that a layer of fresh snow fell before the print appeared, describe the observation that fixes that boundary. When you have no event to anchor the timing, leave the passage time open.
When someone else was on the walk, compare your sketches before settling on a shared reading. If both of you saw the same turn but disagreed about which line continued, save that disagreement. A person reviewing the photos later can then look at the uncertain join first. Keep the original observation alongside any revised interpretation so the record shows why you changed your mind.
A small field kit for recording the sequence
Bring a phone or camera, a pencil, a scrap of paper and a metric scale you can set down without disturbing the impressions. A ruler you already own will handle a single print or a small cluster. A tape is useful when the distance you want to record extends across several impressions. Plan to photograph only what you can reach or see from the permitted route.
Give the scale a job in each photo
Take one wide frame of the whole section before bringing the scale into view. That frame preserves the bend, slope or change in surface that may explain a change in spacing. For the measuring shot, set the scale alongside the visible section on the same plane as the prints and take the picture from above if you can do so safely. Leave the units visible and capture the relevant marks at both ends. If you cannot fit the full length in a readable frame, write down the measurement and show its endpoints in separate photos.
A retractable blade can curl, lift above the print or move when released. Use a short extension you can control, keep it away from soft edges and guide it back into the case after the shot. Write down which marks you measured between. If you cannot tell which feet left them, describe the result as spacing between the visible impressions. A number will help someone reconstruct the scene only if they can see what the number refers to.
Keep your photos connected at home
Save the uncropped originals. Copy your notes next to the pictures and give each sequence a short name. For example, give the photo of the whole bend and the two close views the same label so you can tell which pictures belong together. If you revisit the location after another snowfall, start a new entry. A separate date makes it easier to keep later impressions from filling gaps in the earlier record.
Use an illustrated reference to compare the arrangement of the feet, the spacing and the terrain. Pick one feature that fits your first interpretation and another that might support a different explanation. The U.S. National Park Service’s trackway diagrams give you labelled examples of measurements and gait patterns. For more practice, borrow a tracking book from the library and see whether its illustrations help you make sense of your own sequence before buying a copy. The figures are best used beside your notes, where you can check which parts of the sequence you actually saw.
Two tools for recording and interpreting trackways
As an Amazon Associate we earn from qualifying purchases. Check delivery and total cost for your address on Amazon.com.
For comparing movement patterns
The Tracker’s Field Guide, Third Edition
James Lowery’s Falcon Guides manual uses photographs and diagrams to show how animal movement appears in a sequence of tracks.
- Illustrations and photographs help you compare your sequence with examples of movement.
- Species notes connect the track patterns with animal biology and habitat.
- The 416-page trade paperback makes a practical reference when reviewing your notes at home.
For measuring spacing between prints
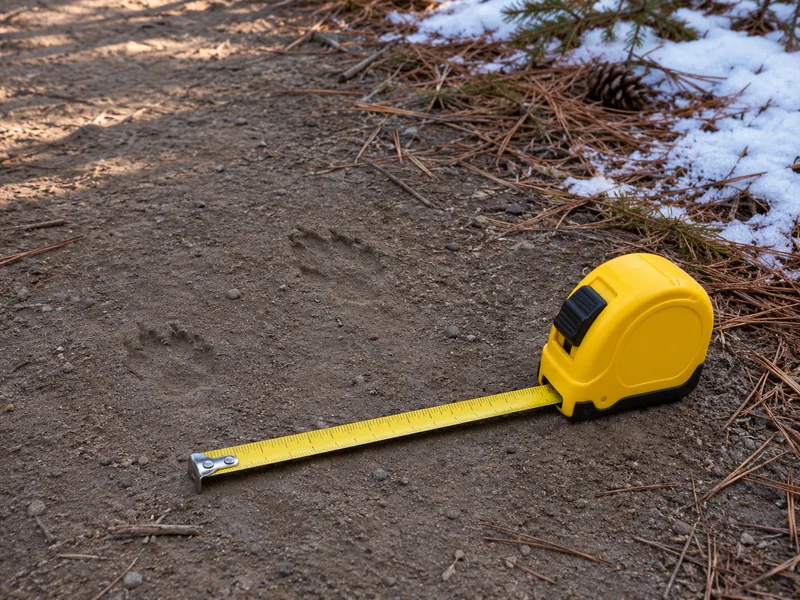
Komelon 4912IM Inch/Metric Tape Measure
A compact retractable tape for recording distances across several visible impressions where there is room to work beside the trail.
- Metric markings let you record distances in centimetres without a conversion.
- The 12-foot model gives you more reach than a pocket ruler when several prints are visible.
- A slide lock holds the blade at the extension you need for the measurement photo.
Learn about wildlife behaviour on a guided drive
Affiliate disclosure: We may earn a commission if you book through this Viator link. Check seasonal dates, conditions and the exact meeting point before booking.
Banff, Alberta
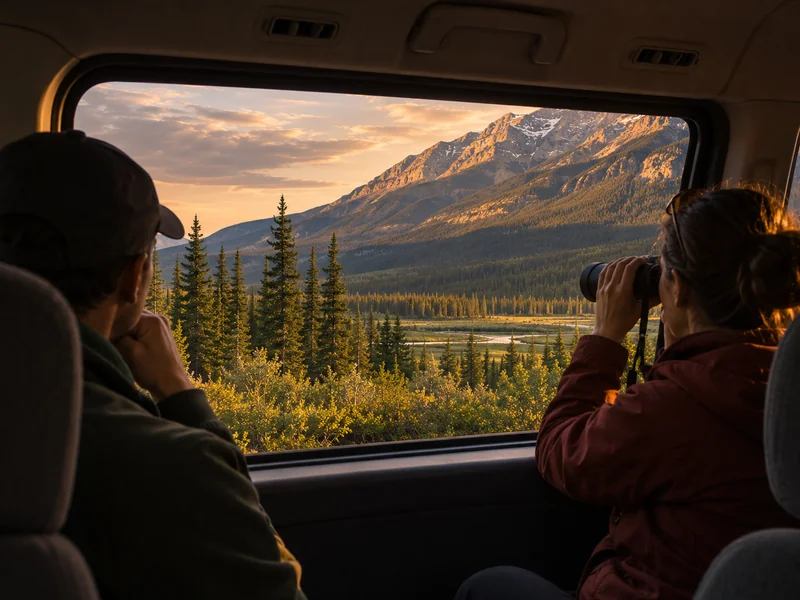
Banff 3 Hour Evening Wildlife Viewing Tour
Choose this outing for guided wildlife observation and interpretation. Weather and wildlife activity shape the route, so the signs and animals you see will vary.
- The guide discusses animal behaviour and how wildlife activity changes with the seasons.
- The three-hour outing runs mainly by vehicle, with short stops when conditions allow. In winter the guide may point out tracks in the snow.
- The listing specifies ages eight and up and marks the tour as not wheelchair accessible.
Field references and a plan for your next walk
Practise on a short path with a known start and finish. Photograph a few steps of your own trail as a control. Save a wider photo and one close image for each wildlife sequence you record, then write down the reason you stopped recording it. A closure, loss of visibility or unsafe footing belongs in the notes just as much as a clear print does.
The Pre-Trip Protocol
- Check access and daylight for the actual trail. Save your local wildlife guidance before leaving home.
- Pick one question to practise, such as whether spacing stays the same across two surfaces. Bring a way to record the order of photos.
- Compare the photos and notes after the walk. Keep the first observation intact and add any revised explanation separately.
For species comparisons, use the guide to paws, hooves and common track shapes. For evidence around a trail, see scat and other animal signs. The tracking and scouting guide puts this exercise in a broader field plan. If your trip is mainly for wildlife observation, the Canadian wildlife viewing guide can help you choose an outing.
Questions about reading animal behaviour from tracks
Can I tell if an animal was running?
Longer gaps and a different grouping may support a faster gait when they repeat on comparable ground. A single long gap could mean that one print was hidden by crust or did not register.
Do crossing tracks mean one animal chased the other?
Two animals may have used the same route hours apart. A clear overlap can show which impression is on top at one point, but usually gives no elapsed time or proof of a chase.
How many animals made a line of tracks?
A single line can be used by several animals, or by one animal more than once. Where distinct tracks briefly separate, you can sometimes record a minimum number of visible lines. Converting those lines into an animal count requires more evidence.
Is a depression in snow an animal bed?
Compare its shape, the approach and departure marks and anything else visible from the path. A shallow hollow can also be caused by settling snow, vegetation or a branch. Note it as a possible bed when the evidence is incomplete.
Should I follow a fresh track to learn more?
Use the segment visible from the open trail and leave the animal room. A wider photograph is often enough to show the sequence. Check local rules before stopping or moving closer, and stay back from carcasses, dens and wildlife.