

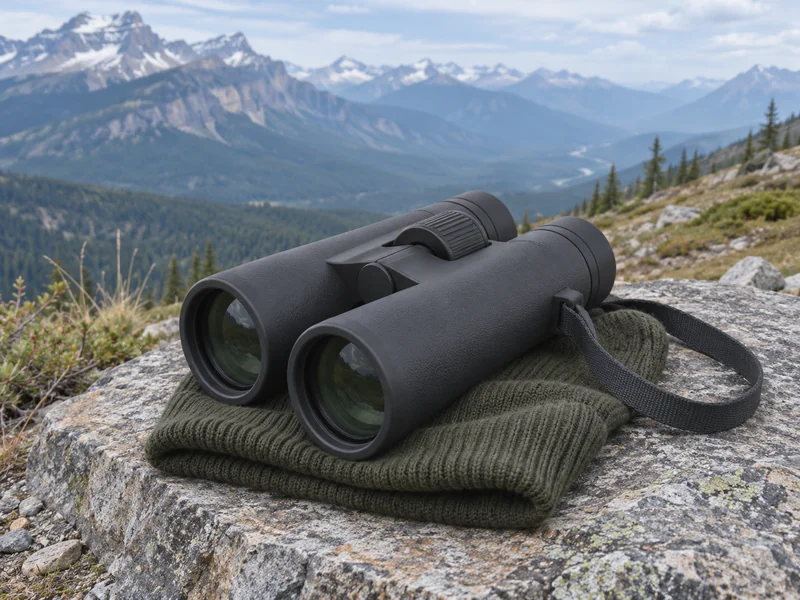
Cover illustration of binoculars at a mountain lookout, generated with AI.
Scouting with binoculars starts with finding a subject and keeping it in view. An 8×42 is a practical starting point when you walk through mixed terrain and scan by hand. A steady 10× can show more detail across an opening. Bring a spotting scope when you expect to spend time at one safe viewpoint with a stable place for the tripod.
Choose the tool for the view you need. The best setup for watching a moving bird between spruce branches may be different from the one you would use to study a distant bird on a lake. Before buying anything, try the binoculars you already have from the kind of place you expect to use them.
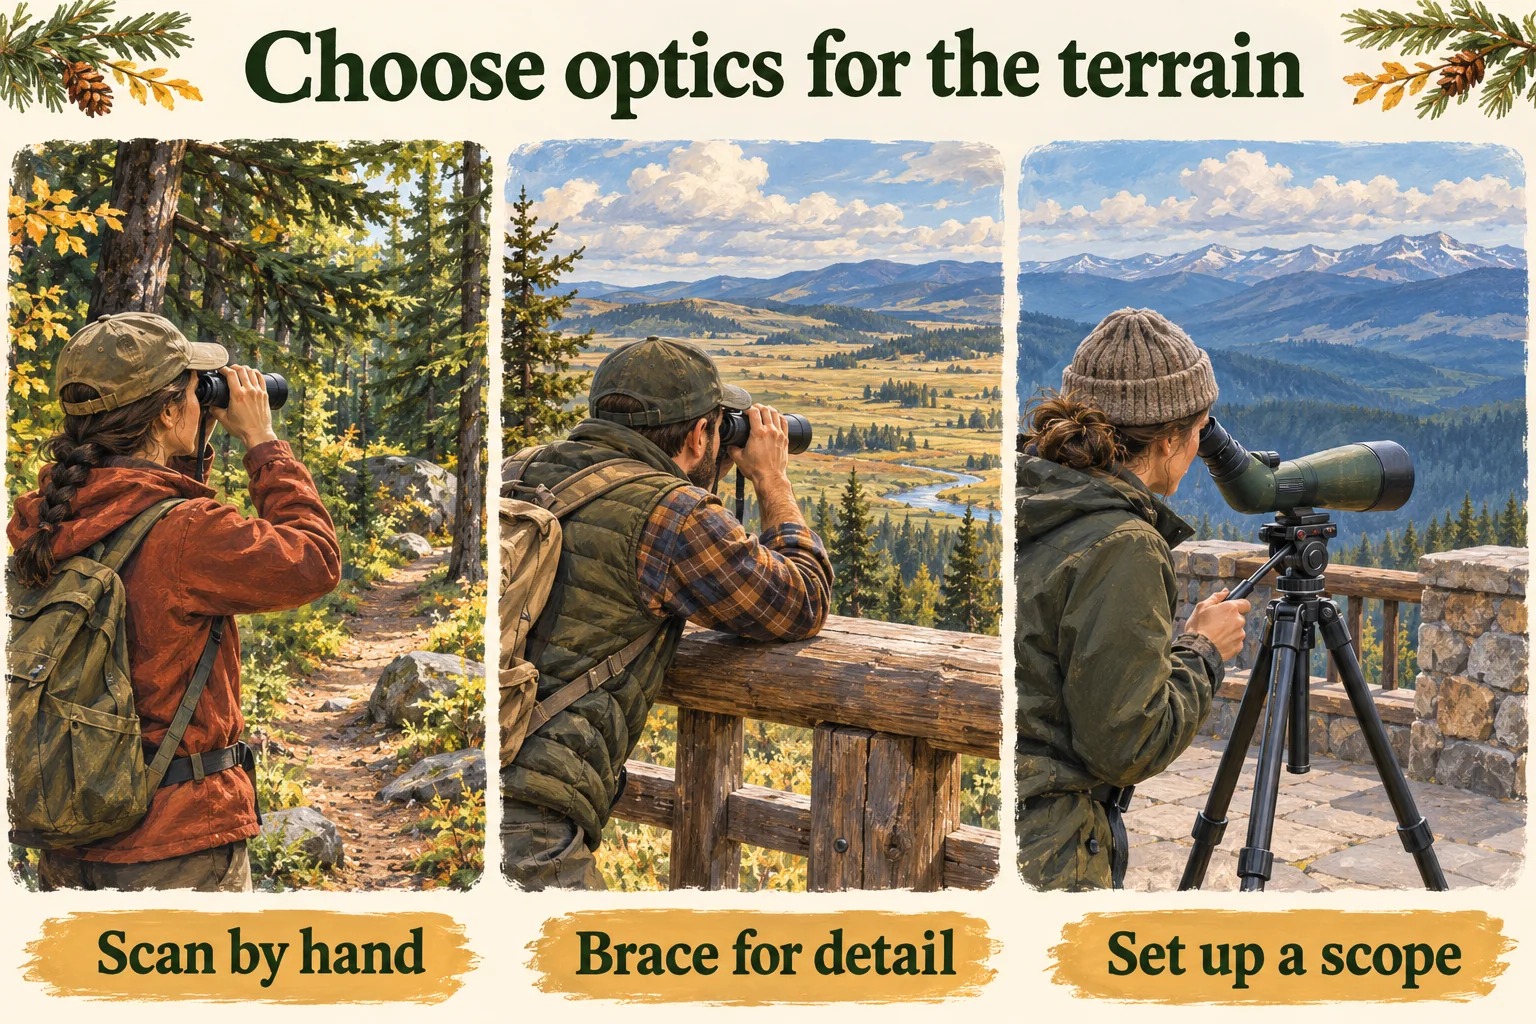
Scouting with binoculars and optics by terrain
Use these setups as starting points. Compare the actual field of view, fit and weight of the models you try. A pair that is awkward with glasses or gloves can slow you down even when its specifications look good.
| Where you scout | Start with | What to test |
|---|---|---|
| Wooded trails and short stops | Handheld 8× binoculars with a field of view that lets you find a moving subject. | Raise them while looking at a branch. See whether it stays near the centre of the view. |
| Open valleys and field edges | 8× for the search. Try a braced 10× for details when you can hold it steady. | Look at the same distant object with both. Check whether the extra magnification helps you see anything new. |
| Wetland overlooks and long watches | Binoculars to locate a subject, then a scope on a stable tripod if the view warrants it. | Find the subject again at low zoom. Check what wind, moving air and the surface do to the image. |
Nikon’s optics guide illustrates differences in magnification and viewing needs.
Which optics should you take?
Open the condition most likely to limit your view. Use the suggested check to compare what you have with the setup you are considering.
I walk most of the day and stop briefly
Start with the pair you can wear and reach easily. Try a lighter 8× if the full-size pair stays in the bag. Check that the view is wide enough to find a nearby landmark quickly in both sun and shade.
I need to see a detail on the far side of an opening
Try the same view with your elbows supported. If a braced 10× resolves a feature you miss at 8×, it may be worth carrying. Keep the binoculars you can use to find the subject in the first place.
I usually watch from a fixed deck or lookout
Bring a scope only when you have room for a tripod and a useful view at its lower power. Scan with binoculars, set the scope on a fixed landmark and increase zoom after the image settles.
I wear glasses or struggle with dark edges
Try the eyecups in their lower position with your usual glasses. Adjust the hinge and check whether you see one full field with the binoculars held comfortably. Compare models in person if the advertised eye relief does not match the view you get.
Wind, rain or heat shimmer keeps ruining the view
Use a sheltered permitted position when available, brace the optics and lower the magnification on a zoom scope. Wipe exterior moisture as the maker directs. Give up the detail if conditions still hide it. You can record the broader view and return under different conditions.
Choose optics for the ground you can see
Think about the first ten seconds after you notice movement. On an Ontario forest trail you may have a narrow opening between trunks and a subject moving out of it. At an open prairie wetland you may have time to watch a distant flock settle. The first situation rewards a binocular that comes to your eyes quickly. The second may give you a chance to brace your binoculars or use a scope.
Compare 8× and 10× on the same subject
In 8×42, the first number gives the magnification and the second gives the diameter of each front objective in millimetres. At the same distance, 10× presents a feature at about 1.25 times the apparent angular size it has at 8×. It also magnifies the visible movement of your hands. At a windy lookout or during a long standing scan, the amount of detail you can hold steady matters more than the difference printed on the barrel. Nikon’s binocular specification guide
Try both powers on a distant sign or textured tree trunk. Look for a line of lettering or a small patch of bark you can keep in view for several seconds. Repeat the test with your elbows supported. If 10× reveals a repeatable detail only when you brace it, that gives you a useful condition for choosing it. If you usually stop briefly and scan standing up, give more weight to what you could read in the unsupported test.
Compare the real field of view as well. Nikon’s matched 8×42 and 10×42 Action examples list widths of 140 m and 119 m respectively at 1,000 m. At 100 m the same angles span about 14 m and 11.9 m. The extra 2.1 m can keep a moving subject and a nearby landmark in view together. Other models use different eyepieces, so compare their published real angles or widths at the same distance. Some North American specifications use feet at 1,000 yards. Check the units before ranking the numbers. Nikon’s matched field-of-view examples
Decide how much objective diameter you want to carry
For a mostly daylight outing, a compact 8×32 can make sense if it rides comfortably on the strap and you can work its focus in your gloves. On a shaded boreal edge, try an 8×42 alongside it before deciding. An objective with a larger effective diameter gathers more light at the same power, all else equal, and typically adds size or weight. Compare the actual models. A binocular with better balance may feel easier to hold even if the scale says it is heavier. Nikon’s objective and magnification guide
Exit pupil is the diameter of the little disc of light available behind each eyepiece. Divide the effective objective diameter by the magnification. An 8×32 gives 4.0 mm, an 8×42 gives 5.25 mm, a 10×42 gives 4.2 mm and a 10×50 gives 5.0 mm. These numbers describe geometry. In daylight, if your eye’s pupil is smaller than either exit pupil, it can accept only part of either beam. As your pupils open in dimmer light, the larger exit pupil can become useful. Transmission and contrast also affect what you see, so compare the view in similar light. Nikon’s exit-pupil explanation
Use the ratio to see why a 10×50 and an 8×42 can have similar exit pupils even though the 10×50 uses larger glass. They still differ in power, and their fields, weight and fit can differ. If the larger pair is awkward to reach from under a jacket or requires both hands to get out of a case, that can matter on a walk with brief viewing windows. For a fixed observation shelter, you can give the view more weight because the binocular can stay within reach.
Check eye relief, close focus and coatings by looking through them
Eye relief describes how far behind the eyepiece your eye should sit to see the full field. If you wear glasses in the field, leave them on for the comparison. Try the eyecups retracted, then use any intermediate settings to see which position gives you a full circular view without pressing on your frames. Frame shape and the way the eyecup fits can change how much of the advertised field you see. The published millimetres help you narrow the shortlist. Your own glasses tell you whether the fit works. Nikon’s definitions of eye relief and field of view
Close focus is worth checking if you also watch insects, nearby birds or details on bark. Point the binoculars at a nearby object you can safely inspect from where you stand. Check whether you can focus both eyes comfortably at that distance. A long minimum focus distance may suit an open headland and become frustrating in a small observation shelter.
For a pair you share, have each person try the hinge range. The distance between the eyepieces has to match the distance between their pupils. If the hinge reaches its limit before both views form one circle, a higher specification elsewhere will do little for that user. While comparing binoculars, wear the gloves you use on cold mornings. Try moving from a close branch to a distant roofline without shifting your grip. A focus knob you can reach with one finger is easier to use when one hand needs to steady the barrels. Nikon’s guide to eyecups and pupil spacing
Lens coatings reduce reflections at optical surfaces. Roof prisms can also use phase correction to improve how well fine contrast and detail are preserved. These address different optical effects. Compare two models on a dark branch against a bright sky and then in shade. Look for veiling glare and see whether the detail you care about stays distinct as you pan. A list of coating terms can explain the design, while the viewing test helps you judge the finished instrument. Nikon on lens coatings · Nikon on roof-prism coatings
Choose a spotting scope and support as one system
A scope earns its space when there is a permitted place to stop, a clear view at distance and enough time to look through one eye. Find the subject with binoculars, then set the scope near the low end of its zoom and use a landmark to bring the subject into view. Increase power in small steps. On a marsh edge, the low setting may keep several birds and a patch of shoreline in view, while a higher setting may help you check a field mark on a stationary bird.
Start with the eyepiece layout. A straight scope points the same way you look, which can make aiming intuitive when you are alone and following movement. An angled eyepiece can make a lower tripod comfortable, especially for seated viewing or a group of different heights. Try the angle you expect to use, such as looking uphill from a viewing deck. Check whether the scope body includes the eyepiece and whether eye relief changes over the zoom range. Nikon’s straight and angled scope comparison
A larger objective can help in lower light at the same magnification, all else equal. Compare the total weight of body, eyepiece, head, legs and plate. A short walk from a parking area and a long carry over uneven terrain can call for different kits. Include the tripod head in the test. You should be able to pan, stop on a narrow landmark and let go without the view drifting. Check that the plate mounts securely, the head handles the loaded scope and the legs fit your normal viewing height without relying on a fully extended centre column. Nikon’s guide to scope objective size · Nikon’s scope mounting guidance
On a 65 mm scope, the nominal exit pupil is 3.25 mm at 20× and about 1.1 mm at 60×. This helps explain why a high setting can be less forgiving in shade. If you use a detachable zoom, check the specification for the exact body and eyepiece together. The same eyepiece can give different powers on different compatible scope bodies. Test the setting you will use most often, and compare the view with the one at the top of the range before choosing. Nikon’s guide to scope eyepieces
Try the scope before adding a phone mount. A phone and bracket add weight behind the eyepiece and may shift the balance. Recheck that the head can hold the extra load without dropping when you let go. If the goal is a quick record of a distant subject, a stable, moderately magnified image is a better starting point than the top number on the zoom ring. Set the tripod where its legs will leave room for other people at the lookout.
Work with wind, light and the air between you
If a distant image ripples even after you stop touching the equipment, look for a change in the air rather than hunting for another focus setting. Sun-warmed ground can send moving layers of air into the sight line. Higher magnification enlarges that movement along with the subject. Lower the power and compare the view across a shaded line, or wait for conditions to change if you are already at a permitted viewing point. If the entire frame swings when the wind hits the tripod, shorten the setup or use a sheltered position where access is allowed. Leica’s explanation of atmospheric interference
Haze and glare across a lake can hide detail before the image reaches the front lens. A useful identification sometimes stops at a broad category, such as a distant waterfowl silhouette. Record the conditions and the features you can see. When you need more detail, return to the same legal viewing point under different light or consult a second observation. Parks Canada recommends binoculars or a zoom lens to help visitors observe while keeping their distance. Parks Canada’s wildlife viewing guidance
Set up binoculars before your first field scan
Use a distant fixed target with visible detail, such as letters on a sign. Test away from bright glare, and never aim binoculars or a scope at the sun. If your binoculars have a centre focus and a separate diopter, use the maker’s instructions to see which side the diopter controls. The steps below describe a common design with the diopter on the right eyepiece.
- Fit the eyecups and hinge. With glasses, start with the eyecups down. Without glasses, try extending them. Set the hinge so the two fields merge into one circle without dark edges.
- Focus the left view. Cover the right front lens without touching its glass and focus the target with the centre wheel. Let your eyes relax while you adjust.
- Focus the right view. Cover the left front lens. Leave the centre wheel alone and use the diopter to sharpen the right view. Then uncover both lenses and focus on a different object with the centre wheel.
Make a note of your diopter setting if you share the pair. If the view still feels wrong, try the hinge and eyecup positions again before changing focus. Give yourself enough time in the shop to find a position you can hold comfortably. Cornell Lab’s binocular setup guide shows the focusing sequence.
Check your kit with gloves on
Set the strap or harness before you step onto the trail. It should keep the binoculars easy to reach without swinging into a railing or another person. Check whether you can open the cover, turn the focus wheel and put the pair away with the gloves you actually wear. A secure, accessible setup also gives you a reason to put the optics away when footing or traffic needs your attention.
Brush loose grit off the lenses as the manufacturer directs before wiping fingerprints or moisture. When you bring cold optics indoors, let them adjust to the warmer room and dry before putting them away. Check your own model’s care instructions after heavy rain or salt spray. Nikon’s precautions and care guide covers condensation and coated lenses.
If you carry a tripod, practise extending the legs and locking the plate indoors. Check that you can set it up without putting feet across a public path. Choose handheld viewing if the platform is too narrow or busy.
How to glass a landscape without losing your place
Glassing is a deliberate search through binoculars or a spotting scope. Start at a permitted observation point with room to stand still and let others pass. Set the binoculars down long enough to find your boundaries with the unaided eye. Pick landmarks you can find again at any magnification, such as a pale snag, a bend in a creek or a notch in a ridge. Those references let you resume a search after refocusing, writing a note or handing the view to someone else.
- Divide the view into sectors. Choose clear left and right boundaries. Break a wide landscape into pieces you can describe to a partner. The gap between two spruce trees is a more useful boundary than an arbitrary line across a blank slope.
- Separate near, middle and far ground. Focus on one distance band at a time. Search the foreground openings, then the middle ground, then the far edge. A single sweep from a nearby branch to the horizon forces you to keep refocusing and can hide a subject in the blur.
- Move one field of view at a time. Hold the view still for a short look, then shift partway across so the frames overlap. Let your eyes search within each frame before moving it. If you see a possible ear, branch tip or patch of colour, pause long enough to see whether its outline or position changes.
- Locate the subject again before increasing power. Lower the binoculars and find the landmark next to the subject. Keep your eyes on that point as you bring the binoculars back up. If you are switching to a scope, find the landmark at low power before increasing magnification. When a subject leaves the field, go back to the landmark or lower the binoculars for a wider look.
- Break up a long search. Lower the optics between passes. Check the route, other visitors and the ground around you, especially if the view has kept your attention on a distant slope. Record what you covered while the landmarks are easy to remember.
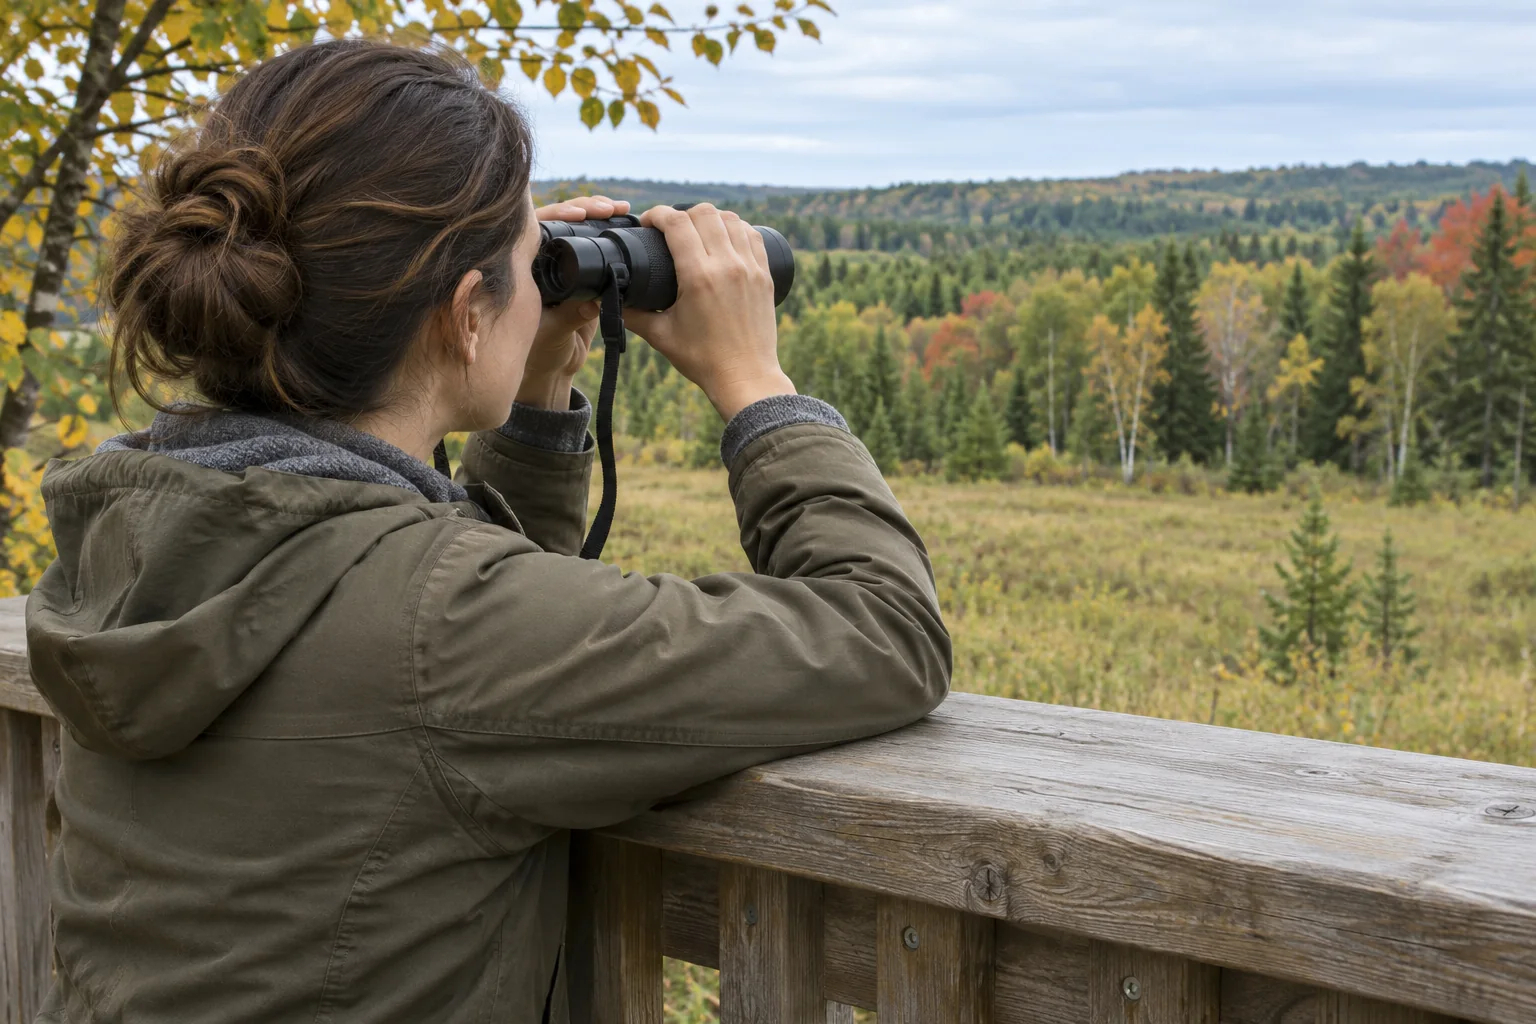
For a steady hand-held view, relax your grip and brace your elbows against your body. In a spot where you can safely sit, resting your elbows against your knees can help. If you set up a tripod, use stable ground and keep the legs clear of walking space. A stiffer hold can feel secure while still making small movements more obvious. Try the same landmark with a relaxed grip, then decide whether you need a support. Nikon’s landmark and reacquisition demonstration · Nikon’s holding and tripod guide.
When working with a partner, give directions in the order they can use them. “The split spruce on the far side of the meadow, then the dark patch below its left branch” gives them a place to start. Agree which way left and right refer to if you are standing apart. Keep the larger landmark in your own view until your partner has it. If the subject moves behind cover, report the last place you could see it and wait in place instead of trying to intercept it.
Practise that exchange on a fixed object. Point out a pale stone near the base of a tree, lower the optics and bring them back up until you can find the stone without sweeping the whole scene. Do the same with a second landmark at a different distance. You will know whether a slow second attempt comes from locating the subject or turning the focus wheel.
Three Canadian terrain exercises
These illustrative situations are fictional. Each starts from an open public route or designated viewpoint. The useful part of the exercise is how you search and describe the view, even when there is no wildlife to record.
Woodland trail edge in Ontario
From a wide spot on a designated trail, you have a short view between spruce trunks and a longer view across an opening. Start with the near gaps. Focus on the edge of a trunk and scan the ground and lower branches in that band before moving to the far side. If the view is crowded, a small step within the same safe standing area can show whether a shape belongs to the foreground or sits beyond it. Let the optics hang while you move and bring them back up once your footing is steady.
A tan patch at the base of a tree looks rounded. In another gap you can see part of a fallen trunk of the same colour. Record the first shape as unresolved if you never see movement or another useful feature. Where vegetation blocks the view, sketch the opening you could check and leave the rest blank. A note that says “near edge visible, back of clearing obscured” is more useful for a second visit than “empty clearing.”
Open country from a designated Alberta viewpoint
You can see a creek flat, a dry slope and a far ridge from one lookout. Start with binoculars and work each distance band between landmarks. Draw three sectors in a notebook using the creek bend and two breaks in the ridge as boundaries. Leave the scope packed until you have something distant you want to check or a narrow part of the slope you want to compare.
Two dark shapes on the far slope stay in roughly the same places through your first pass. On the second pass, one appears to shift whenever the whole image shakes. Brace the binoculars or look through a tripod-mounted scope at low power. If the edges still waver, note that the view could not support an identification. You can still record the sector, the conditions and which parts of the ridge you searched. A possible sighting is no reason to step beyond the viewpoint barrier or descend toward the slope.
Coastal viewing from an established Pacific Rim lookout
Choose a viewpoint away from the water’s edge and check the park’s current hazard advice before leaving the trailhead. Pick a fixed landmark offshore or across the bay. With binoculars at a comfortable focus, scan a narrow band along the surface and pause at changes in texture. When glare erases the details you would need, try another angle from the same permitted area. Keep a wide view long enough to distinguish a single glimpse from a shape that appears repeatedly in the same patch of water.
If you lose a dark shape among the waves, record the brief observation and its limits. A later glimpse farther along the shore may belong to the same subject. Treat the count as uncertain unless you can separate the observations. End the session if weather or wave conditions make your position unsafe. Parks Canada asks visitors to check tide tables, the swell forecast and the park’s wave hazard rating before shoreline activities. The instruments stay packed when you need to watch your footing or the sea. Parks Canada’s Pacific Rim water hazards.
Field notes that hold up after the walk
Note the start and end time at a viewpoint, the direction you faced and the sectors you searched. Record the optics used and any limit that changed the result, such as glare on water or fog across the upper slope. Use “not detected during this watch” for a sector you checked. An obscured section goes down as “not covered.” Those entries let you compare visits without confusing a short search with a reliable absence.
In the open-country exercise your entry might read, “10:18–10:26, west from the lookout. Creek flat and the lower slope covered twice. Upper ridge partly hidden by cloud. Two dark shapes beside the pale outcrop, neither identified.” If you return and the ridge clears, that note tells you which area the next search will add. It also keeps the unresolved shapes out of a count of confirmed animals.
Describe the cues you could check before adding a name. Movement, shape, colour and direction are useful when you say which ones you actually saw. If several animals appear and disappear behind the same screen of vegetation, record the greatest number you could distinguish at once, along with any uncertainty. For a bird record submitted to eBird, follow its counting and effort protocols. A personal estimate from a short scouting stop has a different purpose from a count recorded under a defined protocol. eBird observation protocols · eBird bird-counting guidance.
Take a wide photograph first if you can do so from the observation point. Include the landmark you used to relocate the subject. A closer frame from the same position can show a diagnostic feature. Keep the original and mark any crop so a reviewer can see what was visible without enlargement. If you share the image, leave precise locations out of public notes for sensitive sites such as nests or dens. You can still give a park employee the details through the park’s reporting channel when requested.
Check local wildlife distances, designated viewing areas and closures before scouting. Parks Canada advises giving animals space and using binoculars or a zoom lens. If a subject alters its activity in response to your presence, give it more room or leave the area. Avoid following it or trying to make it look your way. On a road, follow local instructions and skip any stop that would put you or other people in traffic. Parks Canada’s wildlife safety and viewing advice.
Decide what is worth carrying before you buy
Start with the last outing where your current kit let you down. Could you see movement but lose it as soon as you raised the binoculars? Could you find the subject easily and still wish you could separate it from the background? Write down what you wanted to see, where you were standing and whether you had somewhere to sit or brace your arms. One observation like that gives you a better buying brief than a long list of specifications.
Check the exact model and what is in the box
Match the model number on the listing and packaging. A retailer may group different powers and objective sizes on the same page, and changing the selection can change the specifications. Check the supplied caps, case and strap against the way you carry your kit. If you plan to add a harness or tripod adapter, confirm how it attaches and include it in the total cost.
The Nikon 8×42 and 10×42 below make a useful comparison because they come from the same line and their published weights are close. If you wear glasses, bring the pair you use outdoors. With each model set up for you, check whether you can still see the edge of the field when you glance away from the centre. Also see how much pressure you need on the eyecups to keep the view. You may spend several minutes looking through them on a watch. Nikon’s 8×42 specifications · Nikon’s 10×42 specifications.
Do a full-pack trial for a scope
For a planned watch over a marsh or from an established overlook, weigh the scope in its case with the plate, head and legs you would actually carry. Put the kit inside or on your normal pack and walk for ten minutes. See whether you can retrieve your binoculars and set down the tripod without unpacking everything. At home, aim the scope at an object around the height you would view in the field. Take a look while standing and sitting, and check that the eyepiece still lands somewhere comfortable without readjusting every leg.
Pack the binoculars alone when your route involves frequent stops or narrow viewpoints. Add a scope when the day includes a place with room for the tripod and enough time to stay there. The compact Celestron below is an option for that second trip. Its listed weight is for the instrument, so put your intended support into the budget before deciding. Celestron’s specifications and included items.
Compare three scouting setups
As an Amazon Associate we earn from qualifying purchases. Check delivery and total cost for your address on Amazon.com.
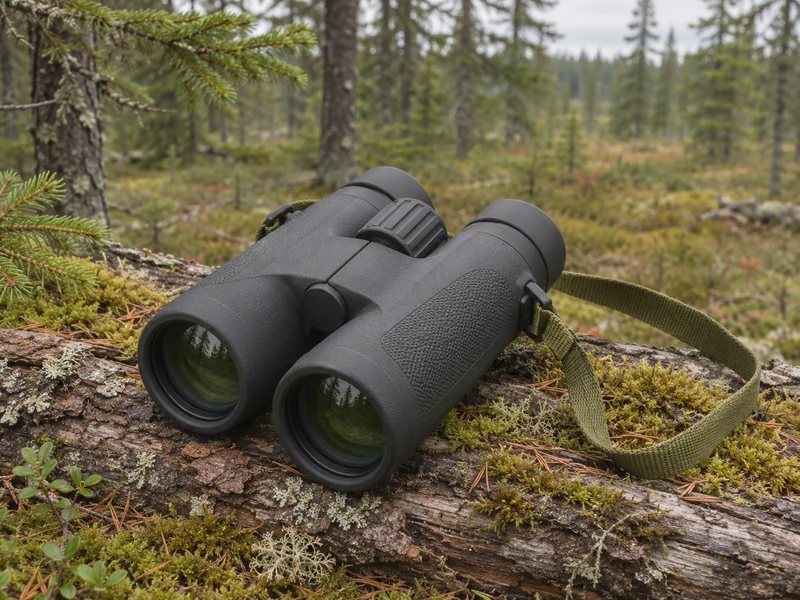
For your first full-size pair
Nikon PROSTAFF P3 8×42 Binoculars
A handheld pair for mixed walks where you regularly switch between nearby cover and more distant views.
- The 7.2° real field of view shows 377 ft at 1,000 yd. That is a little wider than the 10×42 from the same line.
- Nikon lists 20.2 mm of eye relief. Try the view with your own glasses to see whether you can see the full circle.
- Weighs 575 g before adding a harness or pouch. Nikon lists a 5.3 mm exit pupil.
For braced viewing across open terrain
Nikon PROSTAFF P3 10×42 Binoculars
A 10× alternative for days when you spend more time checking an open slope or far shoreline from a stable position.
- The 10× image has 25% more angular magnification than 8×. Try it supported to see how much detail you can actually hold.
- Nikon lists 367 ft at 1,000 yd, with 15.7 mm of eye relief and a 4.2 mm exit pupil.
- At 585 g it weighs only 10 g more than the 8×42. The trade-off is the view and fit, with little change in carry weight.
For a fixed lookout with a compact kit
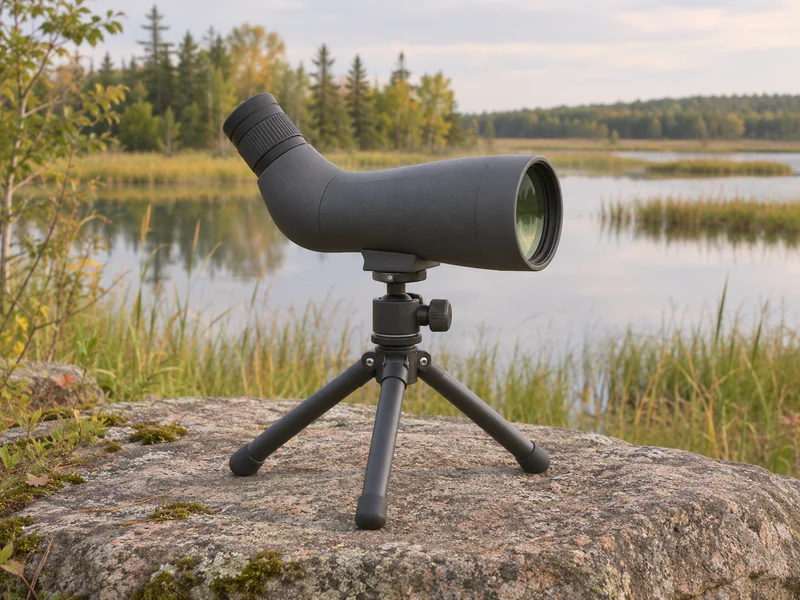
Celestron Hummingbird 9–27×56 ED Angled Spotting Scope
A small angled scope for checking distant details from a stable tripod. Use binoculars to find the area first.
- Start at 9× to get your bearings. Zoom towards 27× only when the air and support let you see more detail.
- The angled eyepiece works with a lower setup for seated viewing or sharing.
- Celestron lists 590 g for the scope. Include the separately purchased tripod and head when weighing your kit.
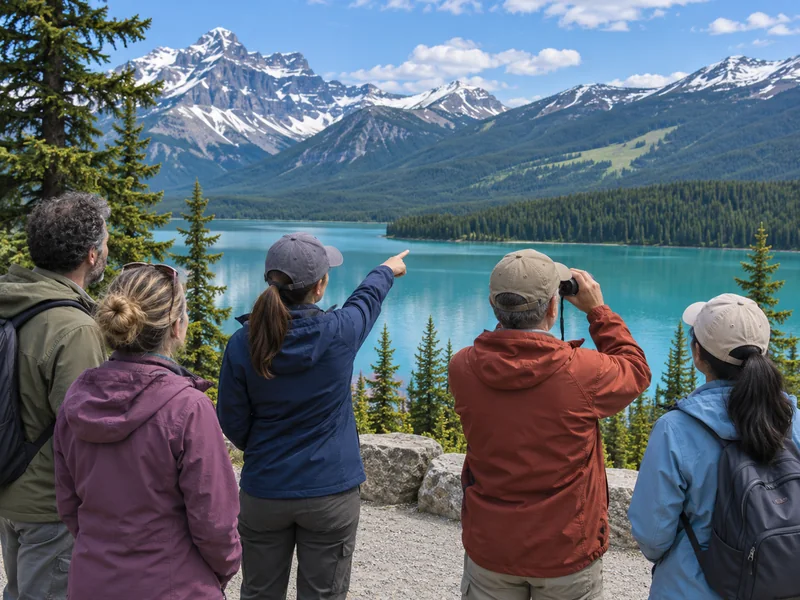
Try guided wildlife observation in Banff
Affiliate disclosure: We may earn a commission if you book through this Viator link. Check seasonal dates, conditions and the exact meeting point before booking.
Banff, Alberta
7 Iconic Stops in Banff National Park with Lake Minnewanka
Expect a guided sightseeing outing with wildlife interpretation. Conditions shape the stops, and wildlife sightings vary. Check the duration and pickup for the departure you select.
- Binoculars are available at scenic stops, so you can try a view across the landscape without bringing your own pair.
- The route includes Lake Minnewanka, where the operator describes using wildlife interpretation tools to explain local habitat.
- The tour is limited to 13 guests. The marketplace lists pickup options in Banff and Canmore.
Plan your next scouting session
The Pre-Trip Protocol
- Check the route and pick a permitted observation spot with room to stop. Read local wildlife distances and roadside instructions.
- Set the binoculars for your eyes and choose a broad landmark you can use to return to the same sector after looking away.
- Write down one useful question for the session. For example, decide whether more support helps you resolve a distant detail that you can already locate.
Afterward, note what limited the view. Wind, distance, glare and the time available call for different changes. If the main problem was finding the subject, a wider field and a better search routine may help more than a higher magnification. If you spent the session looking across open water from the same deck, a supported scope might be worth trying.
For trip ideas, see the Canadian wildlife viewing guide. For decisions around live animals and roadside stops, see responsible wildlife viewing. The tracking and scouting guide explains how to plan a broader outing. If you see signs on the trail, the guide to reading behaviour from tracks explains how to keep observations separate from guesses.
Questions about scouting with binoculars
Are 8×42 binoculars a good starting point?
They are a practical choice for many walkers and wildlife observers. Try them with your glasses if you wear them. Make sure you can find a moving subject, hold the view steady and carry the pair comfortably.
Does 10× always show more detail than 8×?
More magnification can make a distant feature look larger. It can also make shake easier to see. Compare the same target with both pairs while standing and again with support. Choose based on what you can actually resolve.
Should I start with a spotting scope?
Most people can find and watch more with binoculars on a first outing. A scope is useful for a longer watch from a stable spot after you have found the subject. Start at low zoom and check that the site has room for a tripod.
What is the difference between eye relief and exit pupil?
Eye relief is the distance from the eyepiece where you can see the full field. Exit pupil is the diameter of the beam of light coming out of the eyepiece. Eyeglass fit depends on eye relief and eyecup design as well as how the binoculars sit against your glasses.
Do binoculars change how close I can get to wildlife?
Keep the distance required or recommended for the place and animal you are watching. Use optics to view from a permitted position and back away if an animal approaches. Parks Canada wildlife safety guidance.