

AI cover illustration of a hiker checking a map above a forested river valley.
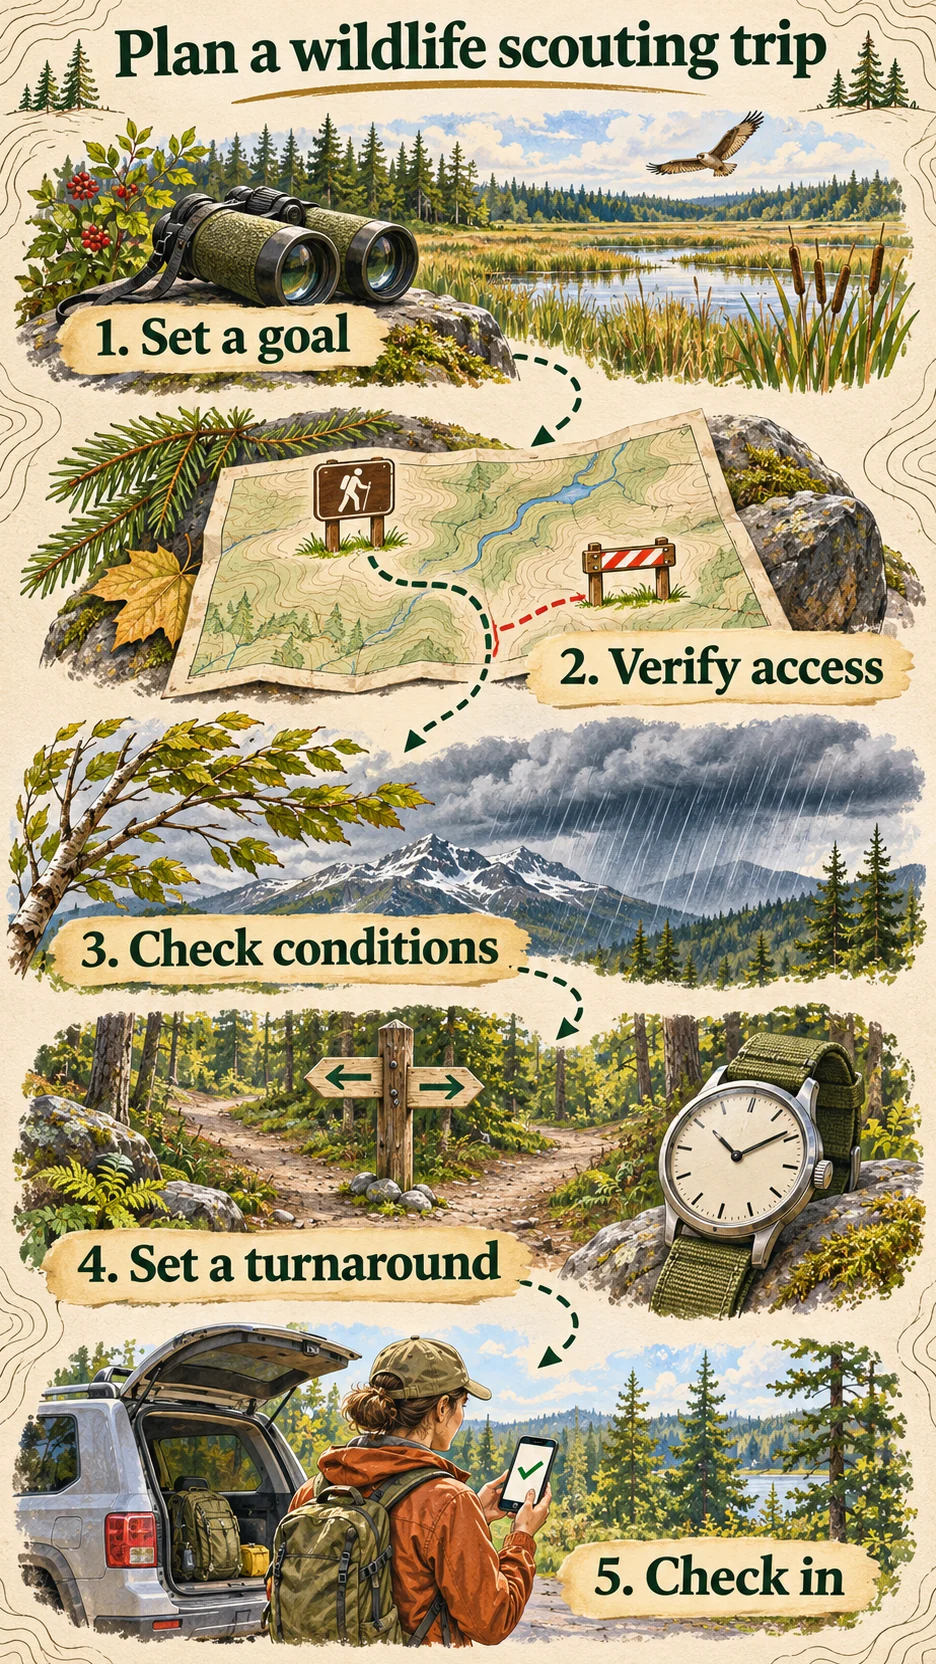
To plan a wildlife scouting trip in Canada, pick one thing you want to learn, then find an open route with a good place to observe it. Verify the road, trail and activity rules, check the conditions, and leave your route and return time with someone at home. Choose a shorter route you can switch to if the first one closes.
You might want to compare birds at two marsh edges, test whether a woodland trail gives you a clear view, or find a place to read tracks after snow. Each goal leads to a different stop. Use this guide to build a day plan that still works if the first trail is closed, the light changes or you see no animals.
Choose an observation you can make from the route
Write a question you can answer on one visit. “Can I see both the reed edge and open water from the platform?” gives you a useful result before a single duck lands. “Which patches of snow preserve a whole track group?” lets you compare the trail edge and a sheltered section. If you see no animals, you can still record where the view is clear or where tracks are easiest to read.
- Choose a place to stand before choosing a place to look. A map may show a marsh, clearing or stream, but it cannot show today’s glare, a boardwalk closure or the tall stems between you and the water. Start with an authorized viewpoint. Mark what you expect to see from it and what could block the view.
- Give each stop a job. At the first stop, check whether you can see the patch you marked on the map. At the second, compare another patch or repeat the same observation. For birds, note time spent watching and which part of the habitat you could see. For tracks, note the surface and where a complete group begins and ends. A bare patch tells you little about a neighbouring area you could not inspect.
- Make the alternate useful on its own. If you choose a shorter route, write down the question it can answer. A low woodland loop may let you compare ground conditions even when a ridge is out of reach. A second marsh can be a reasonable fallback if you can verify a different legal access point and get there within your return window.
Space the stops so you have time to walk without hurrying and still be quiet at the observation point. Bring binoculars if you have them. Watching a bird from a distance gives you time to record what it was doing before it noticed you. Step away if it changes behaviour as you approach, and leave nests and resting places undisturbed. Birds Canada’s code of birding ethics explains how to give birds room and share sightings responsibly.
Save your planned route offline and test whether it opens when you disable data at home. Include the original trailhead and a confirmed return. A marked point is useful only if you can relate it to visible junctions, water and terrain. If you are new to this, work through the offline maps and GPS checks on a familiar trail before trying an unfamiliar area.
Verify the whole route, from parking to the way out
A good scouting point needs a way in and a way back. Work outward from the place you intend to stand. Find out who manages the observation point, the trail or road and the land around the entrance. You may need to check with more than one manager. A public trail can end at a private boundary, and a road drawn on a map can be gated. Write down the name of the legal parking area and the last junction you can confirm. Those details are more useful at the trailhead than a pin in the middle of promising habitat.
- Find the authority for the ground you plan to use. Start with the park, province, territory, local government, conservation authority or other land manager responsible for that specific place. Check its visitor information for open hours, fees or reservations, permitted activities and the route it actually maintains. Ask which entrance you should use if an online map and the official directions differ.
- Read the policy and the current notices. Ontario’s Crown Land Use Policy Atlas gives area-specific policy reports and shows the general distribution of private land. Ontario cautions that the atlas is illustrative and does not precisely identify private parcels or provide authoritative navigation. The province also describes access restrictions that can apply to recreational use of Crown land. Record the policy area and check the local rules before relying on a road, trail or crossing shown on the atlas. Ontario’s atlas and its map limitations and Crown land recreation and access rules.
- Resolve the parts your map leaves unclear. Ask the land manager or the landowner or occupier about the exact section you would cross and the activity you intend. Describe your entrance and parking spot when you ask. If permission is limited to a walk on a marked route, plan the visit within those terms. If an approach remains unresolved, pick a confirmed alternative. A faint footpath or a lack of signs gives you little information about who may use it.
Look for notices that govern the entire route. A park’s trip-planning page, current trail report and closure bulletin can answer different questions. One tells you how to reach the trailhead, another gives surface conditions, and a posted order can close the area even when the approach road is open. Parks Canada lists area closures and restricted activities separately in Jasper National Park’s bulletins. Open the relevant notice, check the map and dates when supplied, and respect signs on the ground. If you cannot tell whether your route enters a closed area, ask the park office or use another route.
Keep hunting checks in a separate plan
If your first trip is for passive wildlife observation, record only the places you may visit for that purpose. If you intend to return for a recreational hunt, check the rules again for the proposed date, species and exact area. Start with the current provincial or territorial hunting regulations and the relevant zone map, then check the site’s own rules and any applicable local restrictions. A wildlife management unit covers a regulatory area. Use the land manager’s information to establish permission for the specific parcel. Ontario, for instance, publishes a separate Wildlife Management Unit map and guidance.
For recreational sport hunting of migratory game birds, review the federal permit and conservation stamp requirements and the current regional summaries, then check additional provincial or territorial requirements. Public viewing access and a hunting permit answer different questions. Give yourself enough time to clear up any discrepancy before committing to the later trip. The small-game and bird scouting guide works through the species and access checks with Canadian examples.
Check conditions twice and set a time to turn back
Check conditions while you still have time to choose another route, then check again before departure. Compare the Environment Canada forecast and alerts for the area with the land manager’s trail report. Look at the driving approach, the highest or most exposed part of the walk and the return window. A short loop close to an open trailhead can still be useful if the ridge you intended to visit will be windy or the return road is uncertain. Choose that shorter option at home so you can check it as carefully as your first choice.
Where wildfire could affect your trip, look up current fire information, area restrictions and local evacuation notices. In British Columbia, the BC Wildfire Service’s forest-use guidance distinguishes restricted-area orders from restrictions on particular activities. Open the order and any boundary map for the area you plan to enter. A map showing where a fire was recorded can help you orient yourself. Use the relevant official orders and access notices to decide whether your approach and return are open.
Decide when the outward leg ends
Work back from your intended finish time. Allow for the return walk at the pace of the slowest person, stops you are likely to make and a margin before daylight, a closing gate or another hard limit. Include the time spent glassing or waiting quietly, which can be longer than the walk between stops. Set a turnaround time and a place that makes sense on the map. Turn back when you reach the earlier of the two. If footing, visibility or a slower group makes the return longer than planned, turn sooner.
Suppose you need to be back at the car by 14:30. You allow 50 minutes to walk out and 25 minutes for delays. Start back by 13:15. If you arrive at the planned observation point at 13:05, you have up to ten minutes there, provided the route remains clear. If you are still short of it at 13:15, start back from where you are. Use the pace and terrain of your own group when estimating the time.
Leave the plan with someone who is staying behind. Give them the trailhead, route, group names, expected return, where you will check in, and whom to call if you are overdue. Confirm they received it and agree on what happens if you miss the check-in. If the group moves to a different trail, tell them before you leave service. If you cannot get the change through, stay with the confirmed plan or end the trip. Tell your contact when everyone is back. Parks Canada’s hike-planning guidance and the AdventureSmart trip plan list the information a contact needs.
A fictional Jasper planning decision
Two visitors plan a morning listening stop at the end of a short woodland trail. They learn from the park bulletin that a temporary closure covers the last part of the route. They choose a second trail that the park lists as open and update their contact with the new trailhead and check-in time. They leave the original route out of the offline map so it cannot be mistaken for an option at an unsigned junction. The new route has a shorter walk and an earlier return, with time for one quiet stop before they head back.
Put the route and the contact instructions on one page
Keep your field note and your trip plan separate. The note helps you remember what you observed. The plan gives someone else enough information to act if you miss your return. Save a copy for yourself and give your contact the version with the vehicle, group, route and check-in details. Ask them to confirm they have it. AdventureSmart’s trip plan guidance explains what to share and why the return time matters.
| Field | Example entry | What to verify |
|---|---|---|
| Goal | Compare birds at the marsh opening and woodland edge from marked paths. | Choose a watch point with room to stand without blocking other visitors. |
| Route and alternate | Visitor lot to boardwalk opening and back. Short woodland loop as the alternate. | Confirm each route separately. Record the exact trail names and access points. |
| Day limits | Return by 11:45. Allow 35 minutes back and 20 minutes for delays. Turn by 10:50. | Set earlier limits if the gate closes, footing deteriorates, or the group is slower. |
| Contact | One person at home has the group, vehicle, route and agreed overdue instructions. | Specify the check-in location and what to do if the group misses it. |
| Field note | One scan of the same visible water from each stop. Record wind, visibility and count. | Save a line for a skipped or obstructed stop so your next visit is comparable. |
Pack for the return as well as the watch
Pack anything you might need in poor light or bad weather where you can reach it quickly. On a short park walk, a small notebook can stay in a jacket pocket. Carry navigation and communication equipment you know how to use. Think through a phone failure separately from a coverage gap. A downloaded map helps with the second problem and may be unavailable during the first. AdventureSmart’s Three Ts covers trip planning, training and essential equipment.
- Get back on the route. Carry a map you can use without reception, a backup suited to the trip, and enough power for the device you expect to use.
- Handle a longer outing. Bring appropriate layers, water, food, light and first aid supplies for your group and conditions. Think about the cold or wet walk back when choosing what goes in the bag.
- Keep the observation usable. Take a notebook or an offline note, a pencil and binoculars if they fit the goal. Keep the notebook ready so you can jot down a field mark when the bird moves out of view.
Decide whether to continue, switch or turn back
Choose the situation that matches what you know now.
The forecast changed before departure
Read the latest forecast and alerts for both the approach and the route. Check the alternate on its own. If it still fits your group and the latest notices, send the revised plan to your contact. If you cannot verify it, postpone.
The map shows a route but there is a closure notice
Follow the notice and posted boundary. If you cannot place that boundary reliably, ask the manager or use an independently confirmed alternative. Save the closed branch as a skipped route in your notes.
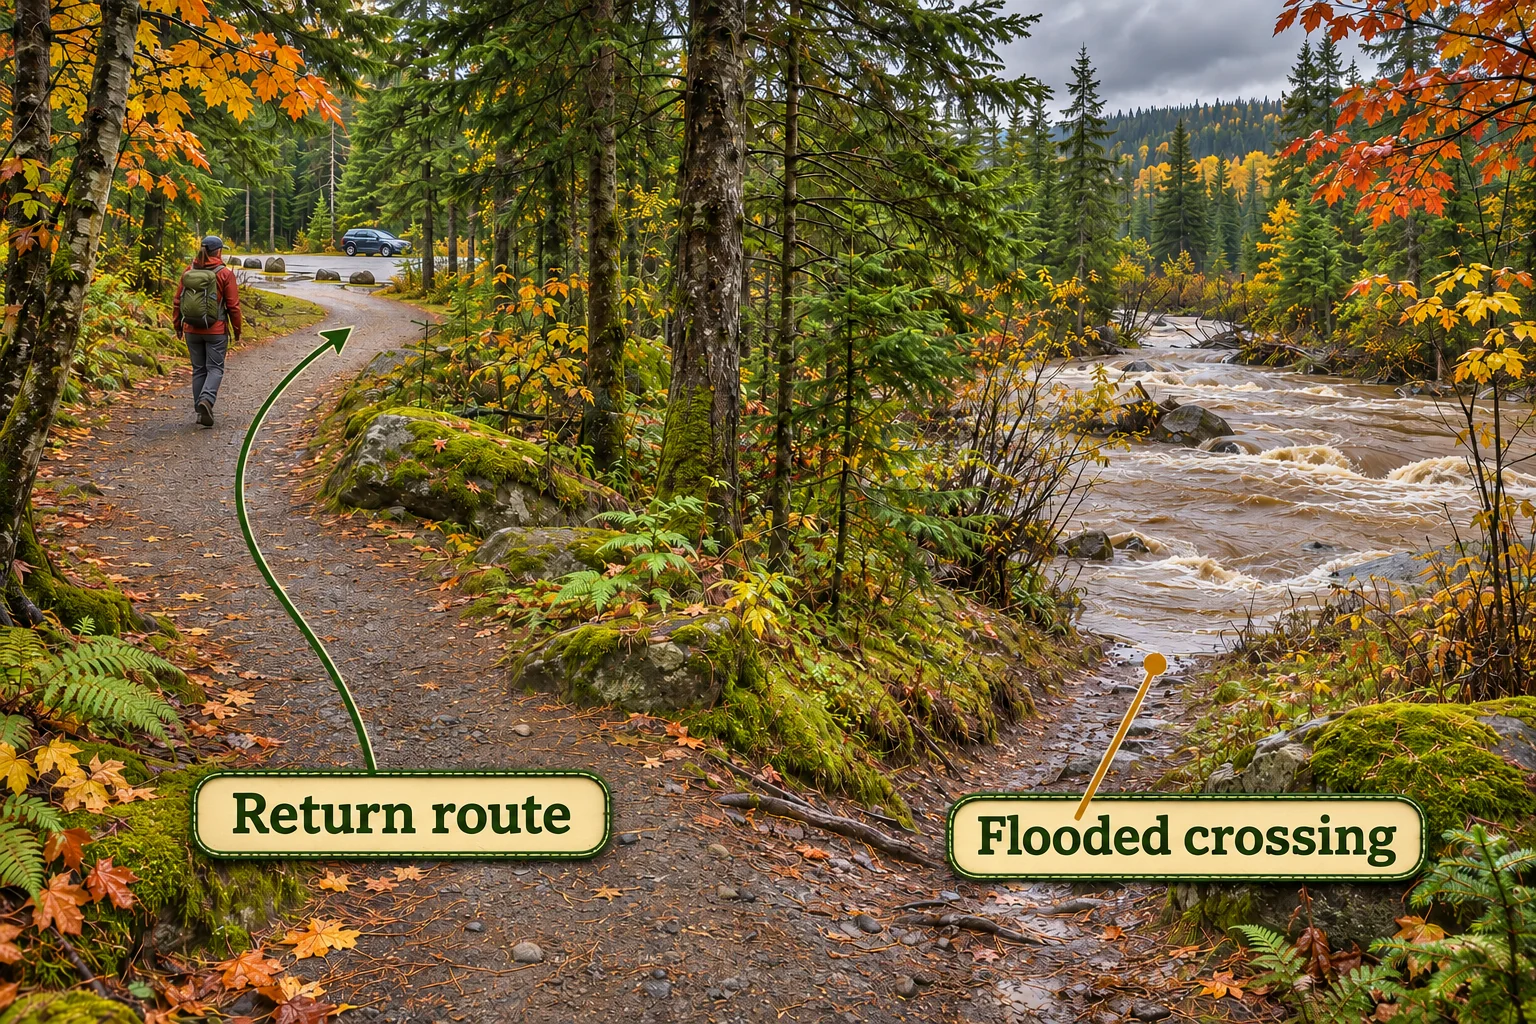
A crossing has risen since you planned the trip
Turn back along the route you know is passable. Leave the far-side stop for another day. If you choose a different trip after returning to the trailhead, check the approach and let your contact know before leaving service.
You reach your turnaround time before the viewpoint
Start back from where you are. Write down the stop you reached and why progress was slower than expected. Use that time when planning the next visit.
The route went to plan but you saw no wildlife
Record what you could see, how long you watched and what limited the view. Close your check-in as agreed. On a later visit, compare the same patch and note any change in light, wind or cover.
Three Canadian scouting trips where the plan changes
The people, field notes and schedules below are fictional. The places and cited guidance are real. Use the examples to decide what to verify for your own dates and how to keep the day useful if you have to change routes.
Point Pelee, Ontario. The whole park is closed on the day you picked
Two friends want a quiet morning to compare birds over the marsh with birds moving through woodland. Their first plan starts near the visitor centre and includes the Tip Trail if the timing works. They have one car and need it back in Leamington by noon. They count the drive back to Leamington when they work out when to leave the trail. The other checks park gates, visitor centre services and shuttle departures separately. Point Pelee posts separate schedules for all three. A gate that opens early does not tell you when a shuttle runs. Point Pelee hours and shuttle schedule.
Before leaving, they see the Parks Canada bulletin announcing a whole-park closure for November 12–23, 2026. They postpone the park outing and tell their trip contact. On another day, when the park is open but the Tip plan no longer fits, the published Marsh Boardwalk route offers a separate one-kilometre loop if its access and conditions are suitable. They choose a short watch from the boardwalk and leave the tower out of the plan. Their own schedule allows time for stops, the drive, and a late departure from the parking lot.
They keep two distinct entries in the notebook. The postponed visit reads “park closed, no observation.” The open-day entry includes the length of the watch and which part of the marsh they could see. A delay at the gate or a change of route affects how much they watched, so it belongs in the notes beside the sighting.
Elk Island, Alberta. The animal is using the road
A family plans a morning of bison watching from their vehicle. They would like to use Bison Loop Road if it is open. They check the park’s notices, the forecast and Alberta 511 before driving in. Their alternate is a short walk at Lakeview Trail in the Astotin Lake area, if the trail and access road are open and the group is comfortable with conditions. The family has told a friend about both possible stops. They carry enough fuel and supplies for the drive and keep a paper copy of the plan. Elk Island’s driving and land safety guidance · Trail descriptions and condition report.
On the approach, they see bison occupying a section of road near a viewing area. They stay in their vehicle and give the animals room to move. The driver skips the stop when there is no safe place to pull off, even though other cars are slowing down. At the alternate, they will use the trail only if they can keep at least 100 metres from bison on foot. If an animal occupies the only way forward, they turn back the way they came. A road or trail closure ends that option for the day. Parks Canada’s bison distance guidance.
Afterward, they record a roadside sighting from inside the car and mark the walking segment as skipped. Next time they can compare another drive under similar conditions. They leave an unfinished trail off the list of routes they have assessed, even if they saw bison nearby.
Fundy, New Brunswick. A late start changes the shoreline plan
A visitor wants to spend twenty minutes looking for coastal birds at Herring Cove. They check the park’s road and trail report first, then the Canadian Hydrographic Service’s local tide predictions. The tide table gives predicted times and heights. They still need a permitted viewpoint, a clear way back, suitable weather and enough daylight. The plan keeps the watch at the designated lookout, if access and footing are suitable, with no walk onto the exposed beach. Fundy road and trail conditions · Herring Cove tide predictions · Fundy water and tide safety.
By the time they arrive, they are behind schedule and fog obscures the coast. They drop the shoreline stop. Dickson Falls is their inland alternative because it gives them a different question to pursue: what can they hear or see from a marked forest trail? They check the trail and its road before committing. Parks Canada rates the loop moderate. They skip the alternate if the trail is closed, the footing is too slippery or they cannot get back in time. Dickson Falls trail details.
Their note reads “coast skipped for visibility, forest watch completed from trail.” They keep the tide prediction with the original plan for context and record what actually stopped the coastal visit. The next plan can allow more travel time and include a decision at the visitor centre before anyone drives toward the shore.
Close the trip plan and keep a record you can compare
Message your trip contact as soon as you return to the agreed check-in point or regain service. Say who is back and which route you took. If a delay was part of the day, keep that detail with the route notes. A fifteen-minute pause while a road cleared affects your next itinerary more than the distance shown on the map.
- Record the route and the sections you skipped, with the reason. Add where you actually stopped, when you began observing and how long you stayed.
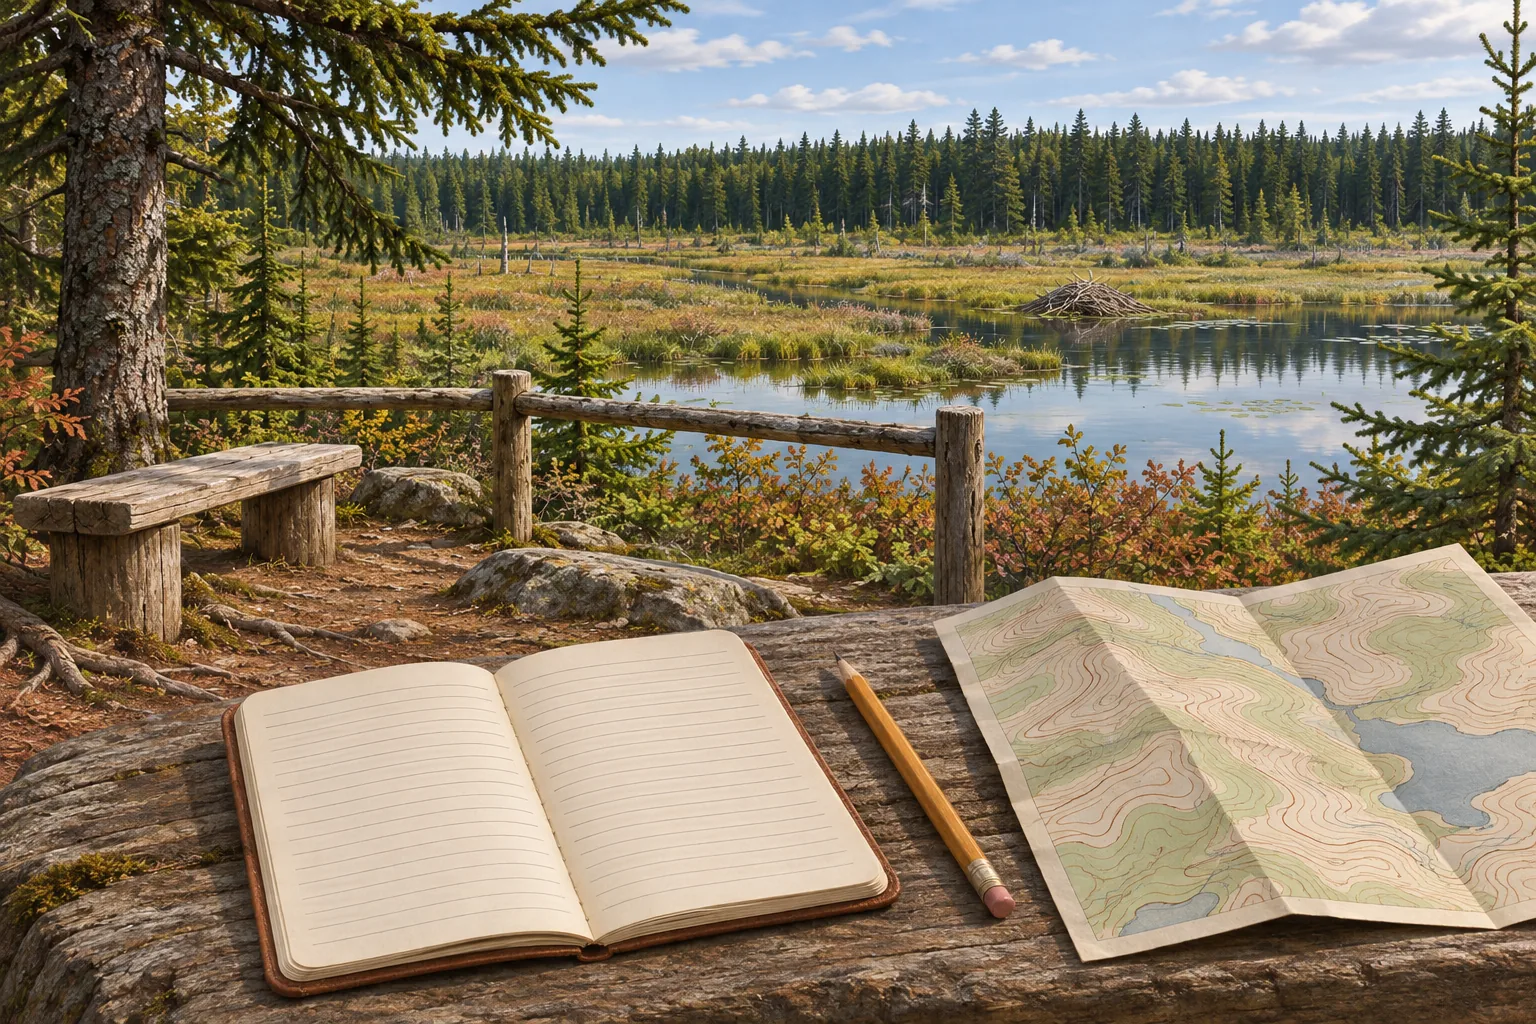
- Separate an observation from an inference. “Two silhouettes on open water at 09:40” is a field note. “Likely ducks” is an interpretation you can revisit if a photograph shows more.
- Write down one specific change for next time. That might be an earlier departure, a different permitted viewpoint with better light, or a shorter alternate route. Keep precise nest and resting-site coordinates out of shared records.
If you heard or saw nothing, write down the places you could actually watch and the conditions that limited you. A repeat visit from the same point with the same watch length gives you a comparison. You can then tell a shorter or obstructed visit apart from a genuinely different observation.
Two field tools for the trip plan and return
As an Amazon Associate we earn from qualifying purchases. Check delivery and total cost for your address on Amazon.com.
For keeping the route and field notes together
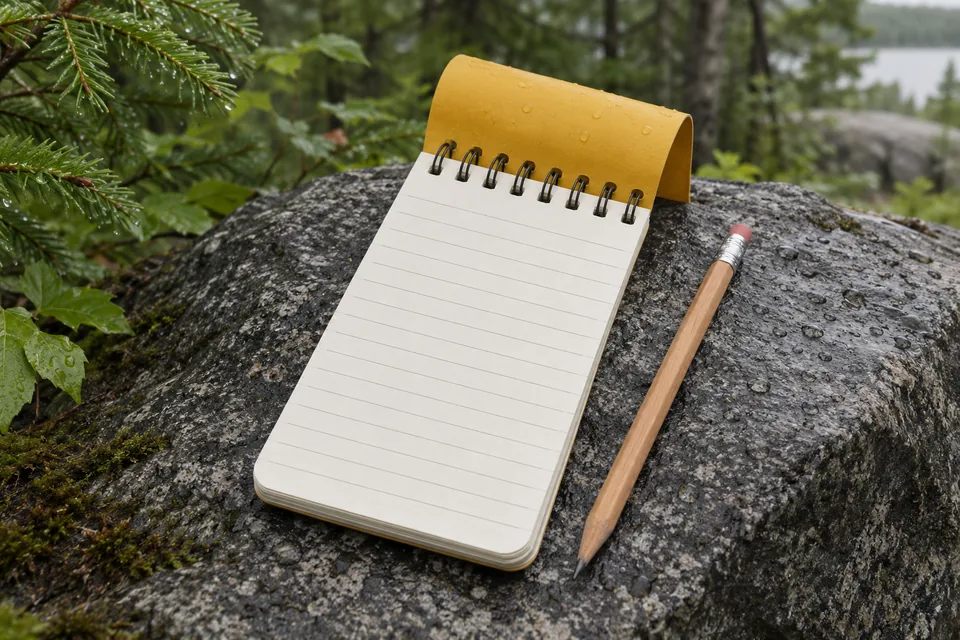
Rite in the Rain No. 146 All-Weather Notebook
Use the yellow top-spiral notebook for a paper copy of your key trip details and a record of what you observe.
- The 4 × 6 in pages leave space for a route sketch beside your turnaround time and check-in details.
- The single notebook has 50 sheets and a flexible Polydura cover. Use a new page for each outing so you can find older notes quickly.
- Pair the all-weather paper with a pencil. Record the time, broad location, habitat and what you actually saw.
For hands-free backup light
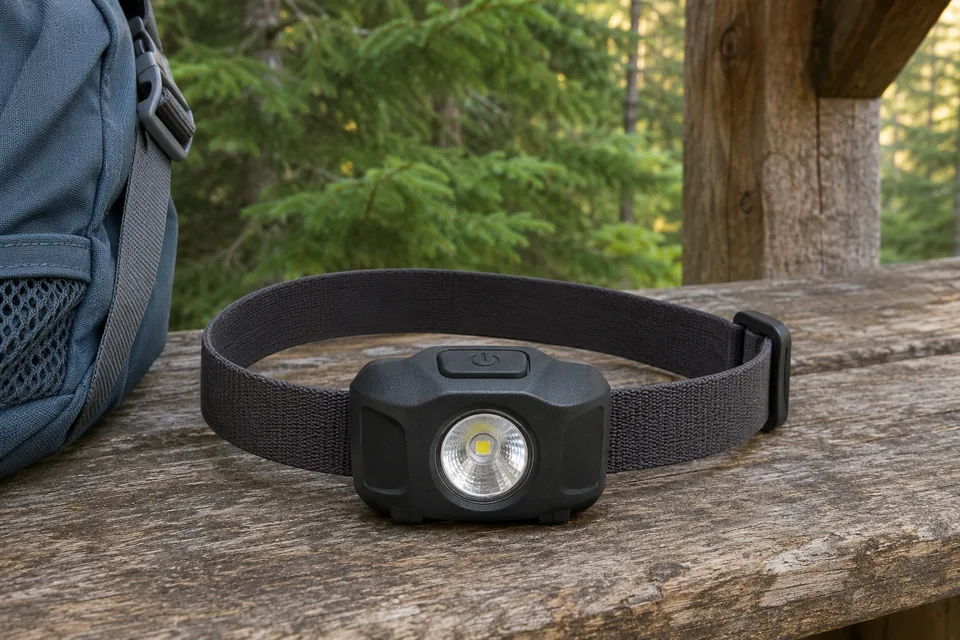
Petzl TIKKINA 300-Lumen Headlamp, Black
Keep a separate light within reach in your pack for a dim trailhead or an unexpected delay getting back.
- One button switches between three white-light settings. Check the lowest setting at home so you can find it easily later.
- The wide beam is designed for nearby tasks, such as reading a paper map or seeing where you place your feet.
- It comes with three AAA batteries and accepts Petzl’s optional CORE battery. Test the lamp with the batteries you intend to carry.
Get oriented on a guided wildlife outing in Banff
Affiliate disclosure: We may earn a commission if you book through this Viator link. Check seasonal dates, conditions and the exact meeting point before booking.
Banff, Alberta
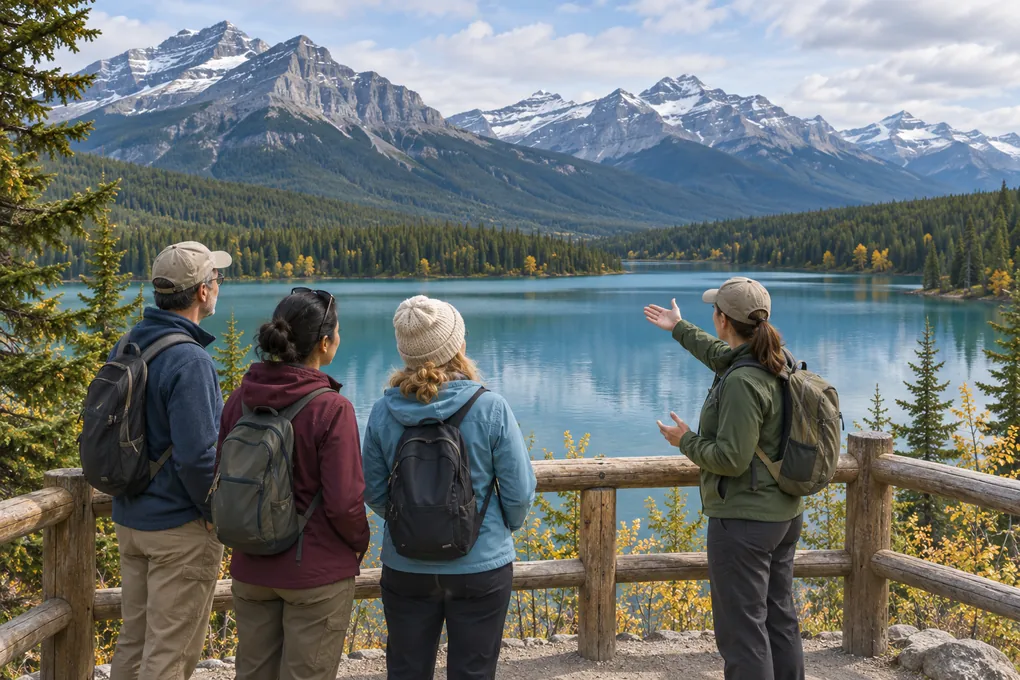
Banff and Its Wildlife Guided Orientation
A guided introduction for a first visit to Banff. Use the viewpoint stops to see how the landscape changes and ask what to check before returning on your own.
- Discover Banff Tours lists Bow Falls and Lake Minnewanka among the stops. The guided bus tour uses short walks to viewpoints.
- Ask your guide how to recognize suitable places to watch wildlife from a distance. Sightings vary with conditions and animal activity.
- Viator’s season wording varies within the listing. Check the departure, pickup point and cancellation terms for your chosen date before booking.
Questions about planning a scouting trip
How long should my first wildlife scouting trip be?
Pick a route your group can complete with time for both a quiet stop and the return. A short walk from an open trailhead gives you time to observe and a straightforward way back. Use your own pace, conditions and closing times when you set the limit.
What should I tell my check-in contact?
Give them the group, vehicle, entrance, route, alternate and agreed return time. Confirm where you expect to regain service and what they should do if you miss check-in. AdventureSmart’s trip plan gives a fuller list.
Can I rely on an offline map?
An offline map can help you navigate where reception is weak. Test it before departure and carry a backup you can use if the device stops working. Confirm current rules and closures with the land manager. A downloaded layer may show routes that are closed today.
How do I plan a route if I might return to hunt?
Plan the initial walk around permitted observation. Before a future hunt, verify the species, zone, dates, required permits and site restrictions for the specific parcel and approach. Start with the access and hunting checks above.
What should I bring home from a trip with no sightings?
A note on the route, conditions and viewing effort is enough to plan a better comparison. Record the patches you could actually inspect and any you skipped. Then choose one thing to change on the next visit.
Explore the tracking and scouting guide collection or practise reading animal behaviour from tracks on a route you already know.