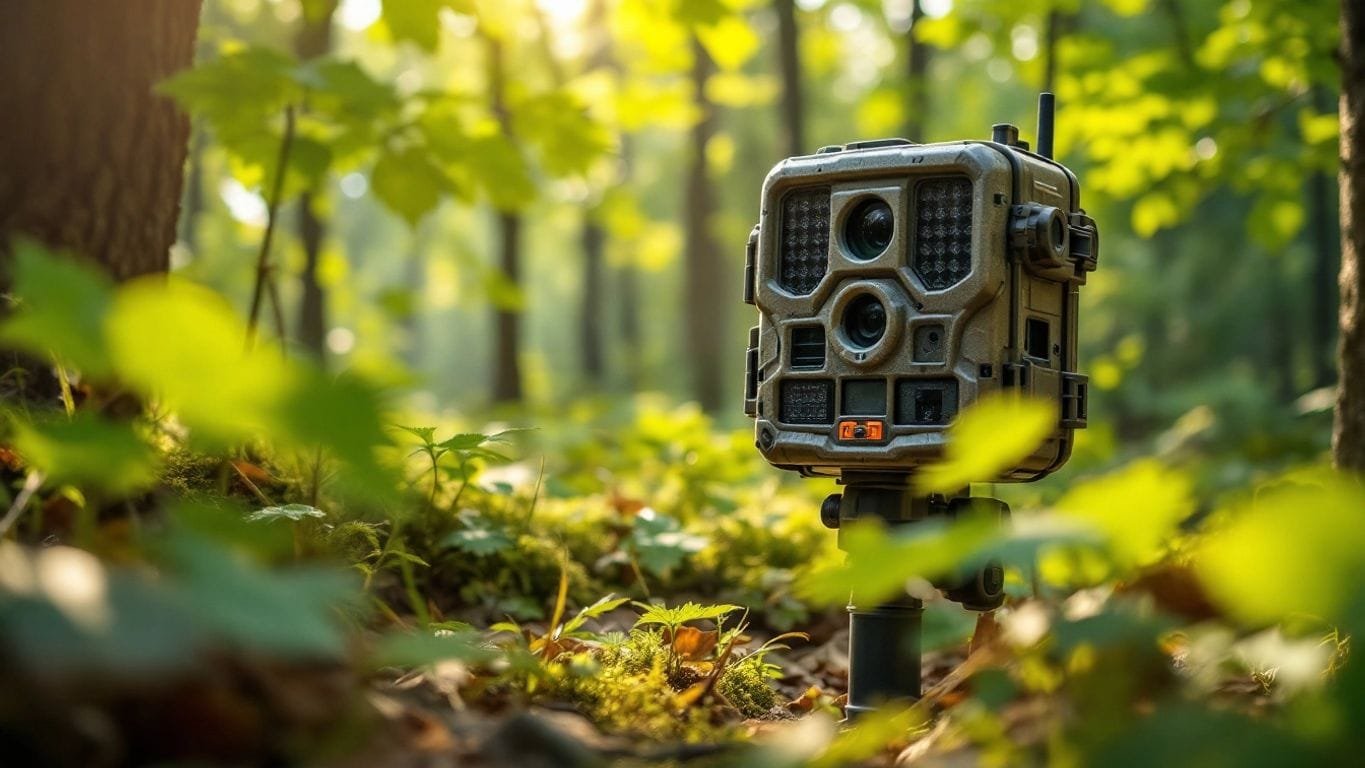
Setting up trail cameras effectively can significantly enhance your scouting efforts.
With the right knowledge and techniques, you can gather valuable information about wildlife movements, helping you make informed decisions for your hunting strategies.
This article will guide you through the essential aspects of using trail cameras for scouting success.
Key Takeaways about Setting Up Trail Cameras for Scouting
- Understand the different types of trail cameras and their key features.
- Choose locations wisely, focusing on high-traffic areas and natural resources.
- Set up cameras with proper mounting and settings for the best performance.
- Use quality batteries and memory cards for reliable operation.
- Analyze the data collected to improve your hunting strategies.
Understanding the Basics of Trail Cameras
When we think about trail cameras, the first thing that comes to mind is how they help us scout wildlife.
These nifty gadgets have changed the game for hunters and nature lovers alike!
What is a Trail Camera?
Trail cameras are self-contained devices that use motion-sensing technology to capture images of animals in their natural habitats. They’re perfect for monitoring wildlife without being intrusive.
Different Types of Trail Cameras
There are several types of trail cameras available, and each has its own unique features:
- Standard Cameras: Basic models that take still images.
- Video Cameras: Capture short video clips of wildlife.
- Cellular Cameras: Send images directly to your phone, allowing for real-time updates.
Key Features to Look For
When choosing a trail camera, we should consider a few important features:
- Image Quality: Look for cameras that offer high-resolution images.
- Trigger Speed: A faster trigger speed means you won’t miss that perfect shot.
- Battery Life: Longer battery life means less hassle for us in the field.
Remember, investing in a good trail camera can make all the difference in our scouting success!
In summary, understanding the basics of trail cameras helps us make informed choices. Whether we’re after the best images or just want to keep an eye on wildlife, knowing what to look for is key!
Choosing the Right Location for Your Trail Camera
When it comes to setting up our trail cameras, location is everything.
We want to make sure we’re placing them in spots that will give us the best chance of capturing those elusive critters.
Here’s how we can do that:
Identifying High-Traffic Areas
- Look for deer trails or paths where animals frequently pass.
- Check around feeding areas where animals gather to munch.
- Observe natural pinch points where animals are funneled through.
Considering Water Sources and Food Plots
- Animals need water, so placing cameras near streams or ponds can be effective.
- Food plots are also prime spots; they attract animals looking for a meal.
- Don’t forget to scout for natural food sources like berry bushes or acorn trees.
Using Topography to Your Advantage
- Hills and valleys can influence animal movement; use this to find good spots.
- Set cameras on ridges or high points to catch animals traveling below.
- Mapping out these areas can help us visualize where to place our cameras.
By taking the time to choose the right locations, we can significantly increase our chances of capturing great footage and understanding animal behavior better.
In summary, let’s keep our eyes peeled for those high-traffic areas, consider the importance of water and food, and use the landscape to our advantage. Happy scouting!
Setting Up Your Trail Camera for Optimal Performance
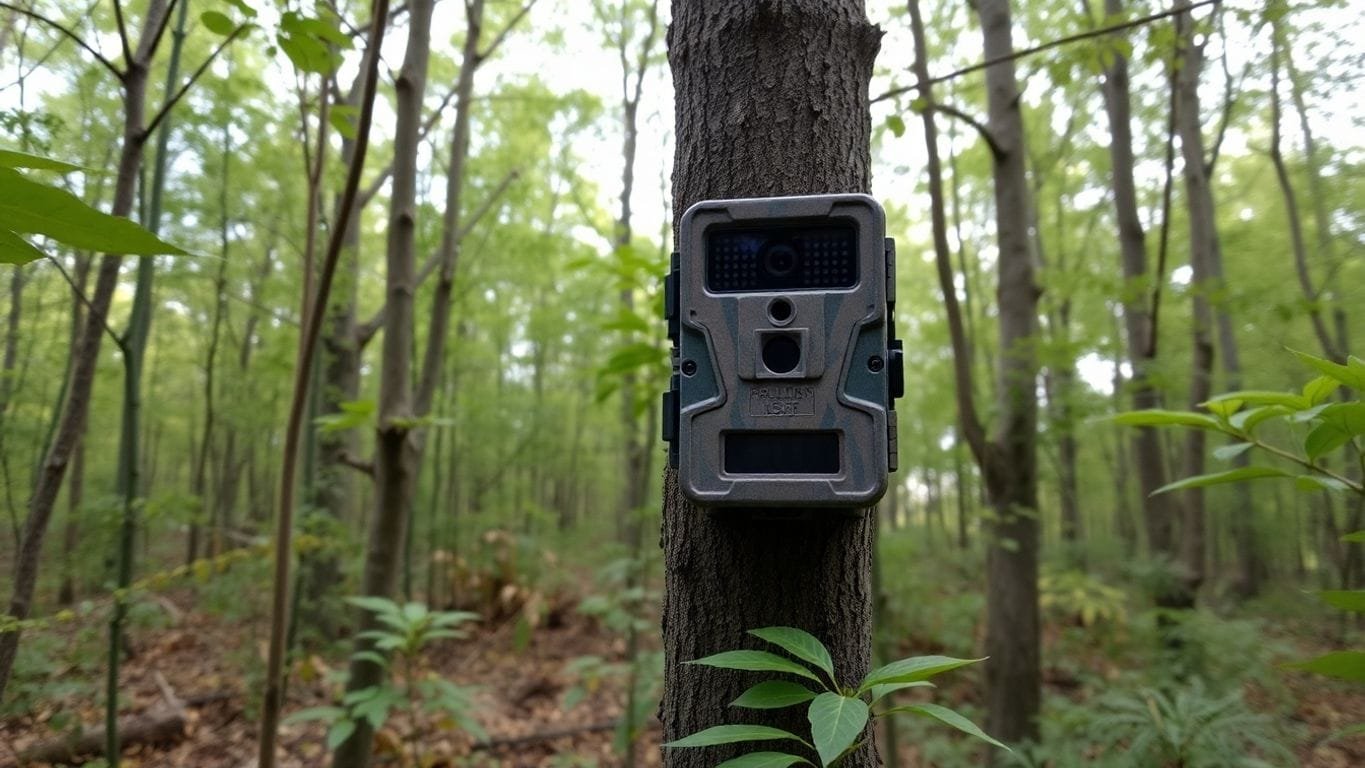
When it comes to getting the most out of our trail cameras, there are a few key steps we should follow.
Proper setup can make all the difference in capturing those elusive wildlife moments.
Proper Mounting Techniques
- Choose the right height: Aim for about 3-4 feet off the ground. This height helps capture the best angles of passing animals.
- Secure the camera: Use straps or mounts that keep the camera stable. A shaky camera can lead to blurry images.
- Avoid direct sunlight: Position the camera where it won’t be blasted by sunlight, which can wash out images.
Adjusting Camera Settings
- Set the motion sensitivity: Adjust it based on the activity level in the area. If it’s a busy spot, higher sensitivity works best.
- Test the detection range: Make sure the camera covers the area you want to monitor. A quick test can save us from missing important shots.
- Choose the right mode: Decide between photo, video, or burst mode depending on what we want to capture.
Ensuring Stealth and Camouflage
- Blend in with the environment: Use natural materials or camo covers to help the camera blend in. This keeps animals from being spooked.
- Limit human scent: Handle the camera with gloves and avoid touching the lens to keep it clean and less noticeable.
- Check for obstructions: Make sure branches or leaves won’t block the camera’s view.
By following these steps, we can significantly improve our chances of capturing stunning wildlife images. Remember, a little preparation goes a long way!
Powering Your Trail Camera Efficiently
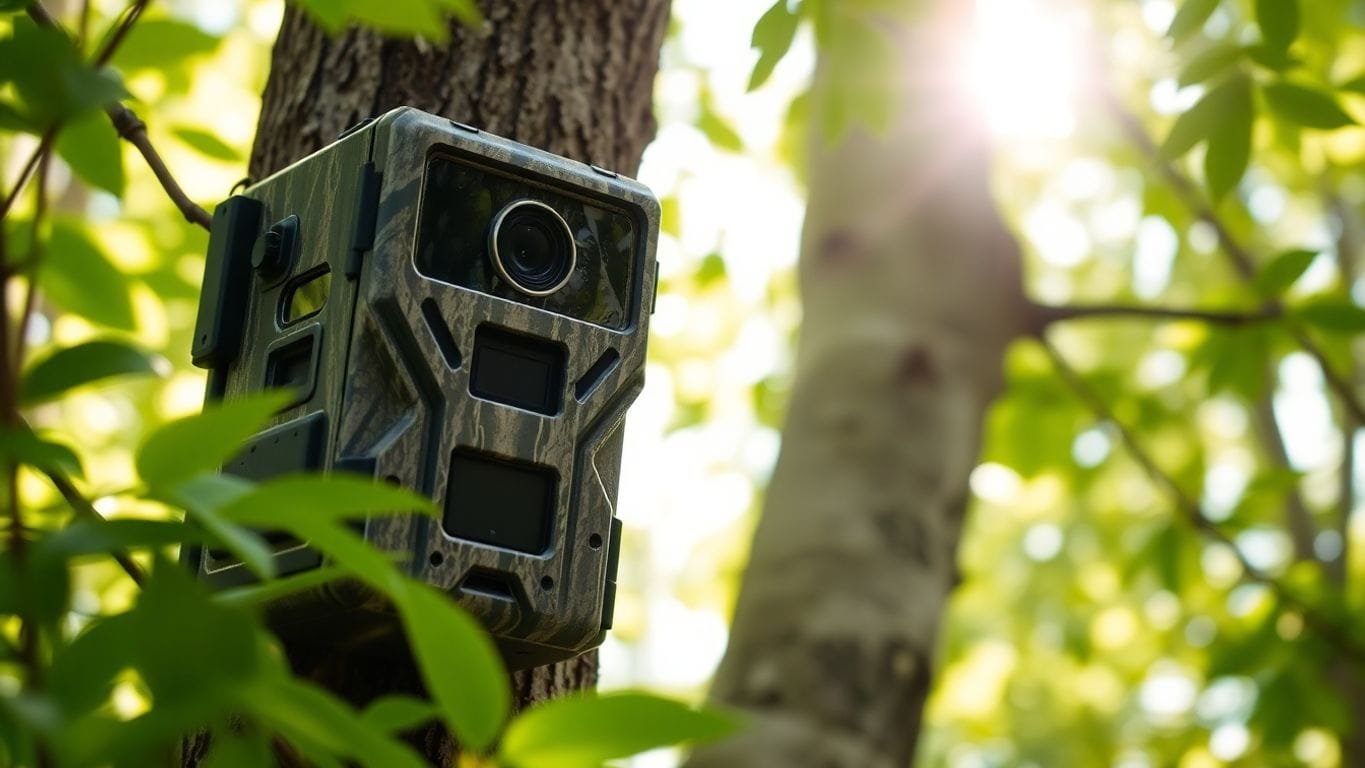
When it comes to keeping our trail cameras running smoothly, we’ve got a few options to consider.
Choosing the right power source can make all the difference in how long we can leave our cameras out in the field without worrying about battery life.
Battery Options and Longevity
- AA Lithium Batteries: These are a popular choice for many of us. They tend to last longer than regular batteries, especially if we set our cameras to take photos every 45 seconds.
- Rechargeable Batteries: If we’re looking to save some cash in the long run, rechargeable batteries can be a great option. Just remember to keep them charged!
- External Battery Packs: For those of us who want to go the extra mile, using an external battery pack can extend our camera’s life significantly.
Using Solar Panels
Solar panels are a game changer! They can keep our cameras powered up without the hassle of changing batteries constantly. Here’s a quick look at the benefits:
- Eco-Friendly: We’re using renewable energy, which is always a plus.
- Cost-Effective: Once we invest in a solar panel, we can save money on batteries over time.
- Convenience: No more worrying about dead batteries when we check our cameras.
Maintaining Power in Extreme Conditions
Sometimes, we face tough weather conditions that can drain our camera’s power. Here are some tips to keep in mind:
- Insulate the Camera: Use insulation to protect the battery from extreme cold.
- Positioning: Place the camera in a shaded area to avoid overheating.
- Regular Checks: Make it a habit to check the power levels regularly, especially during harsh weather.
Keeping our trail cameras powered efficiently not only saves us time but also ensures we capture all the action in the wild.
By following these tips, we can maximize our trail camera’s performance and enjoy a successful scouting experience!
Maximizing Image Quality and Storage
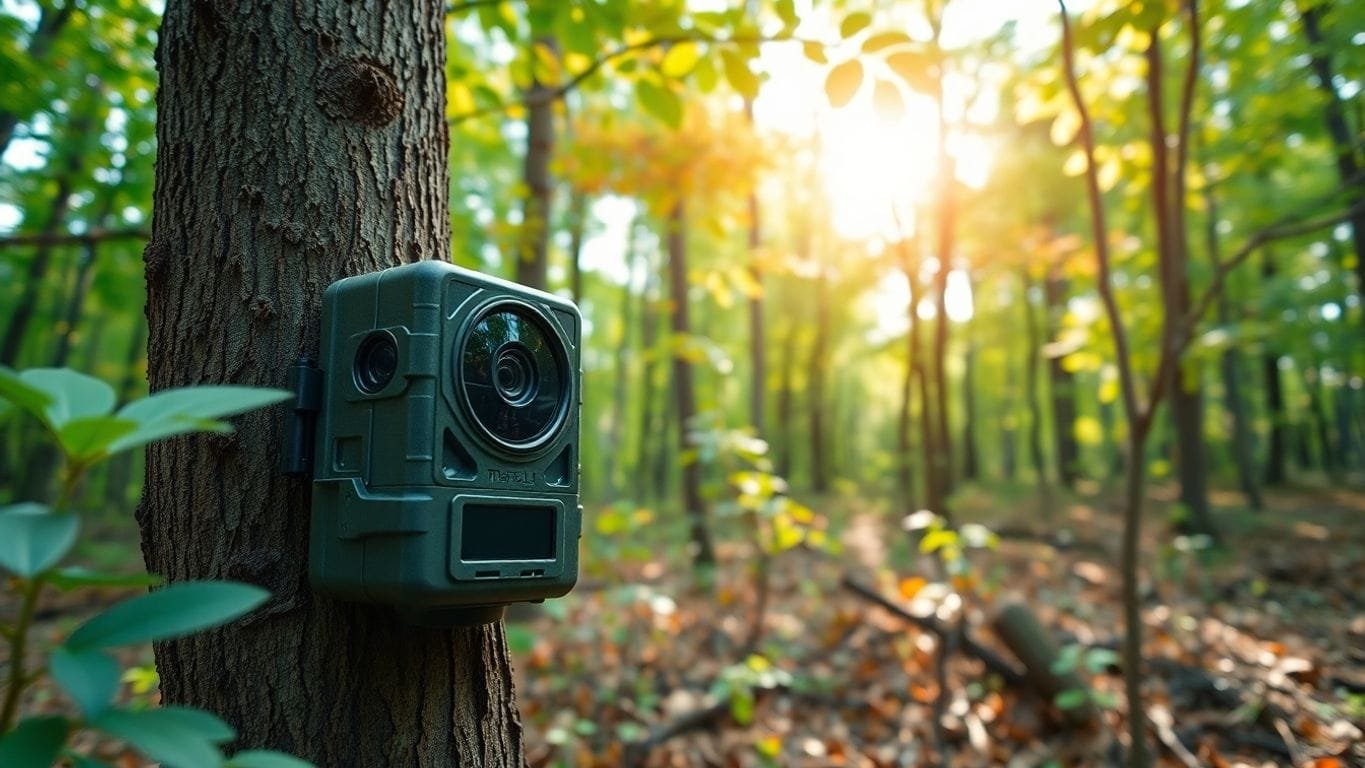
Selecting the Right Memory Card
When it comes to trail cameras, having the right memory card is crucial.
We recommend using high-quality cards that can handle the demands of your camera. Here are some tips:
- Opt for Class 10 or UHS-I cards for faster write speeds.
- Choose cards with at least 32GB of storage to avoid running out of space.
- Regularly format your memory card to keep it functioning well.
Managing Storage Space
To make the most of our storage, we can follow these simple steps:
- Set the camera to take fewer photos in low-traffic areas.
- Use 1080p resolution instead of 4K to save space while still getting great quality.
- Regularly check and clear out old images to free up space.
Tips for High-Quality Images
To ensure we capture the best images possible, consider these tips:
- Adjust the camera settings based on the time of day and lighting conditions.
- Use a stable mount to avoid blurry images.
- Position the camera at the right height and angle for optimal shots.
Remember, the right setup can make all the difference in capturing those perfect moments!
Using Technology to Enhance Scouting
Benefits of Cellular Trail Cameras
When we think about trail cameras, we often picture the old-school models that required film.
But now, cellular trail cameras have changed the game! These modern devices can send images and videos directly to our phones, making it easier than ever to keep tabs on wildlife.
Here are some perks:
- Instant updates on animal movements
- Ability to scout from anywhere
- Less time spent checking cameras in the field
Utilizing Trail Camera Apps
With the rise of technology, there are now apps that help us manage our trail cameras. These apps allow us to:
- View images in real-time
- Adjust camera settings remotely
- Organize and analyze data efficiently
Using these tools, we can make smarter decisions about our scouting tactics. For instance, we can see which areas are most active and adjust our camera placements accordingly.
Remote Monitoring and Control
Imagine being able to check your trail camera without stepping foot in the woods! With remote monitoring, we can:
- Receive alerts when animals are detected
- Change settings without disturbing the area
- Review footage from the comfort of our couch
This technology not only saves us time but also helps us stay stealthy, ensuring we don’t scare off the wildlife.
In today’s world, embracing technology is essential for successful scouting. It allows us to gather valuable data and make informed decisions, ultimately enhancing our hunting experience.
By leveraging these advancements, we can truly master the art of scouting and improve our chances of success in the field!
Deploying Trail Cameras Strategically
When it comes to using trail cameras, strategic placement is key to getting the best results. We want to make sure our cameras are set up in the right spots to capture all the action.
Here’s how we can do that:
Mapping Out Camera Locations
- Identify pinch points: These are narrow areas where animals are likely to pass through. Think of trails between thick brush or near fences.
- Set up near food sources: Placing cameras near food plots or feeders can help us see what animals are visiting.
- Consider water sources: Animals need water, so setting up near ponds or streams can yield great results.
Seasonal Considerations
- Spring and Summer: Animals are often more active near food sources.
- Fall: As hunting season approaches, animals may change their patterns, so we might need to adjust our camera locations.
- Winter: Look for areas where animals are foraging for food.
Monitoring and Adjusting Placement
- Check camera data regularly: This helps us understand what’s happening in the area.
- Be ready to move cameras: If we notice low activity, it might be time to relocate.
- Stay stealthy: Always approach our cameras quietly to avoid spooking animals.
By being thoughtful about where we place our cameras, we can gather valuable data that helps us understand animal behavior and improve our hunting strategies.
Remember, the more we know about our surroundings, the better our chances of capturing those perfect moments on camera!
Analyzing Trail Camera Data
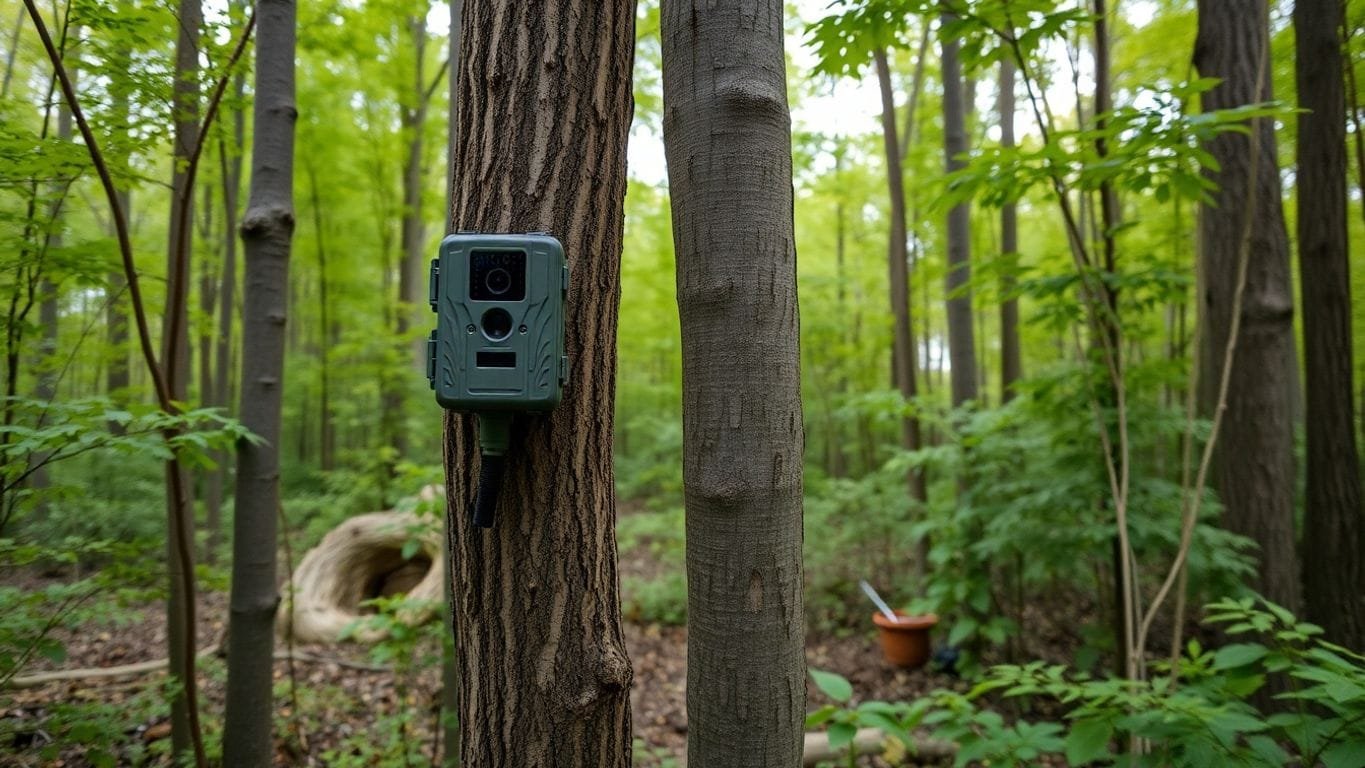
Interpreting Animal Behavior
When we check our trail camera images, we’re not just looking for big bucks; we’re trying to understand how animals behave.
This can help us make better hunting decisions.
Here are some things to look for:
- Time of Day: Are animals more active at dawn or dusk?
- Patterns: Do certain animals visit regularly?
- Species Diversity: Are there other animals around that might affect our hunting plans?
Identifying Patterns and Trends
Once we gather enough data, we can start spotting trends.
For example, if we notice that deer are consistently showing up at a specific time, we can plan our hunts around that.
Here’s a simple table to help visualize this:
| Day | Morning Activity | Evening Activity |
|---|---|---|
| Monday | 5 deer | 3 deer |
| Tuesday | 2 deer | 6 deer |
| Wednesday | 4 deer | 4 deer |
Using Data for Hunting Strategies
With all this information, we can create effective hunting strategies.
Here’s how we can use our trail camera data:
- Adjust Timing: Hunt during peak activity times.
- Choose Locations: Set up near high-traffic areas.
- Plan for Weather: Consider how weather changes might affect animal movement.
By analyzing our trail camera data, we can become more successful hunters while respecting wildlife and their habitats.
In the end, understanding the data from our trail cameras is key to improving our scouting and hunting success. Let’s keep our eyes peeled and our cameras rolling!
Maintaining and Troubleshooting Your Trail Camera
Regular Maintenance Tips
Keeping our trail cameras in top shape is crucial for capturing those perfect moments.
Here are some simple tips we can follow:
- Check batteries regularly: We should always use high-quality batteries. Remember, standard alkaline batteries might not cut it for long-term use.
- Clean the lens: A dirty lens can ruin our shots. A quick wipe with a soft cloth can make a big difference.
- Inspect the camera housing: Look for any signs of wear or damage. A little maintenance goes a long way!
Common Issues and Solutions
Sometimes, things don’t go as planned.
Here are some common problems we might face and how to fix them:
- Camera not turning on: Check the batteries first. If they’re low, replace them with fresh ones.
- No images captured: Ensure the memory card is properly inserted and formatted. If it’s not working, try a different card.
- Blurry images: This could be due to a dirty lens or incorrect settings. Clean the lens and adjust the settings as needed.
Upgrading and Replacing Equipment
As technology evolves, so should our gear. Here’s when we might consider upgrading:
- If our camera is outdated and lacks features we need.
- When we notice a decline in image quality.
- If we want to take advantage of new technology, like cellular capabilities.
Remember, a well-maintained camera is key to successful scouting! Keeping an eye on our equipment ensures we capture every moment without hassle.
By following these tips, we can keep our trail cameras running smoothly and ready for action!
Ethical Considerations for Using Trail Cameras
When we think about using trail cameras, it’s super important to keep ethics in mind.
We want to respect wildlife and their habitats.
Here are some key points to consider:
Respecting Wildlife and Their Habitat
- Always place cameras in a way that doesn’t disturb sensitive wildlife areas. We should be mindful of how our actions affect the animals around us.
- Avoid setting up cameras in places where they might cause stress to animals, especially during breeding or nesting seasons.
- Remember that our goal is to observe, not to interfere.
Legal Regulations and Permissions
- Make sure to check local laws regarding trail camera use. Some areas have specific rules about where and how we can set them up.
- Always get permission if you’re placing cameras on private land. It’s just good manners!
- Be aware of any regulations that might restrict the use of cameras in certain areas, especially public lands.
Balancing Technology and Fair Chase
- While technology can give us an edge, we should always strive for a fair chase.
- Using trail cameras should enhance our understanding, not give us an unfair advantage.
- Consider how much information is too much. We don’t want to turn hunting into a game of numbers.
- Let’s keep the spirit of hunting alive by using technology responsibly.
In the end, using trail cameras should be about enhancing our experience while respecting the wildlife we love. Let’s make sure we’re doing it right!
Wrapping It Up: Your Trail Camera Journey
Setting up trail cameras can feel a bit tricky at first, but once you get the hang of it, it’s a game changer for scouting.
Remember, it’s all about finding the right spots and using good gear.
Whether you’re after that big buck or just want to see what’s out there, these cameras can help you plan better and make your hunts more successful. So, grab your camera, get out there, and start capturing those amazing moments in nature.
Happy scouting!
Frequently Asked Questions
What is a trail camera used for?
A trail camera is used to capture pictures or videos of wildlife. It’s often set up in forests or fields to help hunters and nature lovers see what animals are around.
How do I choose the best spot for my trail camera?
Look for areas where animals frequently travel, like paths or near water sources. You can also think about food sources like crops or plants that attract wildlife.
What features should I look for in a trail camera?
Look for features like picture quality, battery life, and how fast it takes pictures when triggered. Also, consider if it has night vision and how far it can see.
How can I make sure my trail camera works well?
Make sure to mount it securely and adjust the settings for the best performance. Use good batteries and check that it’s camouflaged to avoid scaring away animals.
What type of batteries should I use for my trail camera?
Using high-quality lithium batteries is best because they last longer. Some cameras can also use solar panels for power.
How do I keep my trail camera images clear?
Use a good memory card that can handle high-quality images. Regularly check the camera to make sure it’s working and the memory isn’t full.
Can I check my trail camera from my phone?
Yes! Many modern trail cameras have apps that let you see images and change settings right from your smartphone.
What should I do if my trail camera stops working?
First, check the batteries and memory card. If those are fine, make sure the camera is set up correctly and not blocked by anything.

