

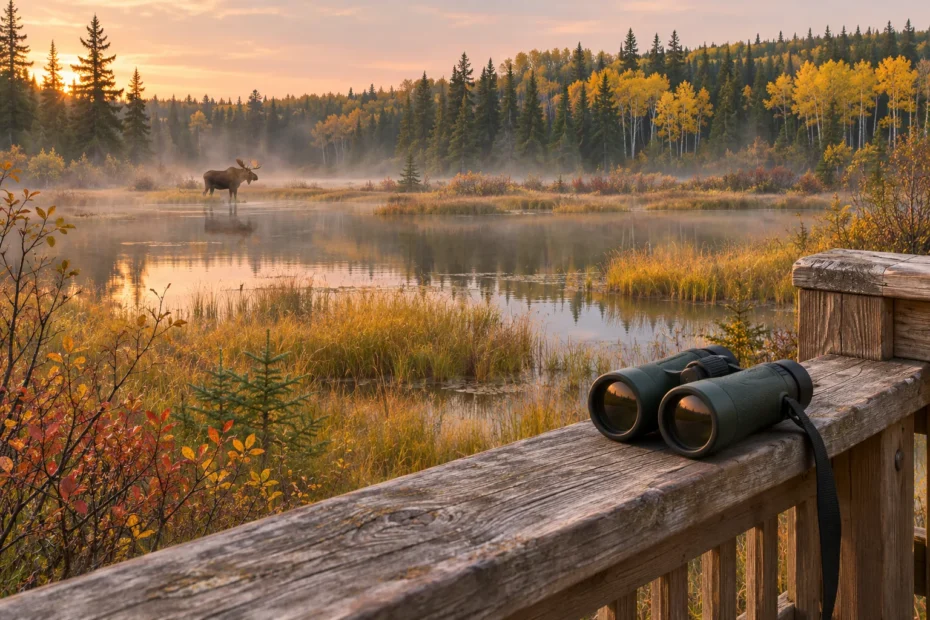
AI cover illustration of a moose across a wetland from a public viewing rail.
Wildlife watching in Canada starts with choosing a place to stop. At an open, permitted viewpoint, you can watch an elk feed across a meadow without walking toward it. If it keeps lifting its head toward your group, give it more room. The same goes for a bird that repeatedly breaks off feeding as people drift closer along a boardwalk.
If you came looking for techniques for stalking wildlife with a camera, start with the position you already have. A steady pair of binoculars, a wider photograph or a different public lookout can give you a clearer view. Check the local distances, closures and stopping rules before setting out.
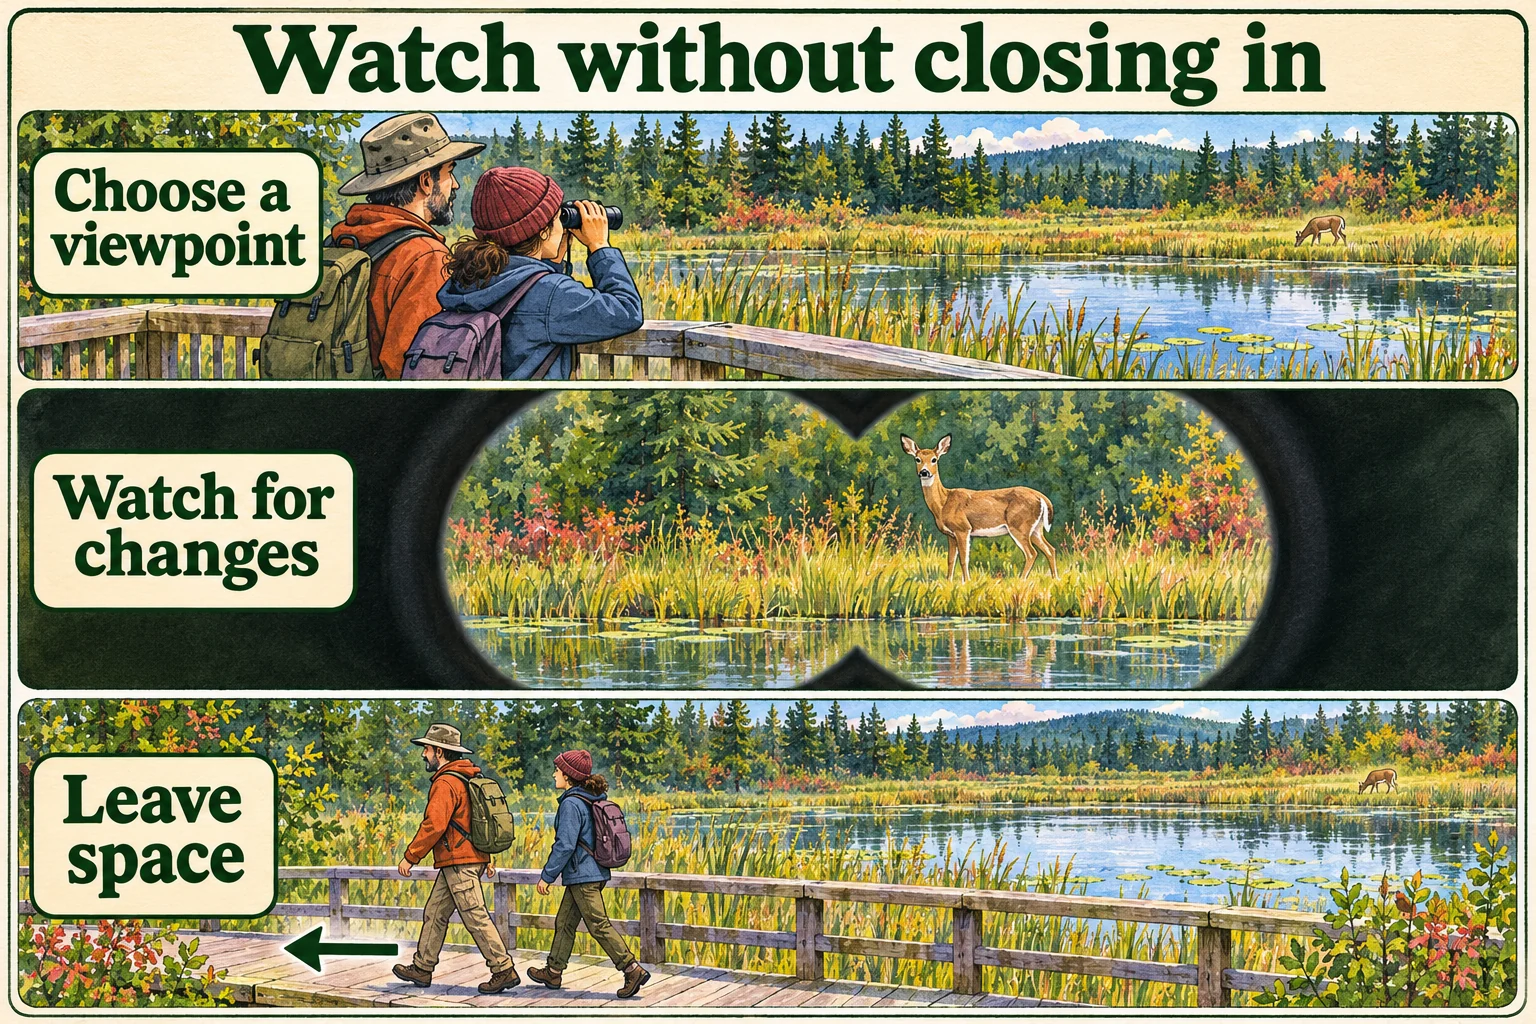
Stay, give more space or leave?
Open the situation closest to what you see. These are observation decisions. If an animal is already close or approaching, use the official encounter advice for that species and place.
The animal keeps feeding and you have a clear way out
Stay where you are if your viewpoint is open to visitors and you are beyond the local minimum distance. Choose a feature you can see from there, such as what the animal eats or how it moves between patches. You can keep watching from that spot while the animal has room to move.
The animal repeatedly stops and looks your way
Stop trying to improve the view. If you can move back without getting closer or blocking a route, use the open path you came from. A look by itself can have several causes. If attention keeps returning to your group, give the animal space even if you think you met the posted distance.
The animal moves toward the trail or your exit
End the viewing session. Use another open route if you can do so safely and without crossing its path. If you cannot make a safe departure, switch to the site’s encounter guidance and follow staff directions.
The view is blocked by reeds, a bend or a closure
Keep to the permitted area. Try an established viewpoint elsewhere or watch the habitat from your current position. A closure means leaving the affected area as directed, even if the trail looks empty.
Cars are stopping around an animal
Keep your attention on the road, obey directions and avoid joining the crowd. Use only legal, safe stopping places and only where the authority permits viewing. A vehicle ahead with its hazard lights on does not make the shoulder a viewing area.
Watch from a place you can leave easily
Choose your observation point before you see an animal. On the map, look for a maintained platform, an open section of marked trail or a designated viewing area with a clear way out. At the site, check whether a person using the trail can still pass your group and whether an animal could cross the ground below you without moving toward anyone. A place with a good view and a poor exit is a place to walk past. The same applies when a bend, low bank or stand of alders hides the ground you would need to cross to leave.
Start by looking at the whole scene. From a platform overlooking a wetland, you might check the far bank, a strip of reeds and the open water before lifting your binoculars. Pick an obvious landmark in each part of the view, such as the end of the boardwalk or a white snag, so you can describe what you see without pointing a crowd toward a bird. If two people are watching, one can briefly check the rest of the scene while the other looks through the binoculars. Everyone stays at the same viewing point.
Find the subject again without moving closer
- Find the animal with your eyes first. Choose a landmark beside it and keep your gaze there as you raise the binoculars. Start with the centre focus on that landmark if the animal is hard to make out.
- If you lose the animal, lower the binoculars and return to the wider view. Look at the space around the last landmark before scanning the next patch of habitat. When tall grass or brush hides the animal, wait where you are or end the watch.
- Before looking through a scope or taking a photo, check the space between you and the subject with the naked eye. Check behind you, too, if you have been in one place a while. The view through an eyepiece can exclude the calf you did not notice or another visitor coming up the trail.
For most short stops, handheld binoculars leave you free to look up and move. A spotting scope can show more detail across open water from a broad platform, but its tripod needs enough space for people to pass. Wind can shake the view enough to make a distant subject harder to identify. If a railing is available, try resting your elbows against it. If a subject still looks like a grey shape in blowing spray, record a grey shape with no firm identification. CanadaFever’s binoculars and optics guide
Use established cover and change your plan in poor visibility
An existing public blind or a screen on a viewing platform can reduce the movement birds see. Use the approach designated for visitors. Keep your feet and equipment behind the platform edge, and avoid adding branches or cutting vegetation for a clearer view. If an animal moves toward the screen or you can no longer tell how close it is, give up the spot. Camouflage does nothing to open an exit or increase the distance between you and an animal. Point Pelee birding and photography guidance
Wind affects what you can hear, and a stream can mask voices and movement. Those are reasons to be more cautious while walking, especially near a blind corner or dense vegetation. Parks Canada’s bear guidance calls for making your presence known by talking or calling out in such conditions. Once you’re at an established viewpoint with room and a clear sightline, keep conversation at a level that lets you hear others and the surroundings. Leave music and portable speakers off. If wind or fog keeps you from checking the approach or exit, use another site. Parks Canada bear-country travel guidance
Recorded recreation noise alone was enough to change some mammals’ behaviour in a Wyoming field experiment. Animals exposed to the recordings fled more often or spent longer watching than animals exposed to the controls. Responses differed across species. For a visitor, the useful distinction is between announcing yourself to prevent a surprise encounter on the trail and adding unnecessary noise once you are watching from a distance. The study tested recordings in one forest and gives no viewing distance for a Canadian site. Zeller and colleagues’ recreation-noise experiment
Read changes in behaviour and give the animal room
Watch what the animal was doing before you reached the viewpoint. If you can see an elk feeding across a meadow, note how often it looks up and what it looks toward. An elk can raise its head briefly while chewing. A sustained turn toward people, repeated interruptions to feeding or several animals bunching and moving away deserve a different response. Give them room and stop the observation if you cannot maintain that room. You can act on a possible disturbance without deciding whether your group, a dog farther down the trail or something out of sight caused it. Banff National Park elk safety
Ciuti and colleagues observed elk in a landscape in southwestern Alberta that included a national park, private land and public land. Elk showed different patterns of scanning and feeding with differences in human activity, season and site. The field observations included changes in how the animals spent their time before they had left the area. This is one reason to watch interruptions to feeding or resting instead of waiting for a dramatic departure. It is hard to judge those interruptions if you started watching after several groups had already gathered. Ciuti and colleagues’ Alberta elk study
Four things you can see through binoculars
- An isolated glance. A grazing animal raises its head once and resumes feeding. Keep the gap and stay attentive to the rest of the scene. The next time it looks up could be for an entirely different reason.
- Repeated attention. The animal stops feeding and repeatedly looks toward the people at the rail. End the watch and move away by the available route. A distance sign gives you a minimum even if the animal shows no reaction, and a possible reaction gives you a reason to leave sooner.
- Sudden stillness. A feeding bird crouches or goes rigid as people collect along the boardwalk. Ease away. A bird that holds its position may be relying on cover. Watch for the change from its earlier posture without assuming you know why it happened.
- Movement that closes the gap. An animal walks toward the viewing area or onto the only trail out. Stop the photography and follow the local encounter guidance for that species. Give the animal the space to use the route and avoid splitting up around it.
Write down the sequence in plain language. “Head came up when two hikers arrived. The elk turned toward the trail, then walked left” is a usable record. “The elk was defending territory” adds a motive you may have no way to confirm. If a guide, ranger or field reference helps you identify the species later, retain the original observation with the revised identification. That makes it easier to separate an uncertain ID from behaviour that you did see. Parks Canada’s responsible visit guidance · Audubon’s guidance on bird posture and photography
When people arrive after you, the conditions can change before the animal moves. A narrow rail that held two people comfortably can start to funnel visitors to either side of the subject. Pack up and give the rail back to through traffic if the crowd begins spreading toward the animal or if the trail behind you becomes blocked. When you show someone a sighting, describe it with a landmark they can see from where they already stand. A short watch from the same place is easier to end than a line of people that moves each time the animal does.
Take the photo from where you can safely watch
Start with a picture that includes the habitat. A heron at the end of a reed bed can sit low in a wide frame that shows the edge it is hunting. With a phone, use the wider view and accept a smaller subject. With a camera and a telephoto lens, take the tighter frame from the same spot if you can do so without crowding other visitors. If you could only frame the animal by leaning out, walking off the trail or moving around to cut off its route, leave the picture. Point Pelee wildlife photography guidance
Prepare focus and exposure before you spend time looking through the viewfinder. Focus on something at about the same distance as the animal, then bring the focus point onto the animal if you can do it from where you stand. Check a single frame for blown highlights on water or a white bird before taking more. At an established lookout with room to brace, use the support to steady the camera instead of stepping toward the subject. Put the camera down periodically and check the gap again, including space around other animals that are outside the frame.
Keep the behaviour you came to see
Skip food, scented lures, recorded calls and imitations. At Point Pelee, the park prohibits the use of recordings. A bird that answers a call or emerges from cover has had its behaviour altered by the photographer. Keep identification apps silent in the field and use headphones away from the trail later if you want to compare a recording. Leave a roost, nest or den undisturbed, even if the adult has disappeared. Keep any branches, reeds and other cover intact, and leave flash off when photographing owls. Point Pelee’s rules for birders and photographers · Alberta wildlife watching guidance
Before sharing a photo, check what the caption and file reveal. The exact bend in a trail, a distinctive post or GPS coordinates saved in the image may lead more visitors to a roost. Share a broader location or leave the location out when it could put wildlife or habitat at risk. If you want to report a sensitive bird record, ask staff about the local reporting channel or check how eBird handles that species in the region before posting. Keep the information that helps people understand the photograph, such as that it was taken from a public viewing platform, without publishing directions to a vulnerable bird. Cornell Lab’s sensitive-species reporting guidance
Check the rules for the place you plan to visit
Start with the map of the area you will actually visit. A road can run through a national park, a town and another jurisdiction on the same trip. A trail on a downloaded map may still be closed today. Match the trailhead, viewing spot and return route to the land manager’s current map, then open the official wildlife guidance and bulletins. In Banff, the park’s closure page points to separate lists for seasonal restrictions, urgent bulletins and trail conditions. Save the relevant notice and local contact information before leaving cell coverage. If you find a closure on the ground, use your alternate route. Parks Canada’s Banff closure guide
Write the alternate route in your trip notes before you leave. Include where you can park, where you can stand clear of others, and which way you can retreat without crossing the habitat you came to watch. A signed lookout over a valley and a narrow trail through the valley can be close together on a map and give you very different options. If a planned stop has only one narrow approach, choose a second stop with a wider view so you have somewhere to go when that approach is blocked.
Banff National Park, Alberta
Parks Canada’s Banff viewing guidance sets minimum distances of 30 metres for deer, elk, sheep and moose, and 100 metres for bears, wolves, cougars and coyotes. It also tells visitors never to approach wildlife. Use the distances to decide whether your current position gives an animal enough space. If you cannot tell whether a distant animal is a deer or a bear, keep the wider margin or skip the view. A bend, a fence or a row of trees can hide part of a group and make it harder to judge the nearest animal. Keep the route open for an animal to leave in the direction it was already moving. Banff wildlife viewing guidance
The Banff roadside default is to slow down, remain in the vehicle and move on. When stopping is permitted and safe, Parks Canada advises pulling clear of traffic, using hazard lights, remaining inside and moving on after a brief look. A space that fits the car may still put you too close to wildlife. When several cars are already slowing down or a crowd is forming, carry on and let passengers keep cameras away from the driver’s view. In Banff, the park asks visitors to report encounters with bears, wolves, cougars and coyotes to Banff Dispatch. Make any call once you are safely out of the situation. Parks Canada’s roadside and reporting instructions
Pacific Rim National Park Reserve, British Columbia
On the west coast of Vancouver Island, read both the wildlife page and the formal notices for your unit of the reserve. The wildlife-viewing order listed under the Long Beach Unit bars deliberately approaching, remaining or viewing within 100 metres of a bear, cougar or wolf, with an exception to that distance clause for people fully inside a legally positioned motor vehicle. The order also bars activity at any distance that interferes with wildlife movement or creates a hazard. Its stated scope is all lands under the reserve’s jurisdiction. For a foot outing, choose a different route if a bear, cougar or wolf occupies your planned route. The reserve also tells visitors to avoid seeking out these animals for photos. Wildlife-viewing order · Pacific Rim wildlife guidance
Check the separate notice for pet access before leaving home. A leashed dog still cannot enter a pet exclusion area. Parks Canada also asks people around shorebirds to give them at least 25 metres and to respect the seasonal Combers Beach closure. On a beach, a changing tide or water draining across the sand can narrow the space between people and feeding birds. Turn back early if you would need to pass close to a flock or leave the open route to get around it. If birds rest on a small strip of sand, give them room even when the area is open to visitors. Parks Canada’s pets and shorebirds guidance · Current Pacific Rim bulletins
Before going out in a kayak or on a wildlife tour, use the park’s marine viewing guidance and check for additional local restrictions. Parks Canada says to remain 100 metres from a seal pup, keep children and pets away and report a lone pup to park staff. A young seal can look distressed while its parent is offshore feeding. Leave it where it is so park staff can decide whether it needs intervention. Pacific Rim guidance for marine mammals and injured animals
Algonquin Provincial Park, Ontario
Ontario Parks asks Algonquin visitors to stay at least 100 metres from black bears and wolves and at least 30 metres from moose and deer. It directs visitors to park in designated areas along Highway 60 and avoid parking on highway shoulders. For a planned watch, choose a listed trailhead or the visitor centre’s viewing deck if open. Leave enough time to change plans if a lot fills up. If wildlife appears as you drive between stops, pay attention to the road and continue to the next legal parking area. Ontario Parks’ Algonquin visitor guidance · Algonquin alerts and visitor centre hours
If you are looking for hunting regulations
Start with the responsible wildlife authority for the place and activity. In Canada’s national parks the National Parks Wildlife Regulations generally prohibit hunting and disturbing wildlife, with exceptions under the regulations. Ontario separately allows hunting in some provincial parks. Its hunting summary directs hunters to confirm the exact areas, species, seasons and restrictions with the relevant park office. Ontario also publishes separate licence and tag requirements. A park name or boundary alone is too coarse for a hunting plan. Check the access rules for the actual parcel and contact the land manager if a map or notice leaves the boundary unclear. The viewing exercises below all take place on public visitor routes. National Parks Wildlife Regulations, section 4 · Ontario’s general hunting regulations · Ontario hunting licence information
| Place | Example from local guidance | What it changes |
|---|---|---|
| Banff | 100 m from bears, wolves, cougars and coyotes, 30 m from elk and other listed ungulates. | Use the wider margin when you cannot identify an animal from the viewpoint. |
| Pacific Rim | 100 m order for bears, cougars and wolves, with a narrow exception for people fully inside a legally positioned vehicle. | For a beach walk, choose a different open route when the animal occupies your path. Interference is barred at any distance. |
| Algonquin | Ontario Parks directs visitors to designated parking areas along Highway 60. | Plan an open viewpoint with parking. Keep driving if a sighting is beside a shoulder. |
Three practice cases for deciding when to stop or leave
These fictional situations use real park guidance. In each one, decide which direction you and the animal can move, whether the distance is holding, and what you would do if other people arrive. Choose your next step before reaching for the camera.
An elk herd beside a road in Banff
Two elk are grazing beyond a drainage ditch. A third walks toward the verge. Your passenger can see another vehicle braking ahead and a pullout on the opposite side. The pullout looks open, but reaching it would put you where the elk could cross, and you cannot see whether more elk are behind the brush.
Decision: Keep driving at an appropriate speed and let the passenger put the camera down. The herd has room to spread out on both sides of the road, and parked cars would make that space smaller. Do not turn around for another pass. If you want a longer observation, stop later at a designated spot away from the herd and look over open habitat. If another elk appears there, give it the local minimum distance and leave extra room where its route and yours could meet. Use the lens from where you are already permitted to stand. A whole meadow in the frame can show where the animal is feeding without a close portrait. Banff’s viewing and roadside guidance · Banff’s elk precautions
A moose across a bog in Algonquin
From an open section of a marked boardwalk, a moose is feeding across the bog well beyond the park’s minimum distance. You have a way back, and the animal has open ground along its own side. The trail loops around the wetland ahead. Another person suggests following the loop to see whether the moose comes out beside it.
Decision: Hold at the open spot if there is room for others to pass and the moose remains well away. Watch from there with binoculars. If the trail ahead would carry you toward the animal’s likely exit, wait at a safe distance or go back by the open route behind you. Keep off the bog itself. If the animal angles toward the boardwalk, end the watch before it can narrow your way back. Later, jot down the direction it was travelling, whether the view stayed clear and what made you stop. Those notes will help you pick a position with a wider view and a clear exit next time. Ontario Parks’ boardwalk and trail information · Algonquin’s wildlife distances
A dark shape near the driftwood in Pacific Rim
Your group has stopped by a broad entrance to an open beach. Far ahead, a dark shape moves at the edge of the driftwood, heading across the sand. Someone raises a camera and thinks it might be a black bear. From your angle, you cannot tell what it is or how far away it is. Your return to the beach entrance is clear.
Decision: End the observation and use the clear route away from the animal while it is safe to do so. Keep the group together. Stepping down the beach for a clearer outline would reduce the margin while you still lack the two pieces of information you need most. If it becomes a close encounter, put the camera away and follow the reserve’s species-specific instructions. Its general living-with-wildlife page links to dedicated bear advice and directs visitors to report bear, wolf and cougar sightings to park staff. For the rest of the outing, choose an open visitor stop away from that stretch of beach and check for fresh bulletins before changing routes again. Pacific Rim encounter and reporting guidance
If you report an observation, give staff the time, the nearest named access point, where the animal was heading and which details you could see clearly. Say when the identification is uncertain. A description such as “a large dark animal crossed the sand toward the trees” lets staff distinguish the observation from a guess. You can give the location from a safe place without returning for a better photo.
Set up a short watch with your group
When everyone has a different idea of what counts as a good look, a quiet stop can turn into five people drifting down a trail after the same animal. Agree on a viewing point and an exit before anyone raises a camera. This works especially well when the group includes children, photographers and people who need more time or room to move.
- Pick a place you would use on an empty day. Look for a designated stop with room for other visitors to pass, a clear view of the habitat and an open way back. If your plan only works while an animal stays on one side of a narrow path, pick a different viewpoint.
- Give everyone the same landmark. Point to a clump of sedges, a pale stump or a shaded bank. Say where the animal is relative to the landmark. People can then find it through binoculars from the same place, with fewer voices and fewer people walking ahead for a clearer angle.
- Choose a signal to end the stop. Agree on a quiet phrase or hand signal before the walk. If one person loses sight of the exit or notices the animal moving toward the trail, the group ends the watch together. Keep children with an adult and follow any local dog restrictions.
- Give the group another thing to do. Ask someone to note the habitat, another to describe movement and a third to watch a different part of the opening. That gives you something to compare afterward even if nobody gets a close photo.
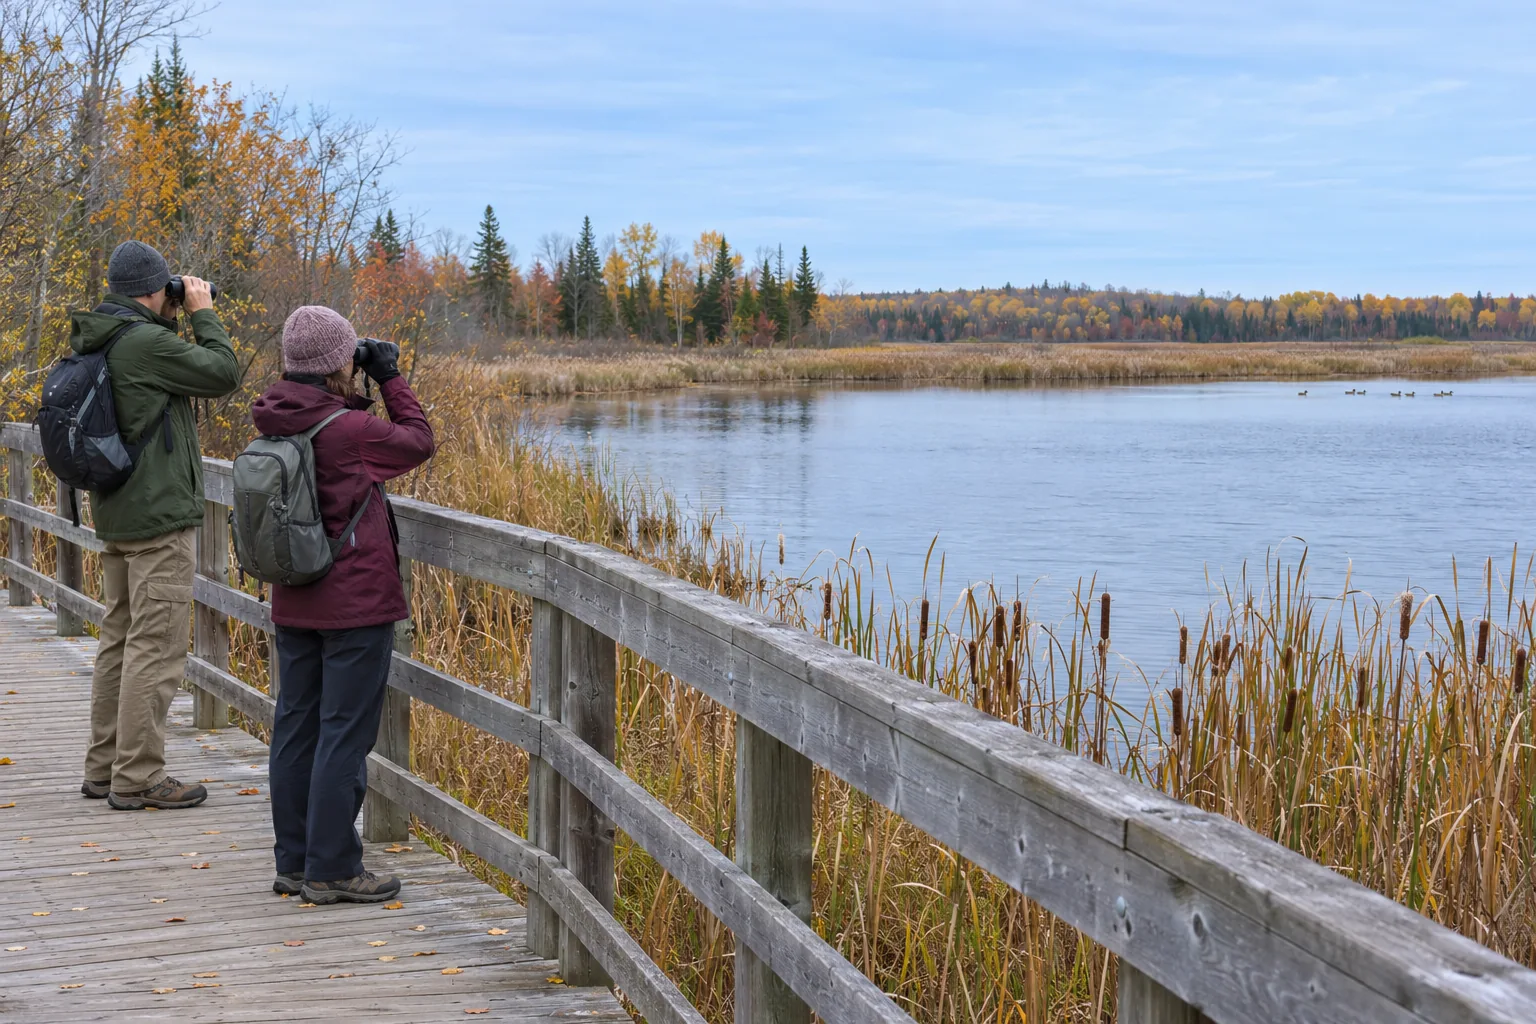
Guide’s log · A fictional boardwalk stop
In this practice scene I reach a public boardwalk where the reeds open onto a pond. Through the binoculars I can make out a duck near a broken cattail stem. I tell my companion to start with the stem instead of sweeping the whole pond. The duck disappears behind one clump and surfaces beside another. For a while we can follow its route by watching where the ripples start.
A second group comes up the boardwalk. The bend ahead would give us a better camera angle, but it would also put us close to the patch where the bird keeps feeding. We stay by the rail and step aside to keep the path open. When the bird slips behind the vegetation again, I leave the camera down. There is enough in the notes to explain what I watched without filling in what happened out of sight.
At the trailhead I write down the time, the habitat and the move between two reed clumps. I record that I did not confirm the species. On the next trip I can start from a different official viewpoint and see more of the pond.
Keep a field record you can compare next time
Use two short lines in your notebook. On the first, put what you actually saw, such as “two birds fed at the open edge, then moved behind cattails.” On the second, put what you inferred and how certain you are. “Probably the same two birds” is useful if you lost them briefly. The distinction helps when you compare visits or send a sighting to a recorder.
Add one detail about the viewing point itself. “Could see the far bank until the wind picked up” explains why you stopped and may tell you which official platform to try next. A note about the route behind you is especially useful when you plan to return with a larger group.
If you found tracks but saw no animal, you can still write a useful record. Note the direction and sequence you can actually trace from the permitted path, then use the guide to reading behaviour from tracks to separate those details from a guess about what the animal was doing.
Check your viewing plan before leaving home
Tick off each item as you work through it. The checklist is for this visit. It does not save or send your answers.
If the only promising stop depends on an unmarked trail, private land or a shoulder where stopping is prohibited, change the route before leaving home. A local staff member can point you to an alternative that fits the day.
To plan a different outing, see the tracking and scouting hub. The maps and GPS guide can help you mark the open route and the backup parking area before you lose coverage.
Use optics without changing your position
Hold your usual binoculars for a minute and notice when the image starts to drift. If a rail is available and there is room for others to pass, try again with your elbows supported. For people who wear glasses, the trial also tells you whether the eyecups let you see the full circle without pressing against the frames. Use the results to decide whether a lighter pair, more eye relief or somewhere to brace would solve the problem you actually had. CanadaFever’s guide to scouting with optics.
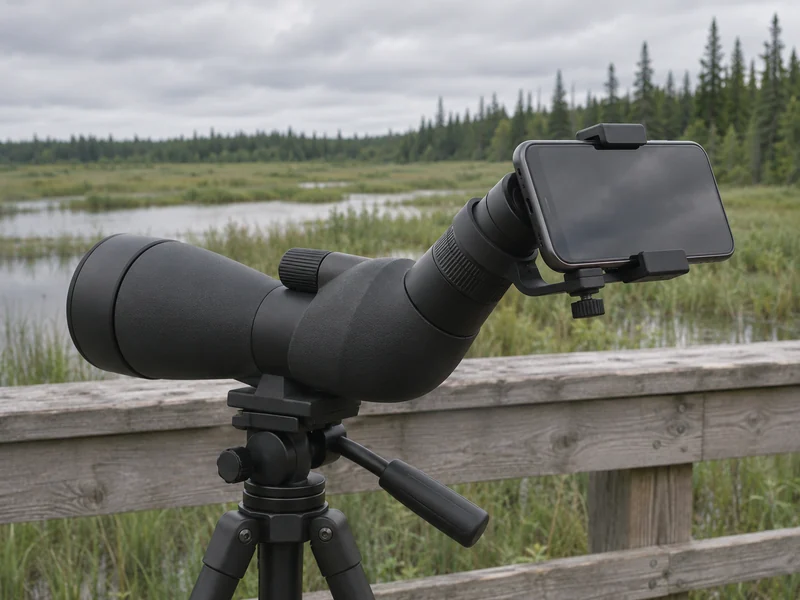
If you want a short clip for identification later, practise with a stationary target at home or from a permitted viewpoint. Find the target through the scope, attach the phone and centre the active camera lens over the eyepiece. A dark ring can mean that the phone is off centre or too far from the eyepiece. Check both adjustments while the scope stays aimed. Take one clip and watch it back so you can tell whether the combined weight makes your setup creep after you let go. Celestron’s setup and fit guidance.
There is rarely time to work through that setup when an animal crosses the view for a few seconds. For a brief sighting, write down the most useful detail you saw. For a longer watch, use an approved spot that has room for the scope and tripod. A tour can have its own equipment rules. Ask the guide before bringing a tripod aboard or setting one up where other people need to stand.
Two ways to get a better look from farther away
As an Amazon Associate we earn from qualifying purchases. Check delivery and total cost for your address on Amazon.com.
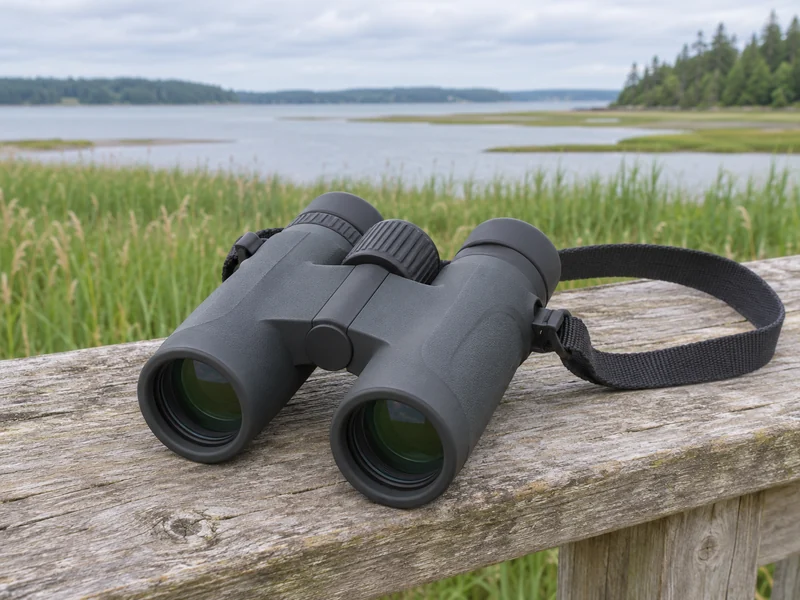
For a quick scan from a marked trail or lookout
Vortex Diamondback HD 8×32 Binoculars
This compact 8×32 works for walks with frequent stops, especially when you want to keep part of the landscape in view while watching an animal move.
- Vortex lists an 8.1° field of view, or 426 feet at 1,000 yards, for finding a subject across an opening.
- The pair weighs 15.9 ounces, about 451 grams. Try holding your current binoculars for a minute before deciding how much weight matters to you.
- The adjustable eyecups and 16 mm of eye relief give you a starting point for checking the fit with the glasses you wear outdoors.
For a short clip from a fixed viewpoint
Celestron NexYZ 3-Axis Universal Smartphone Adapter
Use this adapter to record through a supported scope you already own. Choose a permitted spot with space for the tripod.
- Celestron lists a 35–60 mm clamp range for standard eyepieces. Measure where the clamp will grip and check the fit before buying.
- Three knobs adjust the phone’s position over the eyepiece. Use them to centre the camera lens and control its distance from the eyepiece.
- The adapter weighs 283 g before you add your phone. Check how the combined weight sits on your scope and remove a bulky case if it prevents a secure fit.
Watch coastal grizzlies with local guides in British Columbia
Affiliate disclosure: We may earn a commission if you book through this Viator link. Check seasonal dates, conditions and the exact meeting point before booking.
Departs from Campbell River, British Columbia
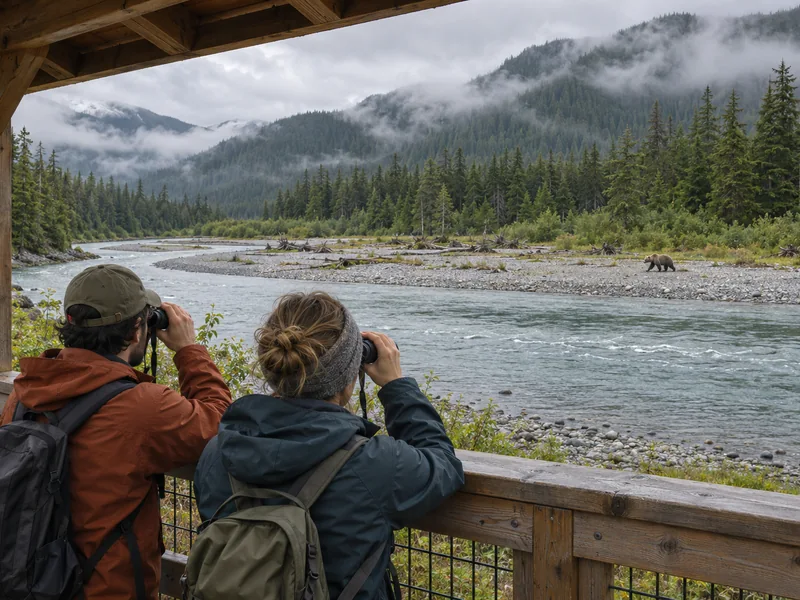
Campbell River Bute Inlet Grizzly Watching Tour and Boat Ride
The boat takes you to Bute Inlet, where guides from the Homalco First Nation lead the land-based viewing. Follow their directions about where to stand and when to move. Bear sightings vary.
- Watch from raised, covered platforms on the land portion of the tour. The operator recommends personal binoculars and advises against tripods.
- Lunch, snacks and hot drinks are listed as included. Check your departure for the vessel and seat options.
- The operator lists a minimum age of 10, with stairs at the platforms and boarding ramps that can be steep depending on the tide. Ask about access before booking.
Questions about watching wildlife from a distance
Is stalking wildlife a good way to take photographs?
For wildlife viewing, choose an established viewpoint and let the scene come to you. Alberta and Parks Canada’s Point Pelee photography guidance advise against stalking or pursuing wildlife. A long lens, a wider scene or a later visit gives you other ways to get a worthwhile photograph. See Alberta’s wildlife watching and photography guidance.
How far away should I stay from wildlife in Canada?
Check the authority for the place and species. Banff’s guidance, for example, says to keep at least 30 metres from animals such as elk and moose and at least 100 metres from bears, wolves, cougars and coyotes. Other sites can have different rules. Give extra space if an animal changes its behaviour or the distance is hard to judge. See Banff’s safe-viewing guidance.
Can I stay quiet when hiking in bear country?
Follow local bear-safety advice while travelling. Parks Canada recommends making noise on the trail, especially around blind corners, streams and dense vegetation. Once you are at an open, permitted viewpoint with space between you and wildlife, keep voices low for the viewing session. See Parks Canada’s bear-country travel guidance.
Should I move for a clearer view if a bird keeps looking up?
Keep your position or give it more room. Look-ups can have several causes, but repeated interruptions are a reason to stop trying for a better angle. If you lose the view behind cover, wait from the trail or go to a different designated stop. Avoid moving vegetation, using calls or drawing attention to a nest.
What if I only have a phone camera?
Photograph the habitat, weather and scale of the scene. Brace the phone from your existing viewpoint if there is a safe, stable surface. If the animal is too small for a useful picture, keep watching through binoculars or record what you saw in words.