

AI cover illustration of observer recording a wetland visit from an established viewing platform.
Wildlife tracking helps conservation when the record tells a project what you detected and what you did to look for it. Begin with a Canadian project that explains where, when and how to survey. Follow its method, report effort along with detections, and keep sensitive locations in the approved channel.
A trail photo can record a visit. A survey checklist also records a search. Telemetry follows a tagged individual. This guide explains when each is useful, how to log a visit without a detection, and where volunteers fit into projects that use specialized equipment.
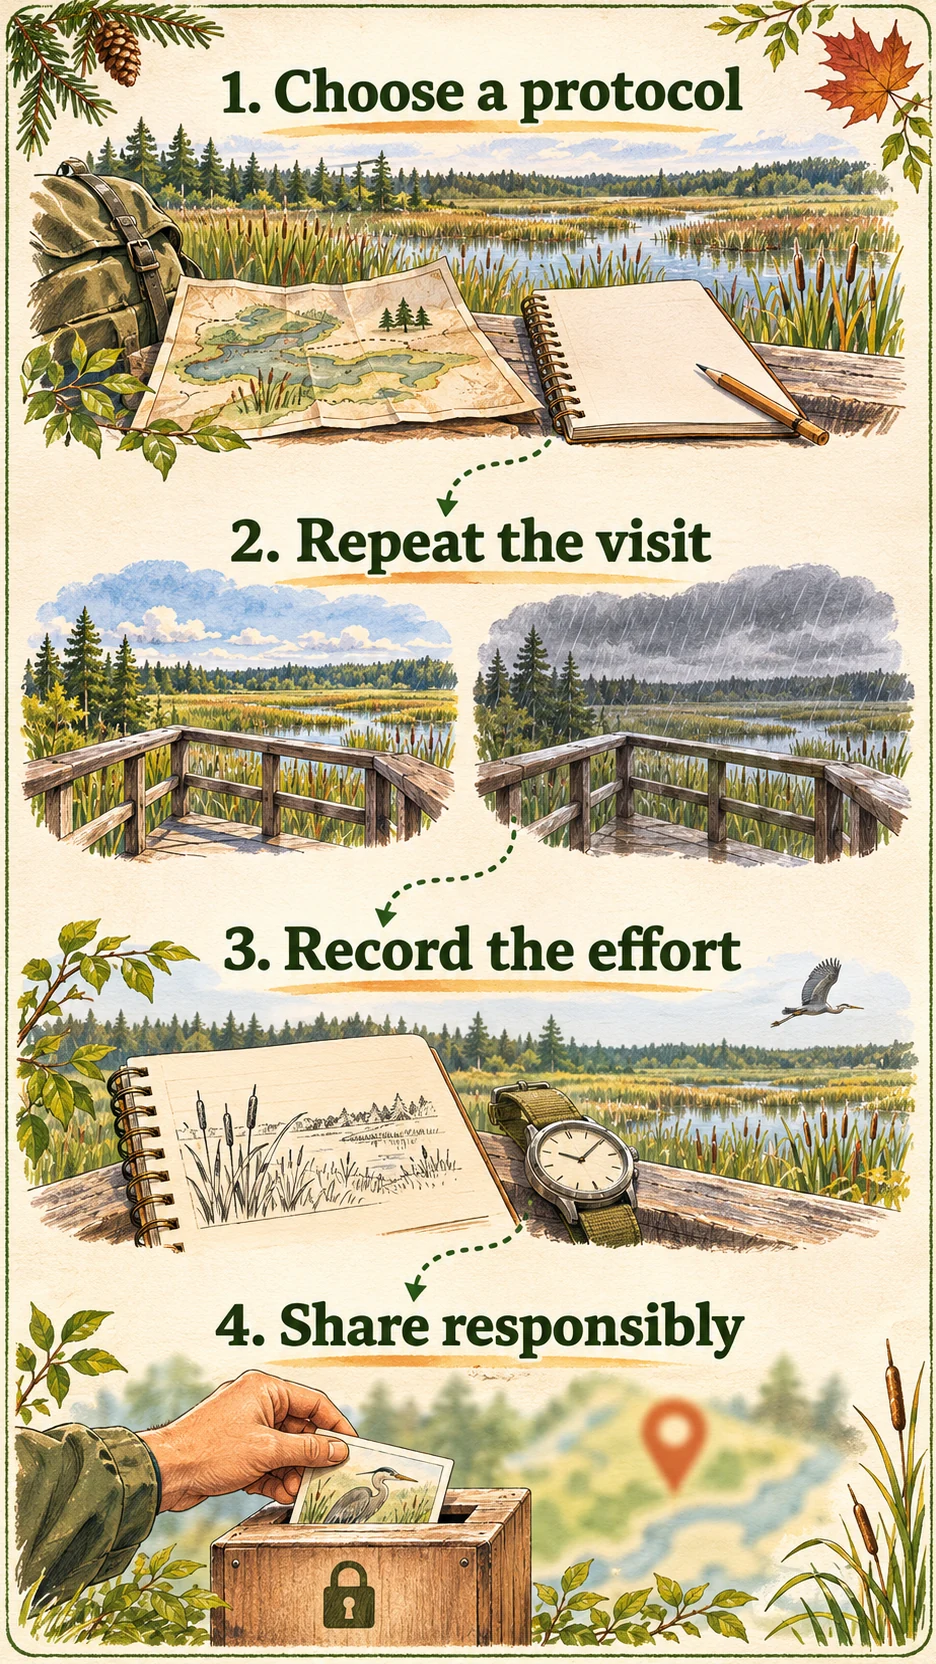
Match the tracking method to the decision
Start with a question that names the place, the time period and what you need to know. A wetland group might ask whether a bird has been recorded at a particular marsh this spring. A road agency might ask whether animals are using a new crossing. A recovery team might need to know which habitats tagged animals move through over a season. Choose the record that can answer the question.
- A photo or field sign documents something you encountered. One clear set of prints can support a species identification and a record of where the sign was found. It usually leaves the number of animals, the timing of passage and how often they use that route unresolved. Record what makes you confident, and keep the identification broad when the evidence is ambiguous.
- A repeat survey records where you searched, how you searched and whether you detected the target. Comparable visits help analysts separate changes in detection from changes in use. Birds Canada’s Marsh Monitoring Program uses observations from trained volunteers to help track long-term trends and inform wetland restoration and management. Sign-up and survey details vary by region.
- A remote camera documents visits to the area in its field of view while it is working. It can show which species pass a structure and at what time. A burst of images can come from one passage, and the same animal can return on different nights. Teams use a consistent event definition and record camera operating time before comparing sites. The Alberta Biodiversity Monitoring Institute’s camera metadata standard describes the information that helps make camera datasets comparable.
- Telemetry follows the individuals carrying transmitters. A series of locations can show where a tagged animal travelled or help a team examine seasonal movement. The result describes the tagged sample, and a gap between fixes leaves the route between those points uncertain. In Banff, Parks Canada’s crossing research has used telemetry, snow tracks, observations and roadkill locations alongside habitat information to help identify candidate crossing locations.
- Environmental DNA, or eDNA, looks for genetic material organisms leave in their surroundings. It can help a team detect species or groups in places that are difficult to survey visually. A positive result needs context. A Fisheries and Oceans Canada report explains how water can carry genetic material from another location. Some assays distinguish a group without resolving the species. Parks Canada’s eDNA examples show how its teams use lab results alongside other observations.
Leave collaring, sample collection and equipment placement to an authorised project. If a coordinator invites you to help, confirm what you may do, where and under whose permission. For research and collection in places administered by Parks Canada, check its research and collection permits. Its drone rules prohibit recreational drone use at Parks Canada places. Scientific flights require approval, so leave the drone at home for an ordinary field visit.
Record the search as carefully as the sighting
Imagine two people report a river otter in the same watershed. One noticed it during a lunch break. The other searched a fixed river reach on three scheduled visits and saw it once. Both records can help document presence. The second also tells a coordinator where and when someone searched without seeing an otter. Keep the search history with the sighting when you transfer it to the project’s form.
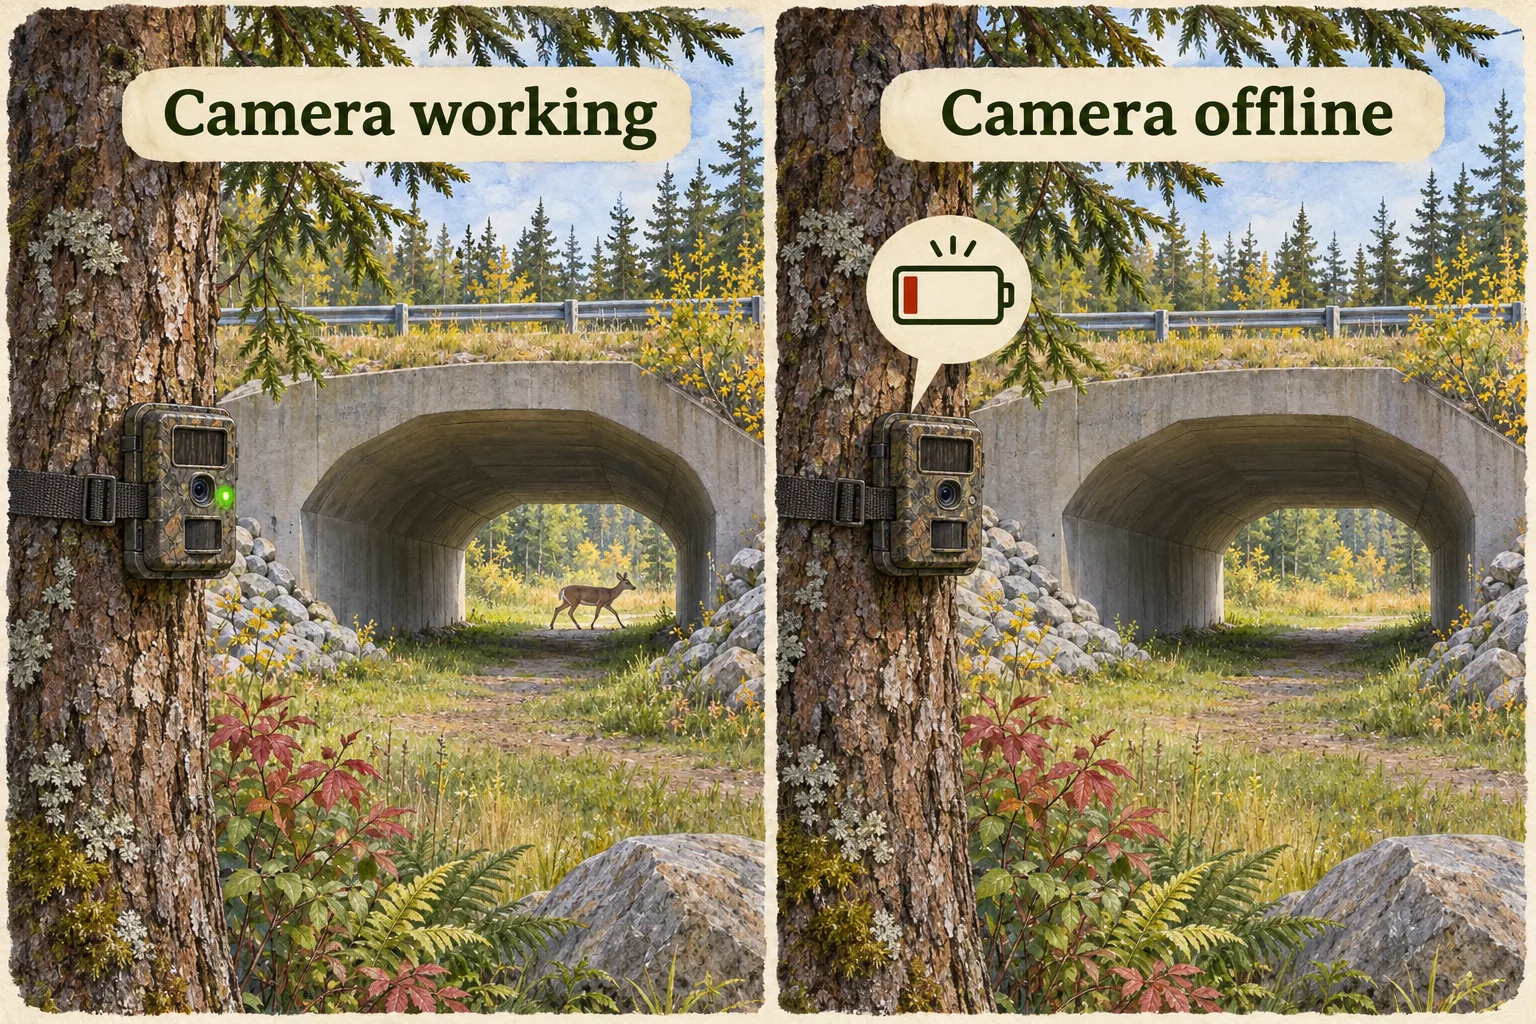
- Use the project’s survey unit. It might be a station, route segment, grid cell, camera or timed search. Confirm which unit you are assigned, what counts as a visit, which methods are allowed and how to log an interrupted visit. A record tied to a vague place name cannot reliably be matched to the same sampling unit later.
- Write down the effort. Record the date and time, observer or team, start and end, method, distance or duration as appropriate, and conditions that affected visibility or sound. Add context that matters to the method. Fresh snow can cover tracks, wind can mask calls and glare can hide animals at the water’s edge. If a camera stopped working, record the known outage rather than treating the entire deployment as active.
- Use the project’s outcomes. Distinguish a confirmed detection, a completed search with no detection, an uncertain identification and a visit you could not complete. Follow the project’s coding rules. For example, a lookout closed before you arrived is a missed visit. If you watched for the full protocol period and saw none of the target species, that is a non-detection under those conditions.
- Keep the evidence with the record. Use your photo or sound file identifier when allowed. Note the feature you saw and anything that makes it uncertain, such as partial tracks or a sound you could hear only briefly. Keep the original observation and document a later correction through the project’s normal review process.
What detection, occupancy and abundance tell you
Detection records that the method picked up evidence at a particular place and time. A non-detection means the method did not pick up evidence during a completed visit. An animal can be present and go unseen. Think of a marsh bird that calls once, after a volunteer has left.
Occupancy describes the proportion of defined sites occupied, or the probability of occupancy at a particular site, over a defined period. With mobile species and some survey designs, researchers interpret it as site use over that period. A study may use repeated visits to estimate how likely it is to detect the species when it is present. Fisheries and Oceans Canada’s report on imperfect detection illustrates why hard-to-detect species can require more visits and sites to measure a change.
Abundance asks how many individuals are in a defined area or population. A detection history can help answer where a species occurs. To estimate numbers, a team needs a suitable design and an analysis that addresses missed individuals and repeat detections. Eight images, eight tracks and eight sightings could all involve the same animal. A rise in reports can also follow an increase in visits or observer skill. Ask how the study accounted for those changes before treating a rise in records as population growth.
Check what actually changed between two surveys
Suppose volunteers record fewer shorebirds at a beach after an access change. Before interpreting the difference, compare where they stood, what part of the shore they could see, when they went and how long they watched. One observer may have covered the whole beach while the next could see only the near end. If the effort changed, preserve both records with that context and tell the coordinator. They can decide whether the records belong in the same comparison.
When a team wants to evaluate a conservation action, it helps to set the question and the comparison before collecting data. For example, a team monitoring a newly protected corridor may want observations from before and after the change, with similar effort at suitable comparison sites. More detections after the change can be encouraging. Other influences still matter, including conditions, shifts in where animals move, and differences in the way observers searched. A project can report what it observed while the stronger explanation is still being tested.
Choose a Canadian reporting route that fits your observation
One animal or sign that you happened to find
iNaturalist Canada can be a useful starting point for an encounter you can document. Supply the observation date and location, indicate uncertainty and add a photo or audio recording if you can make one without disturbance. Set a location accuracy that reflects what you know. For an indirect sign, explain that the image shows a track, scat or other evidence. Follow the project’s evidence rules when submitting to a specific survey. iNaturalist’s observation guide shows how to add the record.
A birding session with a known time and route
On eBird, choose the protocol that reflects what you did. Use an incidental record when birding was secondary, such as a notable bird spotted while gardening. For a dedicated birding session, record your effort and report every species you detected and could identify if you mark the checklist complete. When the platform allows it, record an unidentified bird at the broader level you can support, such as duck species. See eBird’s guidance on choosing a protocol and completing a checklist.
A monitoring project you can return to
Contact the coordinator of a regional program before choosing your own sites or dates. Ask what training you need, how many visits fit the protocol, whether a route is assigned, and where to submit results. Birds Canada’s regional Marsh Monitoring Program links are a starting point for trained volunteers. A short, repeatable visit you can complete may be more useful to that project than a longer visit with an improvised route. If you cannot return, tell the coordinator rather than filling in a result for a survey that did not happen.
Keep a routine sighting separate from a safety report
A platform for long-term monitoring serves a different purpose from the reporting channel for a wildlife encounter. If you see an animal creating a hazard or a person disturbing wildlife in a park, use the site’s designated reporting instructions. Check current trail restrictions and stay back when taking photos. If an animal changes its behaviour because you are there, give it more room and leave if necessary. A missed photo is an acceptable field outcome. Parks Canada’s wildlife viewing advice explains how to prepare and respect posted restrictions. Its Jasper wildlife page illustrates why you should look up the reporting channel for the particular place you are visiting.
Decide who can see the record before sharing it
Precise coordinates help a project revisit a monitoring site. The same coordinates may expose a den, nest, roost or sensitive species to disturbance. Ask the project how it handles sensitive records before posting. When the rules allow, give exact locations to the approved recipient and keep the public version at the recommended level of detail. If the project asks you to withhold the observation, keep it off public maps and social posts.
Check what a reader could piece together from photos, captions, landmarks, route files and other observations posted at the same time. A blurred map point can still be linked to a nearby public post by the same observer. iNaturalist’s geoprivacy guide describes that risk and explains how true locations may be shared with trusted users, projects or affiliated networks. Check both the public visibility and any permissions you have granted before uploading.
When a Nation or Indigenous-led project governs the information, follow its own agreement from collection through publication. Ask the lead who may collect records, where the files belong, who can see original locations and whether any result can be made public. The First Nations principles of OCAP® describe ownership, control, access and possession for First Nations data. Each Nation can express those principles through its own protocols. For Inuit- and Métis-led work, follow the governance arrangements of the relevant Inuit or Métis organisation. OCAP® is a registered trademark of the First Nations Information Governance Centre (FNIGC).
Three Canadian examples you can work through
These scenarios are fictional. The linked programs and places are real. The sample numbers illustrate how to record evidence, and do not describe findings or prescribe a project’s protocol.
1. Ontario marsh. A call, a quiet visit and a closed gate
A volunteer completes a scheduled listening visit at an assigned marsh station and hears a target species. During a second completed visit, there is no call they can identify as that species. A gate closure prevents a third visit. The volunteer logs a detection, a non-detection and a missed visit, each with its own conditions. If the program accepts a suitable makeup visit, the coordinator can decide when it fits. The closed gate supplies information about access alone.
A coordinator reading those rows knows the bird was detected on the first visit and that the second survey was completed. It could still have been nearby on the second visit. The three rows give no estimate of how many birds use the marsh. Compare this with Birds Canada’s regional programme information to see which survey opportunities and training apply to you.
2. Alberta crossing. A photo burst and a failed camera
An authorised team reviews two cameras monitoring different approaches to a crossing. The first produces a sequence of six frames as a deer walks past. Under the team’s event rule, the sequence is one passage. The second camera has no photographs of deer and stopped working partway through the deployment. The team flags the downtime and asks which periods remain usable before comparing activity at the approaches. A blank card during an outage says nothing about what passed.
For the next round, the team checks the station identifiers, camera clocks, viewing angles and deployment records before filing its summary. Its result concerns use of the sampled approaches during the operating periods. It would need different evidence to estimate the number of deer in the surrounding valley or demonstrate a reduction in collisions. Parks Canada’s Banff crossing research offers an example of how teams combine methods and monitor patterns over time.
3. Haida Gwaii. DNA and a visual survey answer different questions
In this example, a marine team receives a lab result for rockfish DNA from a kelp habitat, while an observer did not identify a rockfish during one visual survey. The group preserves both results with their methods and sampling times. The lab result supports a detection at the level of rockfish, while the visual record says what that observer could identify during their survey. A single DNA detection leaves the exact species, the number of fish and the time they passed uncertain.
The team follows the project’s data agreement before sharing site maps. It can explain the distinction publicly without releasing the exact collection point. In real work at Gwaii Haanas, Parks Canada reports that the Council of the Haida Nation and research partners are using eDNA to study marine habitats. Some markers distinguish rockfish as a group without identifying each species. That difference is worth preserving in a dataset and in any story about the results.
Audit one record before submitting it
Read the note as if you were the person comparing visits at the end of the season. Could you tell which part of the site was checked, how long the visit lasted and whether you looked for the target? If you reached a locked gate or stopped early, log that in the space the project provides. Mark a skipped or shortened visit explicitly so an analyst can distinguish it from a completed search.
- Link the note to the assigned survey unit. Copy the project’s station or route code. Keep the date and start and finish time in the format it expects. Use a broad place name in any public copy if the exact location is restricted.
- Keep the original evidence. Save your photo or audio with the note and record the features you could see or hear. If a reviewer changes the identification later, use the project’s correction process so the original and corrected record can be distinguished.
- Record any change in effort. If you spent half the planned time or could only see one side of the marsh, say so. That visit may still have a useful observation. The project decides whether it is comparable with a full visit.
Take a fictional entry: “Station B, 08:10–08:20, full view of marked sector, moderate wind, two unidentified calls, target species unconfirmed.” It tells a reviewer what happened without turning the calls into a detection. If the instructions required quiet conditions and the wind exceeded the project’s threshold, use the project’s invalid or incomplete code and attach the note. Keep the threshold with the protocol rather than inventing one for your own spreadsheet.
| Visit | What you know | What the project can check |
|---|---|---|
| Completed, target detected | Effort and evidence are both recorded. | Whether the record meets the protocol and supports the identification. |
| Completed, target not detected | You checked the station under the required method. | What was searched and how this visit compares with others. |
| Missed or interrupted | Some or all planned effort is missing. | What was completed and whether it can be used separately. |
Choose the record your evidence supports
I saw an animal while walking outside a survey
Use an incidental observation channel if appropriate. Record what you saw, when and under what conditions. Leave the survey-effort fields to records collected under that protocol.
I finished the survey and missed the target
Use the project’s non-detection code if you met its conditions. Record the effort so analysts can distinguish this visit from one that never took place.
I stopped the survey early
Record where and when you stopped, why, and what you observed before then. Use the project’s incomplete-visit instructions.
A camera or other instrument stopped recording
Keep the last known operating time and any uncertainty about the outage. Use the project’s downtime field. Treat that interval separately from working time with no detections.
The sighting location is sensitive
Follow the project’s sharing protocol and use its approved submission channel. Check what will be public before posting an image, coordinates or descriptive directions.
A pocket notebook for recording survey effort
As an Amazon Associate we earn from qualifying purchases.
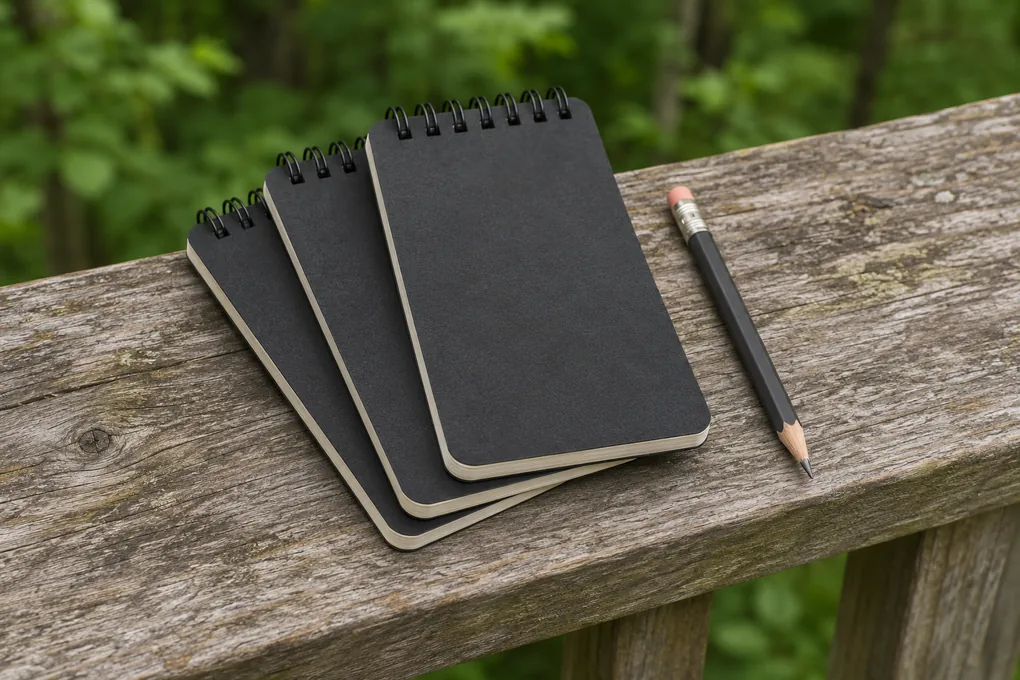
For taking notes when the weather changes
Rite in the Rain No. 735-3 Field Notebooks, Black, 3-Pack
Pocket notebooks for station codes, visit times and brief field notes.
- The 3 × 5 inch format fits a small pocket at the observation point.
- The top spiral lets you flip through notes for repeat visits.
- The universal page pattern leaves room for both words and a simple sketch.
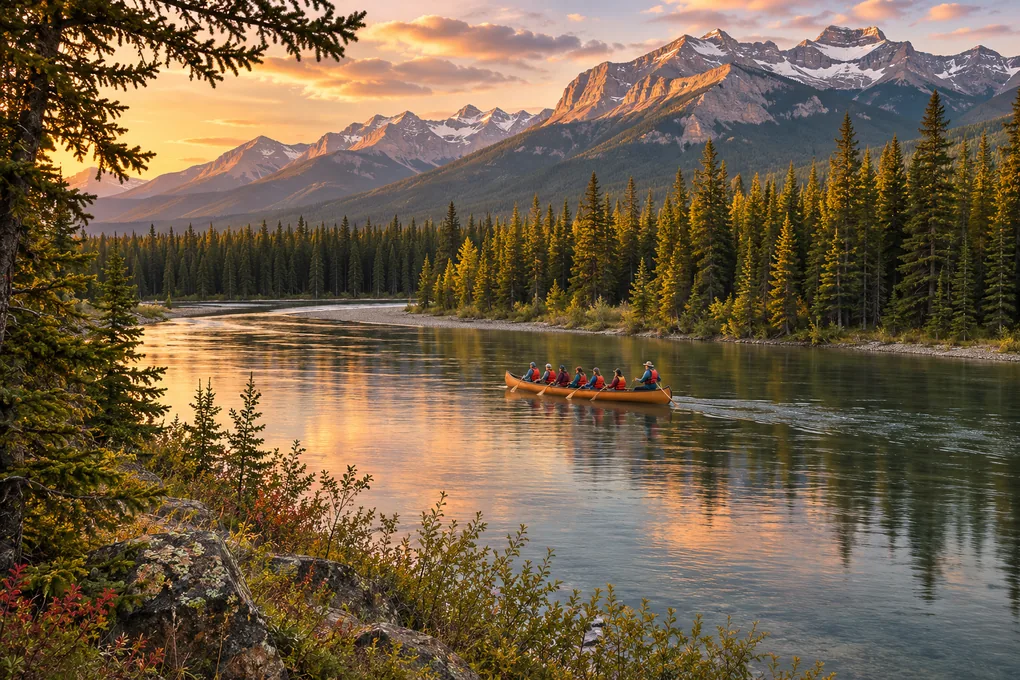
Learn about Bow River habitats on a guided paddle
Affiliate disclosure. We may earn a commission if you book through this Viator link. Check the chosen departure and terms before booking.
Banff, Alberta
Wildlife on the Bow Big Canoe Tour
The Banff Canoe Club’s interpretive paddle covers river habitat and wildlife conservation. A visitor outing is separate from an authorised survey.
- See shoreline habitat from a guided group canoe on the Bow River.
- Hear how human activity can affect local animals and their habitat.
- Check the departure time, meeting point and conditions for your date.
Questions about wildlife monitoring
Can one sighting help a conservation project?
Yes, an identifiable sighting may document the species at the location and time reported. Its value depends on the project’s question and rules for incidental observations. It carries no information about how often the species was missed at the site.
What is the difference between zero and a missed visit?
Zero can mean the target was not detected in a completed survey under the protocol. A missed visit gives the project no comparable observation effort for that session.
Can I estimate population size from trail camera photos?
A burst may record one passage and one animal may return. Photo counts describe what the camera captured. An estimate of abundance needs a study design and method that account for how animals are detected.
Where can I start as a volunteer in Canada?
Look for a local coordinator and a method that suits your experience. The Birds Canada Marsh Monitoring Program is one option for people interested in wetland surveys. Check regional instructions and training.
Should I share exact coordinates for a rare species?
Ask the receiving project what it accepts, who can see it and how it handles sensitive records. Use its private or protected channel if instructed. Check that a photo or route description will not reveal the location indirectly.
For an outing you can repeat, see planning a scouting trip and the tracking and scouting guide collection.