A DIY fishing knot practice board is a simple tool you build from wood and dowels to master knots at home. This way, you stop losing fish when it counts.
Key Takeaways
- Home Muscle Memory: A knot board allows you to build motor skills under zero pressure, so tying rigs becomes automatic in cold or windy field conditions.
- Ideal Learning Material: Start practicing with thick 4-5mm paracord to easily see routing and structure, then scale down to standard lines.
- Tension is Key: Incorporate a C-clamp or binder clip. Heavy leader connection knots like the FG knot cannot be tied properly without line tension.
- Simulated Hook Eyes: Screw eye-screws directly into the board to mimic snaps, swivels, and hook rings.
Most anglers blame their gear or bad luck. The truth is simpler. Your knots are failing because you haven’t practiced enough. A DIY fishing knot practice board fixes that. It gives you a way to build skill at home, on your couch, so you don’t make mistakes on the water.
Estimated reading time: 5 minutes
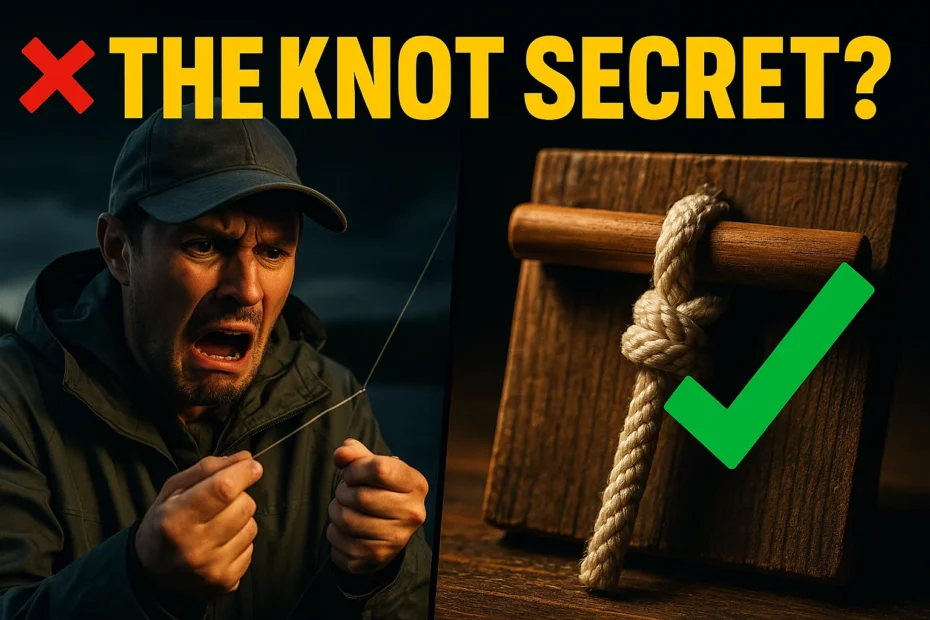
Why Your Knots Fail (And How to Fix It)
The problem isn’t the knot. It’s you. You don’t have the muscle memory because you only tie knots under pressure on the water. Research shows that 67% of angling mishaps are attributed to improperly tied knots (Source).
A lack of practice leads to common mistakes.
- Forgetting a crucial step, like wetting the line.
- Not pulling the knot tight enough.
- Tying the wrong knot for your line type, whether it’s monofilament or braided line.
Stop making excuses. A simple board removes the stress of learning in the field. You can practice until the motions are automatic.
Your next step is to accept that practice is the only solution.
What is a DIY Fishing Knot Practice Board?
It is a homemade tool that helps you learn and perfect fishing knots. You build it from a small piece of wood and a few dowels or posts. These parts mimic a hook eye or a lure, giving you a stable anchor point for practice.
This isn’t just a toy. It’s a training device. Using one builds confidence and skill away from the water, where there’s no pressure. Angling educators and even Scouts Canada use similar tools to teach beginners the right way.
Build one this afternoon. Use it for ten minutes a day.
| Knot Board Element | Purpose & Benefit | Practical Setup Tip |
|---|---|---|
| Wooden Board Base | Provides a solid, weighted platform that sits comfortably on your workbench or lap. | Use a 12-18 inch scrap pine block. Sand edges down to prevent line abrasion. |
| Simulated Eyes | Mimics hook eyes, swivels, split rings, and sinker connections. | Mount 2-3 steel eye screws or small screw hooks at the top of the board. |
| Tensioning Clamp | Provides consistent counter-tension necessary for tying line-to-line leader knots (like FG or Blood knot). | Clamp a small homeowner’s vise or a heavy binder clip to the board side. |
| Practice Lines | Simulates both thick learning cords and thin fishing lines. | Use 550 paracord to learn steps first, then transition to actual monofilament or braid. |
| Tying Tools | Enables clean trimming, knot cinching, and hook safety drills. | Keep forcep clippers, nippers, and line spoolers next to your board. |
How Does a Knot Practice Board Help Improve Fishing Skills?
A practice board directly attacks the root cause of knot failure: lack of repetition. Data shows that practice boards improve knot retention and proficiency by up to 70% (Source). It works because it isolates the skill of knot tying from the other variables of fishing.
Here’s how it helps you:
- Builds Muscle Memory: Your hands learn the motions, so you don’t have to think about them on the water.
- Provides a Stable Platform: No more fumbling with a slippery hook or lure. The board holds your anchor point steady.
- Allows for Error: Make mistakes at home, not when a trophy fish is on the line.
- Increases Confidence: The more you practice, the more you trust your knots. Confidence leads to better angling.
The best way to become proficient at tying fishing knots is through practice. While you can learn on the water, practicing at home is the best approach.
Stop hoping your knots will hold. Make them hold. Your next step is to gather the materials to build your own board. You probably already have everything you need.
Your Knot Practice Station Setup Checklist
Gather Materials
- Find a wood board (10-18 inches long)
- Gather eye screws, dowels, or hooks
- Grab a C-clamp or small table vise
Select Training Lines
- Get a roll of colored 550 paracord
- Save old rolls of mono, fluorocarbon, and braid
- Maintain spool tensioners nearby
Designate Workspace
- Choose a well-lit desk or workbench
- Minimize phone and screen distractions
- Set a timer for 10 minutes of daily focus
Prepare Knot Guide list
- Pick 3 core knots to master first
- Print out step-by-step guides
- Practice until time-to-tie is under 30s
Personal Experience: The Day a Board Saved My Trip
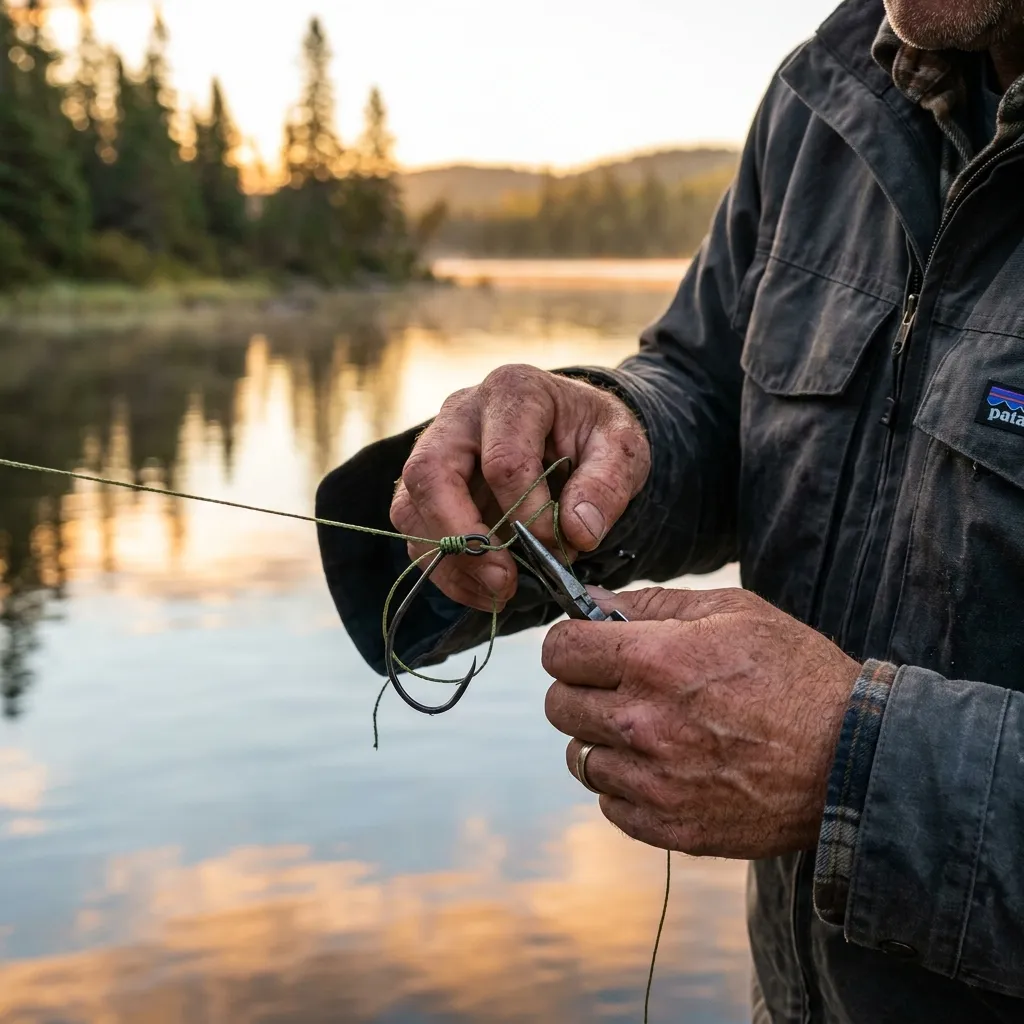
I used to be the guy who retied three times, hands shaking, while my friends were already casting. I lost a beautiful steelhead once because my clinch knot slipped. It was embarrassing and expensive.
Building a simple knot board changed everything. I spent a week practicing the improved clinch and FG knot while watching TV. It felt silly at first.
But the next time I was on the river, in the cold, I tied a perfect FG knot in under a minute without even thinking. I didn’t lose a single lure that day. That board is now one of my most Essential Fishing Tools.
This isn’t about becoming a knot-tying champion. It’s about removing a variable. It’s about making your gear work for you, so you can focus on fishing.
The next step is to stop reading and start building.
How to Build Your DIY Fishing Knot Practice Board
A simple 10-minute workshop project that improves your fishing skills forever.
1. Select and Prepare Your Base
Locate a scrap piece of wood, roughly 1x10x12 inches. Sand the surface and edges completely smooth. This prevents splinters in your fingers and keeps lines from catching or fraying.
2. Install Your Anchor Posts
Drill pilot holes near the top end of the board. Screw in 2-3 steel eye screws or simple screw hooks. These simulate hook eyes, swivels, or split rings to tie onto.
3. Mount a Tensioning Clamp
Attach a small C-clamp, binder clip, or table vise to the edge of the board. This tension anchor holds line taut, which is crucial for master knots like the FG knot.
4. Label and Customize
Optionally draw reference markers or write labels next to each anchor post. This helps structure your practice session and keeps you focused on specific knot challenges.
Recommended Knot Board Materials & Tools
Vetted products to help you build a professional practice board and master your knots.

Walnut Hollow Basswood Carving Block
A premium, smooth basswood carving block. Highly workable and easy to drill, making it an excellent soft wood base for eye screws.

TOUGH-GRID 750lb Mil-Spec Paracord
Heavy-duty, military-grade Type IV parachute cord. Thicker diameter and bright colors make it the perfect line for learning knot routing paths.
National Hardware Zinc Steel Screw Hooks
Durable, zinc-plated steel screw hooks. Screw directly into your board to simulate hook rings and gate snaps for terminal tackle practice.

Yost Vises LV-4 Clamp-On Vise
A highly portable homeowner’s vise. Jaws clamp firmly to the board, providing the steady counter-tension needed to tie line-to-line leaders.

HOOK-EZE Fishing Knot Tying Tool
An excellent beginner-friendly knot-tying tool. Protects hands from sharp hooks and helps tie snaps, swivels, and loop knots with speed.
Affiliate Disclaimer: As an Amazon Associate, CanadaFever earns from qualifying purchases. This helps support our Canadian outdoor research at no extra cost to you.
Conclusion
Stop wishing you were better at tying knots. Start practicing. A DIY fishing knot practice board is a simple, effective tool that costs you nothing but a few minutes to build.
It will build your muscle memory, increase your speed, and give you unshakable confidence in your gear. Don’t be the angler who loses the fish of a lifetime to a bad knot. Build the board, do the reps, and become a better angler.
Your next step: Grab a piece of scrap wood and a screw. Build version one right now.
1. What is a DIY fishing knot practice board?
A DIY fishing knot practice board is a simple, homemade training device usually constructed from scrap wood, eye screws, and tensioning clamps. It provides a stable, stationary platform to practice tying terminal tackle connections and line-to-line leaders in a distraction-free home environment.
2. What materials are best for building a fishing knot practice board?
The best materials are basic workshop scraps: a sturdy wooden base (such as a 12-18 inch pine or basswood plank), 2-3 steel eye screws or screw hooks to act as hook eyes, and a clamp-on table vise or heavy binder clip to provide tension for line-to-line connection practice.
3. Which fishing knots should I practice on a knot board?
Beginners should focus on the essential everyday connections: the Improved Clinch Knot (for terminal tackle on monofilament), the Palomar Knot (for braided line), and the Double Surgeon’s or Double Uni Knots (for line-to-line leader connections).
4. Can kids use fishing knot practice boards safely?
Yes, absolutely. Knot boards are a standard educational tool in youth outdoor programs. Ensure the wooden base has rounded, sanded edges and use large, blunt hooks or eye screws. Practicing with thick, soft paracord is completely safe and highly educational for children.
5. How often should I practice tying fishing knots?
Consistency is key to muscle memory. Dedicating 5-10 minutes every day is far more effective than trying to memorize knots in a single long session right before a fishing trip. Regular practice at home ensures you can tie knots quickly, even with cold hands or in low light.