

Choose the sinker shape, documented alloy and mold before casting. A practical guide to patterns, inspection, non-lead options and Canadian tackle restrictions.
- Match the exact alloy, mold and casting instructions.
- Inspect cooled weights and line-contact surfaces.
- Check destination rules before packing homemade tackle.
Bottom line A useful mold starts with the rig, material and waters you actually fish.
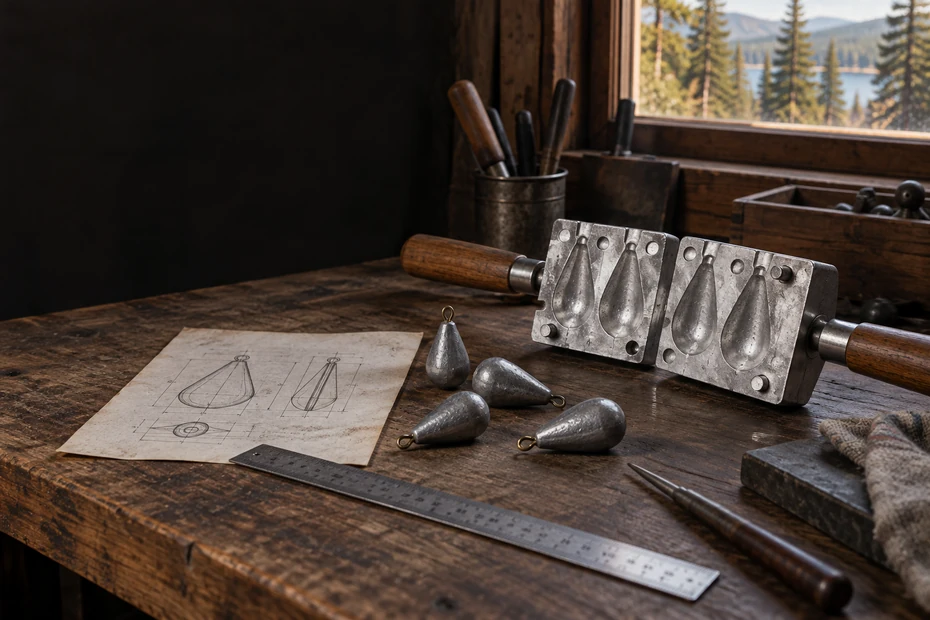
Plan the sinker before making the mold
DIY sinker molds work best when you start with the weight you actually need, the metal you intend to use and the waters where you will fish. Aim for a repeatable shape with a sound attachment point. An unsuitable mold can produce tackle that cuts line or casts badly. The material must also be permitted where you fish.
For most beginners, the practical route is a purpose-built metal fishing mold with documented instructions. Making your own pattern is a separate design project; casting hot metal requires a suitable workspace and equipment. You can do the design work without melting anything, then have an experienced caster or mold maker assess the pattern.
Start with one familiar rig. If you want a sliding weight for a bass presentation, compare the finished line passage and contact behaviour with the examples in our Carolina-rig hook and weight guide. A large bank sinker intended to hold bottom in current solves a different problem from a small sliding weight.
Before buying materials
- Choose a shape and mass for a rig you already understand.
- Match the mold, alloy and casting equipment using the manufacturers’ instructions.
- Check destination restrictions and consider finished non-lead tackle.
Choose a mold route that fits the project
A commercial aluminium mold takes much of the cavity design out of the job. Depending on its model, it may have a hinge, handles, a pouring opening and a channel for an eyelet or pull pin. Read the exact model description: a photograph of several cavities does not tell you which sizes it produces or which accessories are included.
A custom-machined mold is useful when you need a shape that a catalogue does not cover. Send the maker a drawing with dimensions, the intended alloy, the attachment detail and the intended finished mass. Ask how the mold will fill, vent and release. Resolve those details before paying for machining.
A rubber mold can reproduce fine detail, but its suitability depends on the specific rubber and casting material. Check the exact silicone product’s temperature limit. Craft silicone, a soft-bait mold and a metal-casting mold can look similar in a photograph while having very different operating requirements.
| Route | Useful fit | Check before committing |
|---|---|---|
| Purpose-built aluminium fishing mold | A documented sinker shape and size range | Approved alloy, inserts, complete instructions |
| Custom metal mold | A specific attachment or shape unavailable off the shelf | Machining cost, release, fill and vent design |
| Rated rubber mold | A supplier-approved casting material | Exact temperature rating and casting compatibility |
| Pattern only | Exploring proportions before casting | Keep it separate from any hot-metal process |
Plaster, sand and printed plastics are often presented as cheap shortcuts. They introduce their own preparation and process requirements. A household craft mold or a newly printed part is not automatically a casting tool. If there is no documented process for your exact material, continue with a cold prototype or buy a purpose-built mold.
Design a useful shape and attachment
Choose the sinker shape from its job
A rounded sliding weight needs a clean passage through its centre. A bank sinker needs an attachment that transfers the pull into the body. A flatter shape may behave differently on a slope from a round one. Sketch the complete rig with the weight in place so that the attachment and direction of pull are clear.
Inspect your reference sinker
- Use a finished sinker that already behaves well as a reference.
- Measure its length and widest point, inspect how the line or clip sits, and note where it marks or snags.
- Your sketch should identify the feature you want to improve, such as a smoother passage or a different profile.
- Enlarging every dimension changes several features together.
Write the intended mass separately from the dimensions. The same cavity does not produce the same weight with every alloy because materials have different densities. A mold’s ounce markings therefore need interpretation if the supplier approves a different metal. Weigh the cooled finished pieces instead of relabelling a lead cavity as an equivalent tin weight.
Account for release and line contact
A two-part mold needs a sensible parting line where its halves meet. Put that line where the shape can release without being trapped behind an undercut. A deep recess or an overhanging shoulder may require a different mold arrangement. Discuss such details with the mold maker; forcing a stuck casting can damage both the cavity and its attachment.
The sprue is the opening through which material enters the cavity. Air also needs a route out. A custom design with a beautiful outer shape can still fill poorly if these paths are wrong. Keep sprue and vent planning separate from decorative surface details, and ask the maker which features are essential to the casting process.
For an eyelet sinker, specify the insert material and dimensions recommended for that mold. A loose wire loop improvised from unknown scrap is difficult to assess. For a sliding sinker, use the specified pull pin or core arrangement. The pin controls the passage that your line will touch, so its condition matters as much as the outside finish.
Once a piece is fully cold, inspect the line path under good light. Thread a sacrificial piece of your intended line through it and move the line at the angles the rig will create. A burr or sharp seam deserves correction before fishing. Changing to stronger line does not repair an abrasive hole.
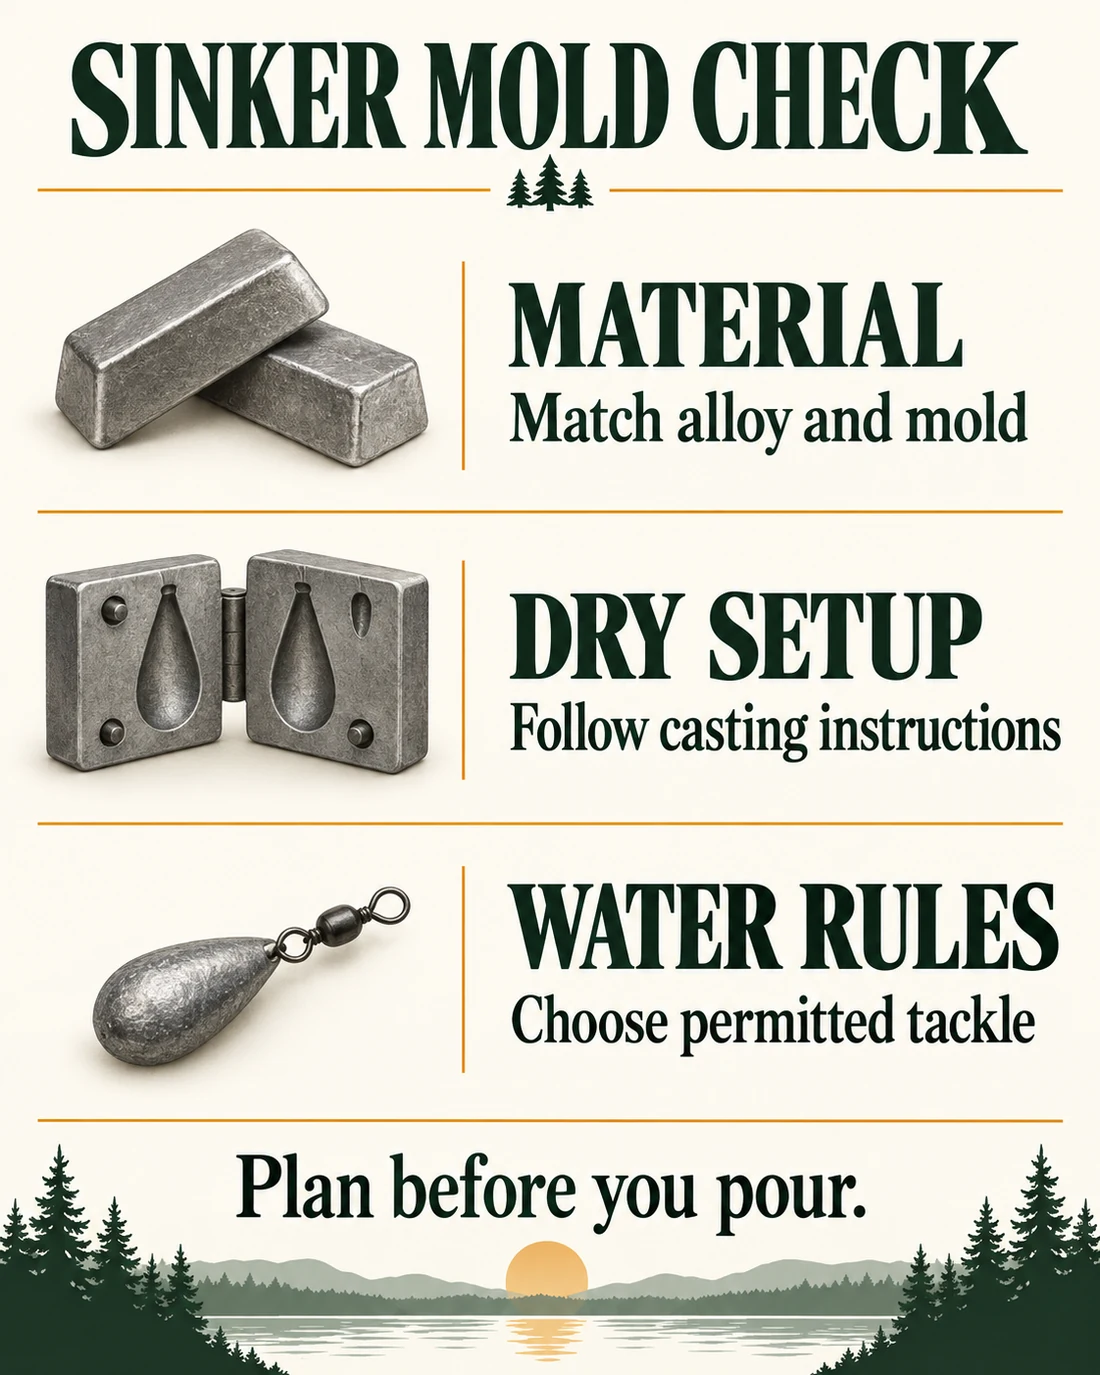
Match the mold to the exact casting material
Obtain a named alloy with supplier documentation. Unknown wheel weights, battery material and mixed workshop scraps do not give you a dependable composition. Do-it specifically advises against hard lead in its molds. Read its lead-source guidance, then confirm the requirements for the model you are considering.
Check the composition of a lead-free alloy too. A labelled tin or bismuth alloy has its own composition, melting behaviour and handling requirements. A seller’s casual description of recycled metal is insufficient. Ask for the product identity and the relevant safety data sheet, and confirm that the mold and melting equipment manufacturer approve that material.
Some alternatives make more sense as finished tackle. Steel, brass and tungsten weights are available in useful fishing shapes. Their manufacturing methods should not be inferred from a hobby lead-casting demonstration. Buying a small selection lets you compare fishing behaviour before investing in a workshop process.
A temperature rating is a real limit
Mixing and curing are equally specific. Mold Max 60 uses a 100A:3B ratio by weight and a stated 24-hour cure at the manufacturer’s conditions. Those figures apply to that product, not to silicone generally. Follow its complete technical bulletin if using it for an approved application, including compatibility checks.
Record the product name, lot and instruction revision with your mold notes. If you later buy a different rubber, hardener or alloy, reassess the combination. Containers that look almost identical can hold a different formula, and a remembered mixing ratio is a poor substitute for the current label.
Make a cold prototype before commissioning a cavity
Draw the rig
Draw the sinker at full size on paper, including the passage or attachment. Mark the direction of pull and the surface expected to meet the bottom. Place your clip, swivel or line beside the drawing. This simple check can reveal an eyelet that is too small or a body that crowds the rest of the rig.
Make a cold pattern
A cold pattern made from an appropriate modelling material can help you inspect proportions. It is a shape reference, not a tool for hot metal. Label it clearly and keep it away from the casting area. Ask the mold maker which pattern material they need before making a detailed master they cannot use.
Check the complete load
Compare the pattern with the rod’s intended casting range and your usual tackle. Estimate the complete rig’s mass, including the hook and bait. Our beginner fishing-gear guide explains why matching the complete setup matters. A sinker that looks manageable on the bench can still be unsuitable for the rod you plan to use.
For a custom sliding sinker, tell the maker what line diameter and rig arrangement you intend. For a hanging sinker, discuss the insert’s position and how you will clip it on. These details affect the cavity design. Leave enough room to inspect and finish the casting instead of burying the attachment inside an awkward recess.
Keep a photograph of the pattern beside the dimensioned drawing. Add a version number whenever you change it. If a maker asks whether the longer nose or larger loop is the final design, you can identify it without guessing. Retain the original reference sinker until the new shape has passed inspection and a controlled fishing comparison.
Set up for the manufacturer’s casting process
Hot-metal work needs a dedicated area with a stable, heat-resistant surface and controlled access. Keep children, pets and bystanders away. Food preparation equipment and surfaces should stay out of the process. This guide is general project planning; use the equipment manufacturer’s full instructions and obtain practical training before casting.
Do-it’s lead-molding precautions warn about moisture around molten lead and require dry material and tools. A wet insert, damp mold or unexpected splash can create a serious hazard. Do not use water to cool the metal or assume a mold is dry because its exposed face feels dry.
Follow the specified preheating and drying procedure for the exact mold. Store it where condensation and contamination are controlled. If the preparation is uncertain, stop before heating. The same applies after a spill, interruption or change of tools; resume only when the manufacturer-approved setup has been restored.
Choose protection for the process
- Protective equipment must be appropriate for the process and materials.
- Read the melter, mold and alloy instructions together.
- Select eye and face protection, gloves, clothing and footwear from those requirements.
- A basic dust mask or a general household fan cannot be treated as proof that exposure is controlled.
Lead exposure includes dust and contaminated hands, not only visible smoke. The Canadian Centre for Occupational Health and Safety lead profile describes serious effects from repeated exposure. Keep eating and drinking outside the work area and wash before handling personal items.
Plan cleanup before the first session. Collect waste in suitable labelled containers and use the controls appropriate to the material. CCOHS guidance on lead exposure advises against dry sweeping and compressed-air cleaning. Keep contaminated work clothing and tools separate from household use.
Inspect a small first batch
Use the mold and equipment instructions for the actual casting sequence. Work with a small trial batch so you can inspect each result before making more. Record the alloy and mold identity first. If the approved setup does not produce acceptable pieces, troubleshoot from the manufacturer’s guidance instead of escalating heat by guesswork.
Check the cooled batch
- Wait until the castings are fully cool before weighing and inspecting them.
- Look at the attachment, line passage, seams and surface.
- Sort questionable pieces into a separate container.
- A split, loose insert or rough passage should not disappear into the good batch simply because the weight is close to your target.
- Use the same scale and weighing routine throughout the trial.
- Tare the empty container and check the scale according to its instructions.
- Record the results in grams even if the mold is marked in ounces.
- That gives you a direct comparison with tackle rules written in grams and helps you distinguish a nominal cavity size from an actual finished piece.
| Observation | What to check | Next move |
|---|---|---|
| Incomplete shape | Approved preparation, fill path and alloy | Use manufacturer troubleshooting before another batch |
| Thin metal seam | Mold closure and cavity condition | Inspect and finish only when fully cold |
| Rough line passage | Specified pin and surface condition | Reject until the line path is smooth |
| Loose attachment | Insert fit and cavity specification | Keep out of the fishing kit |
| Unexpected mass | Alloy identity and scale setup | Measure and label actual finished mass |
If finishing creates dust or chips, control and collect them according to the material’s guidance. Do not file tackle over the kitchen counter or the boat’s carpet. Inspect the attachment again after finishing; removing a burr should not weaken the part that holds the rig.
Once a piece passes the bench inspection, check its fit with the complete rig on dry land. Use a sacrificial line section where appropriate and keep hook points covered. Confirm that a sliding weight travels without catching and that a clipped weight cannot escape its attachment through ordinary movement.
A documented mold and a cold-weighing tool
As an Amazon Associate, CanadaFever earns from qualifying purchases. These are product examples for the stated jobs, not hands-on test results. Check the selected variant and delivery options for Canada.

Do-it 3185 CB-4-AB cannonball sinker mold
A purpose-built mold example for anglers who actually need these larger round sinker sizes. Match the alloy and complete casting setup to the manufacturer instructions.
- Exact listing: model 3185 CB-4-AB, four cavities for 1, 2, 3 and 4 oz.
- Cannonball shape; this is not an egg or small finesse-weight mold.
- Confirm required inserts and alloy compatibility before buying.

American Weigh AC1200 digital pocket scale
A bench measurement option for recording the mass of fully cooled sinkers. Check the supplied manual and calibration procedure before relying on readings.
- Exact listing: American Weigh AC1200 model.
- Gram and ounce readings with a tare function for a container.
- Weigh fully cooled, clean pieces; keep this measuring tool outside the hot-metal area.
Check Canadian rules before putting weights in your kit
That federal park rule should not be rewritten as a nationwide ban on every lead fishing weight. Destination rules can also restrict hooks, bait and other tackle. Check the park’s current fishing information, closures and permit requirements, and consult the appropriate provincial or territorial rules for waters outside the park system.
Our Canadian fishing-regulations guide can help you identify the jurisdiction to check. Decide on permitted materials before building a mold around small lead sizes. A dedicated non-lead trip box is easier to inspect than a mixed assortment with unlabelled homemade weights.
Lost tackle also has a wildlife cost. Environment and Climate Change Canada describes lead ingestion by waterbirds, including loons. Use non-lead alternatives where practical, retrieve discarded tackle when you can do so safely, and carry waste back from the shore.
Label homemade tackle with the alloy and actual weight. Keep the supplier information at home and sort the fishing kit before a park trip. A dull grey surface is not reliable material identification; appearance alone cannot establish that an unknown weight is lead-free.
Decide whether the project is worth repeating
Include the complete setup in the cost comparison: mold, documented material, equipment, protective gear, preparation, cleanup and rejected pieces. Divide those costs across the number of usable weights you expect to fish, not the number of cavities in the mold. Small occasional batches often make finished tackle the simpler purchase.
A custom mold is easier to justify when it solves a defined problem you cannot address with available sinkers. Keep that problem written down. If a smoother commercially made sliding weight already solves line abrasion, a new casting project may add work without improving the rig.
Test the approved finished sinker against a familiar alternative under comparable conditions. Use the same rig and retrieve first, then assess casting, bottom contact and snagging. Our Canadian fishing-techniques guide provides the broader presentation context. One quiet fishing session cannot establish that a new alloy or shape is better.
Keep notes on the features you can observe: whether the line passes cleanly, whether the rig tangles and whether the weight maintains useful contact. If a change helps, revise one dimension or component for the next prototype. Keep each version with its measurements and observations so you can repeat the useful changes.
For another bench project with a lower entry barrier, cold soft-bait adjustments let you compare shape and rigging without a hot-metal setup. Use the DIY fishing-projects hub to choose work that fits the space and equipment you actually have.
DIY sinker molds: common questions
Can I pour lead into an ordinary silicone mold?
Use only a mold whose manufacturer approves the actual metal and casting conditions. Silicone has no universal heat rating. Mold Max 60’s stated 294°C limit is below pure lead’s approximately 327°C melting point, so its high-heat description does not make it suitable for molten lead. Household craft molds should remain outside the process.
Will a lead mold produce the same weight in a lead-free alloy?
The finished mass changes with material density. First confirm that the manufacturer approves the alternative alloy for that mold, then weigh fully cooled pieces. Label the measured mass and material. Do not assume the cavity’s nominal lead marking applies unchanged to a tin or bismuth alloy.
What is the easiest starting route?
Choose a documented purpose-built mold for a shape and size you already fish, or begin with a cold pattern for a professional mold maker. If you lack a suitable casting area and practical training, use finished weights while you develop the design. Buying a mold alone does not establish a safe complete setup.
Can I carry small lead sinkers into a Canadian national park?
The federal regulation prohibits possession of lead sinkers and lead jigs under 50 g while fishing in park waters. Check the park’s current rules and pack permitted tackle before the trip. This specific park rule should not be applied indiscriminately to every Canadian waterbody.
How do I spot a sinker that could damage line?
Inspect the fully cooled passage, seams and attachment in good light. Run a sacrificial section of the intended line through the path and check for catching or abrasion at realistic angles. Reject pieces with unresolved burrs, cracks or loose inserts. Recheck after finishing and before fishing the complete rig.
Technical and Canadian sources
Manufacturer instructions govern the exact materials and casting equipment. Canadian regulatory and health links in the relevant sections were checked for this guide on 3 October 2026.